how to make the world's worst table saw sled (the hard way)

Continuing my Shopsmith saga from an earlier post, today I made what might be the world's worst table saw sled using only scrap wood without any plans. Right now, I'm going to show you how I did it!
 Tate Shannon
I still had the Shopsmith set up from last time, but I want to make some half-lap joints for my desk (like I used to make my phone stand). The easiest way to do this seems to be on a table saw using a sled. Unfortunately, I don't have one of those.
making a table saw sled – planning
To make a long story short, I did not plan. I'm still getting used to using a table saw, so I really just wanted to get some more practice.
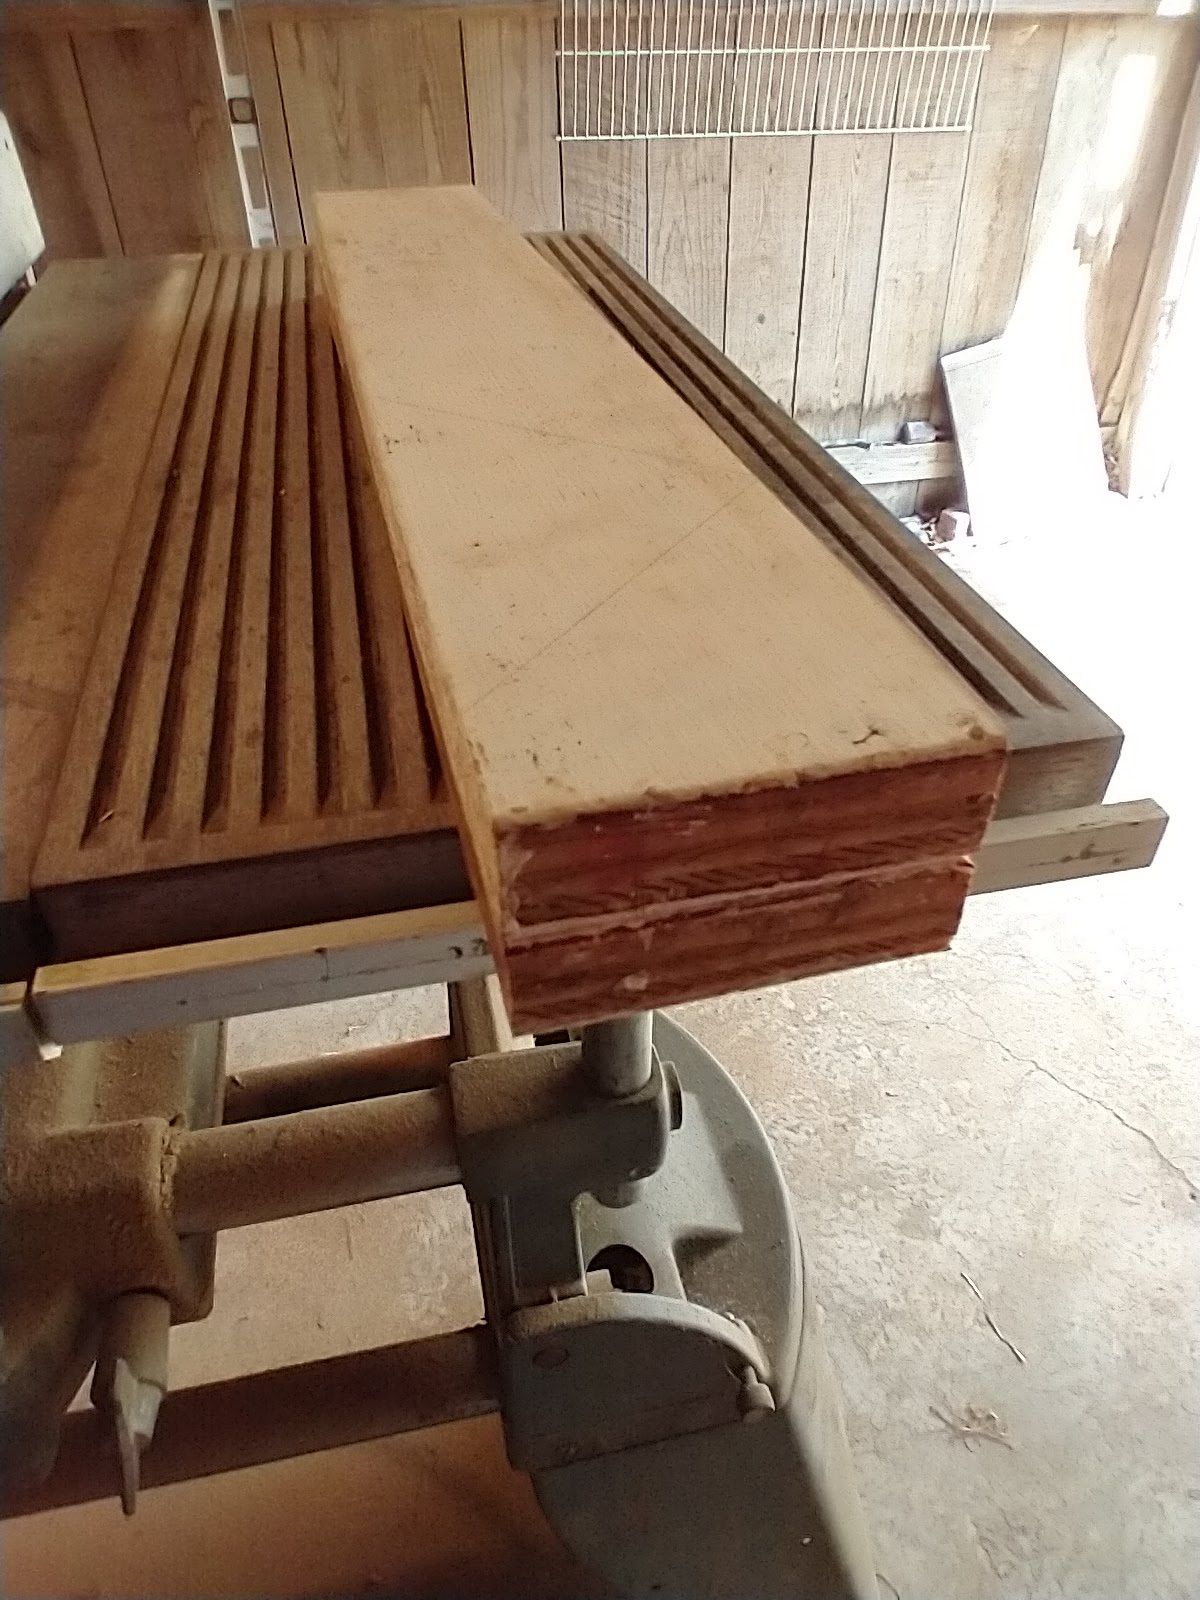
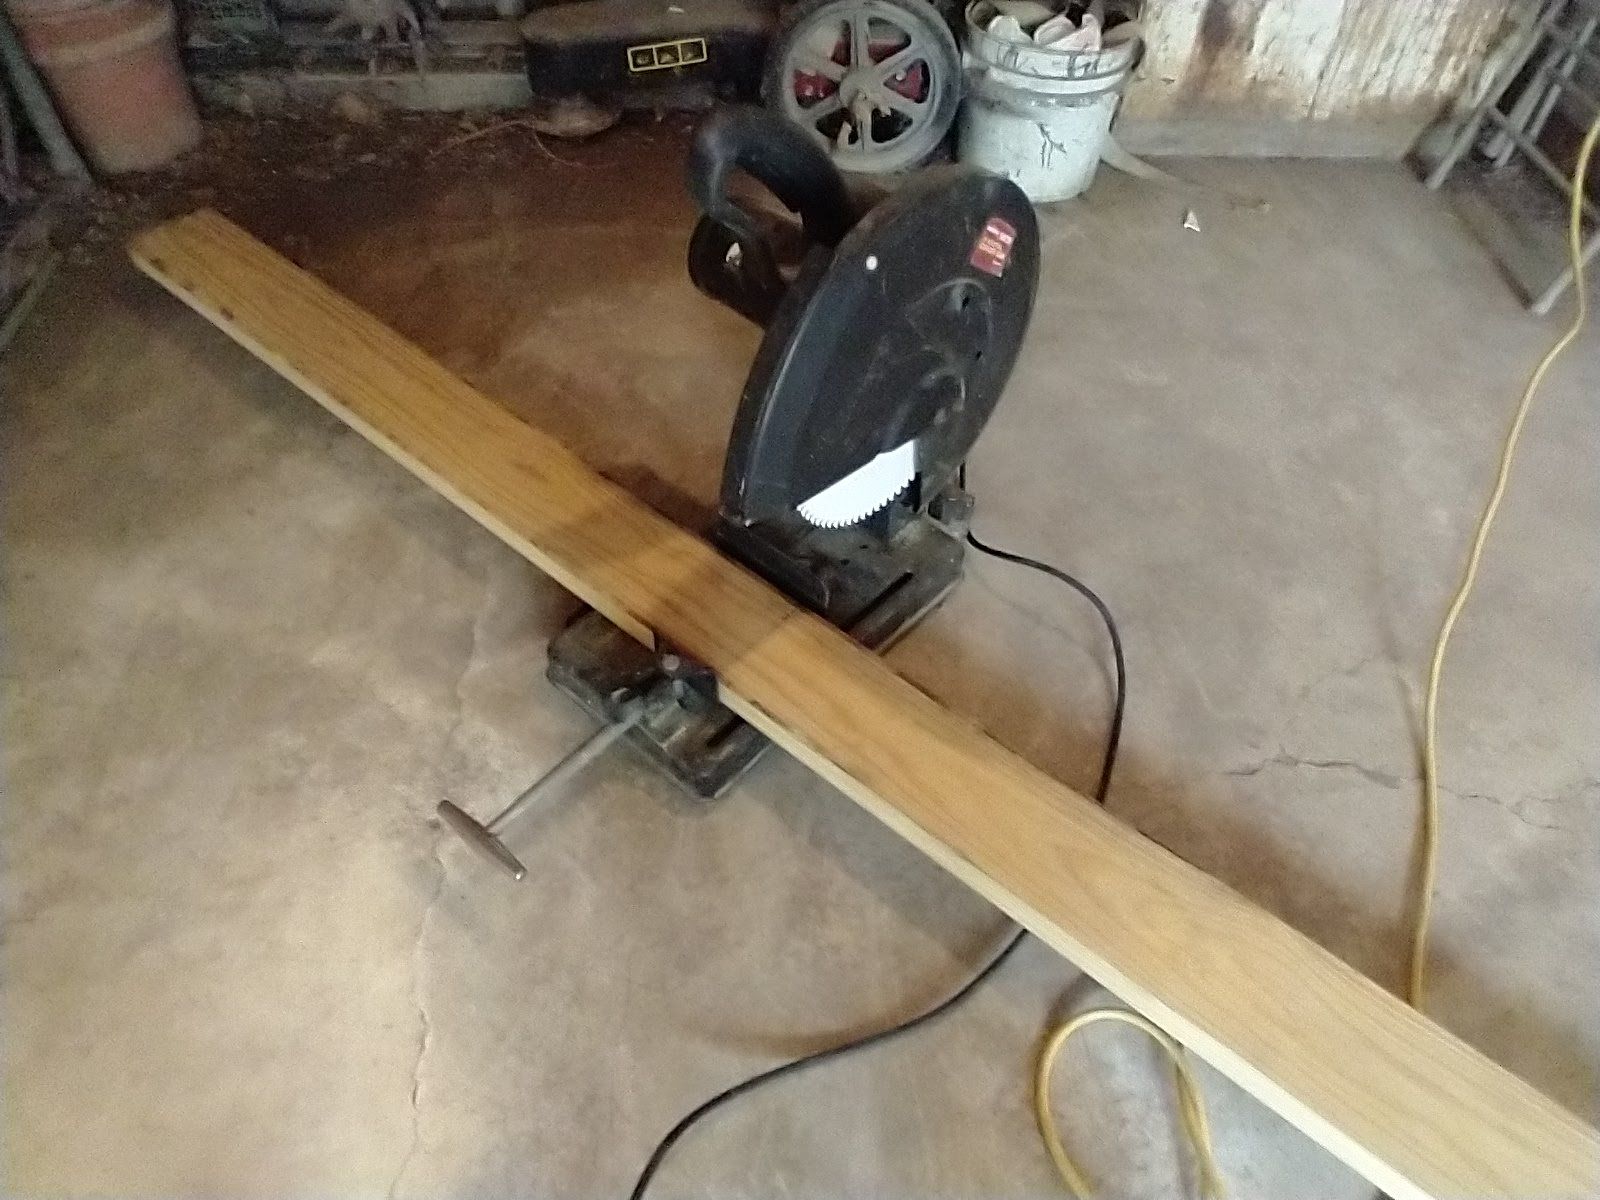
I started with a pile of scrap flooring, cleaning it up a bit as I went:

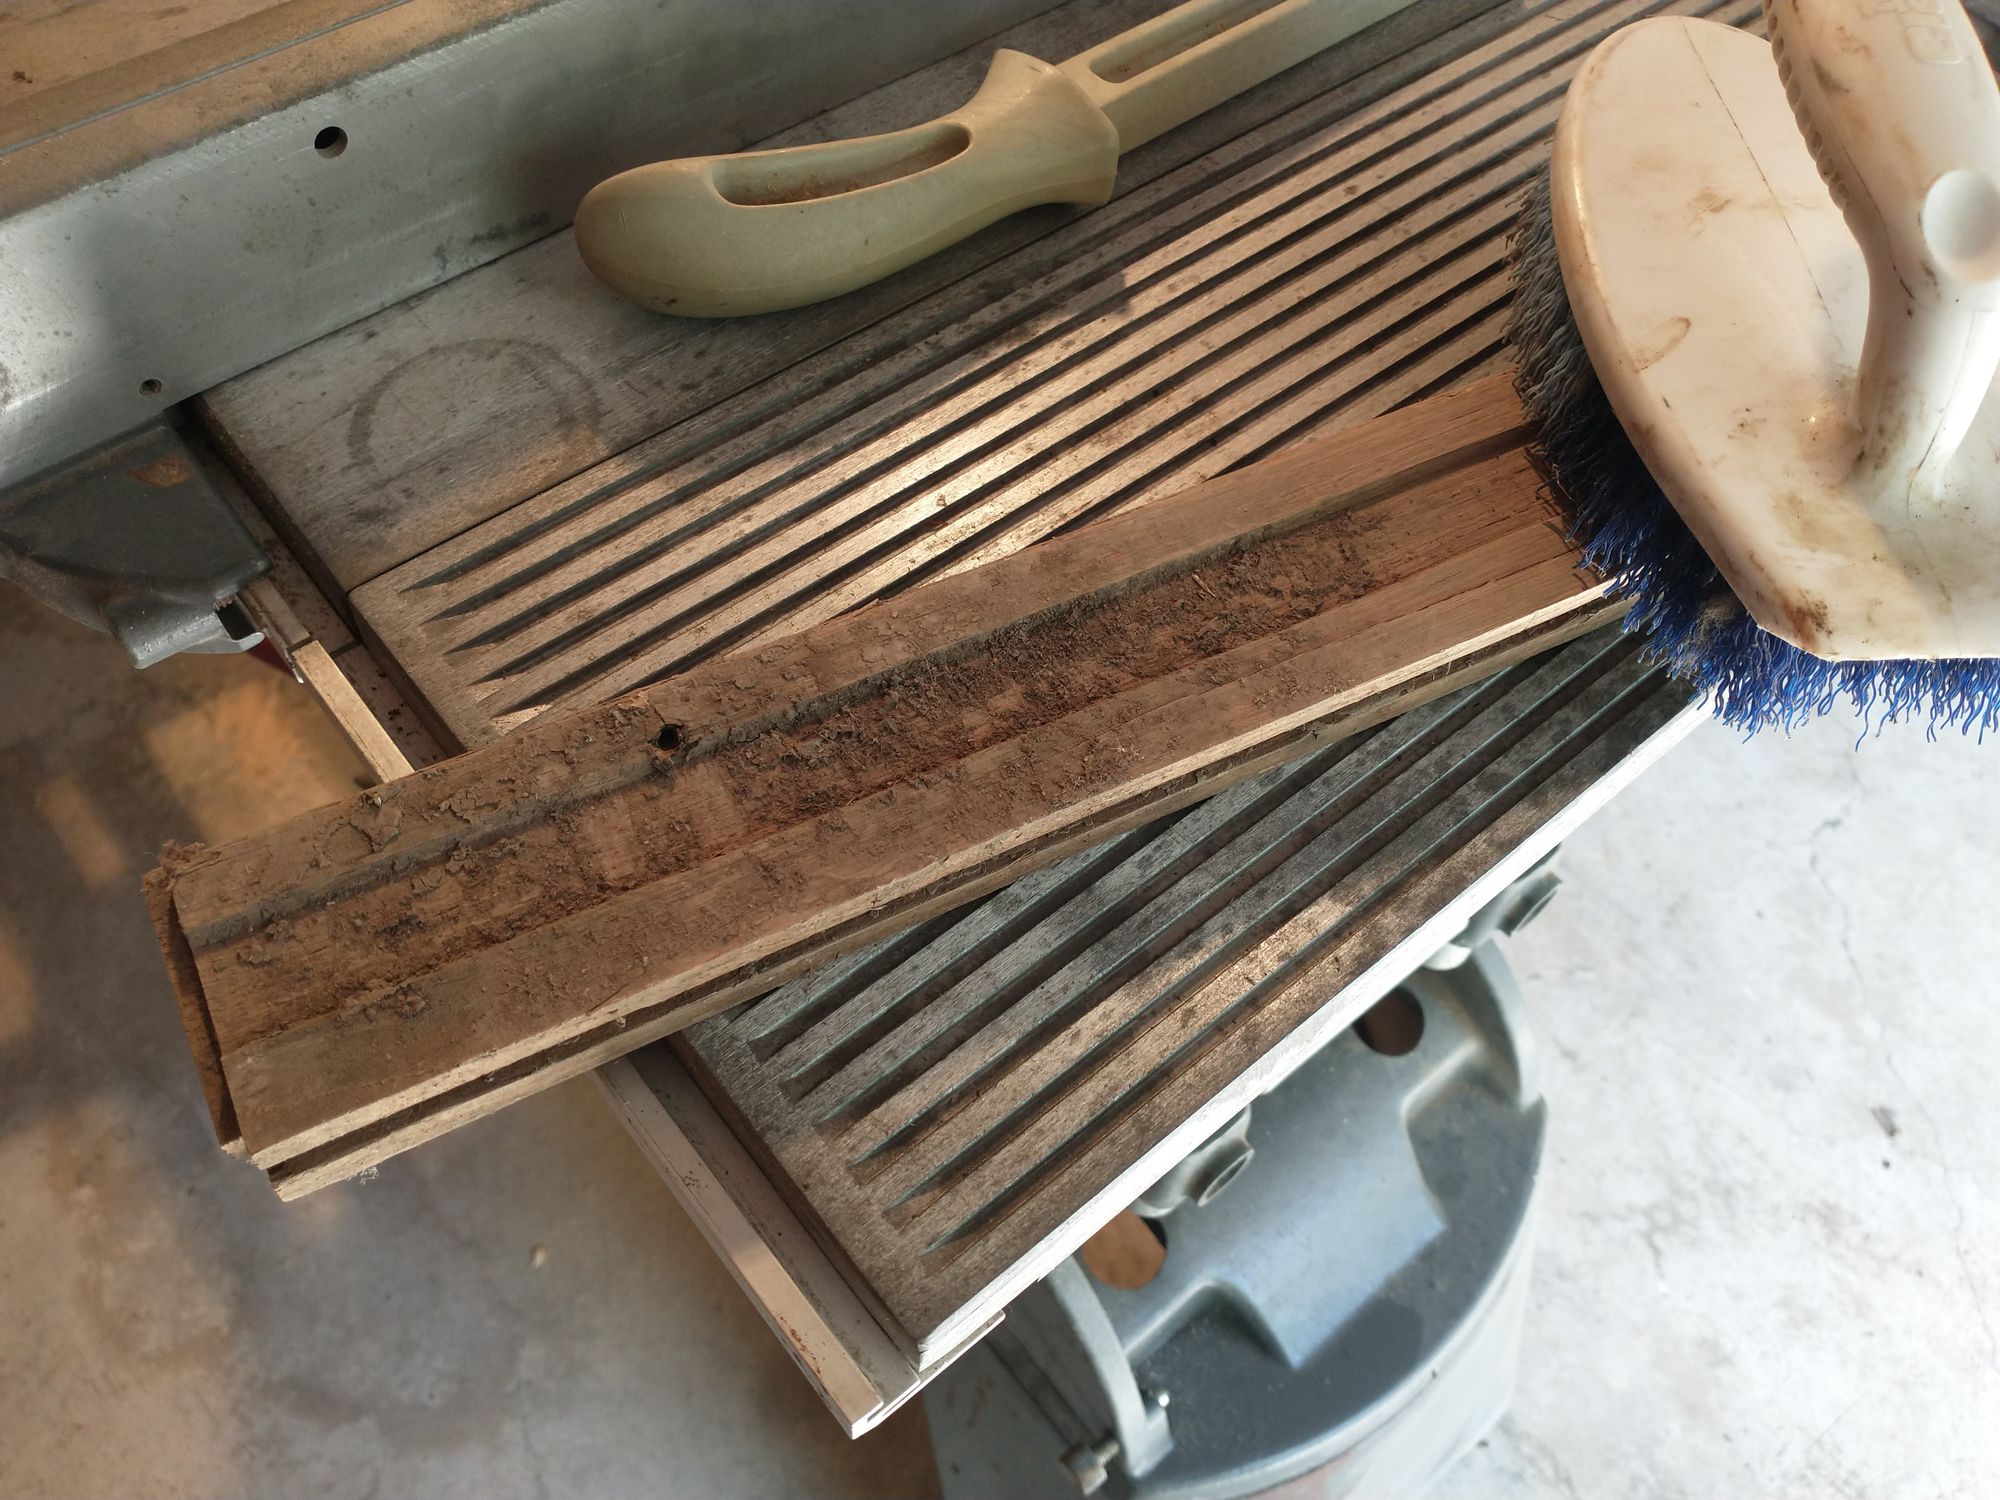

I didn't get any pictures of it, but I used this to make the rails that slide through the slots in the table saw to keep everything nice and straight.
how not to make a 3d printed speed square
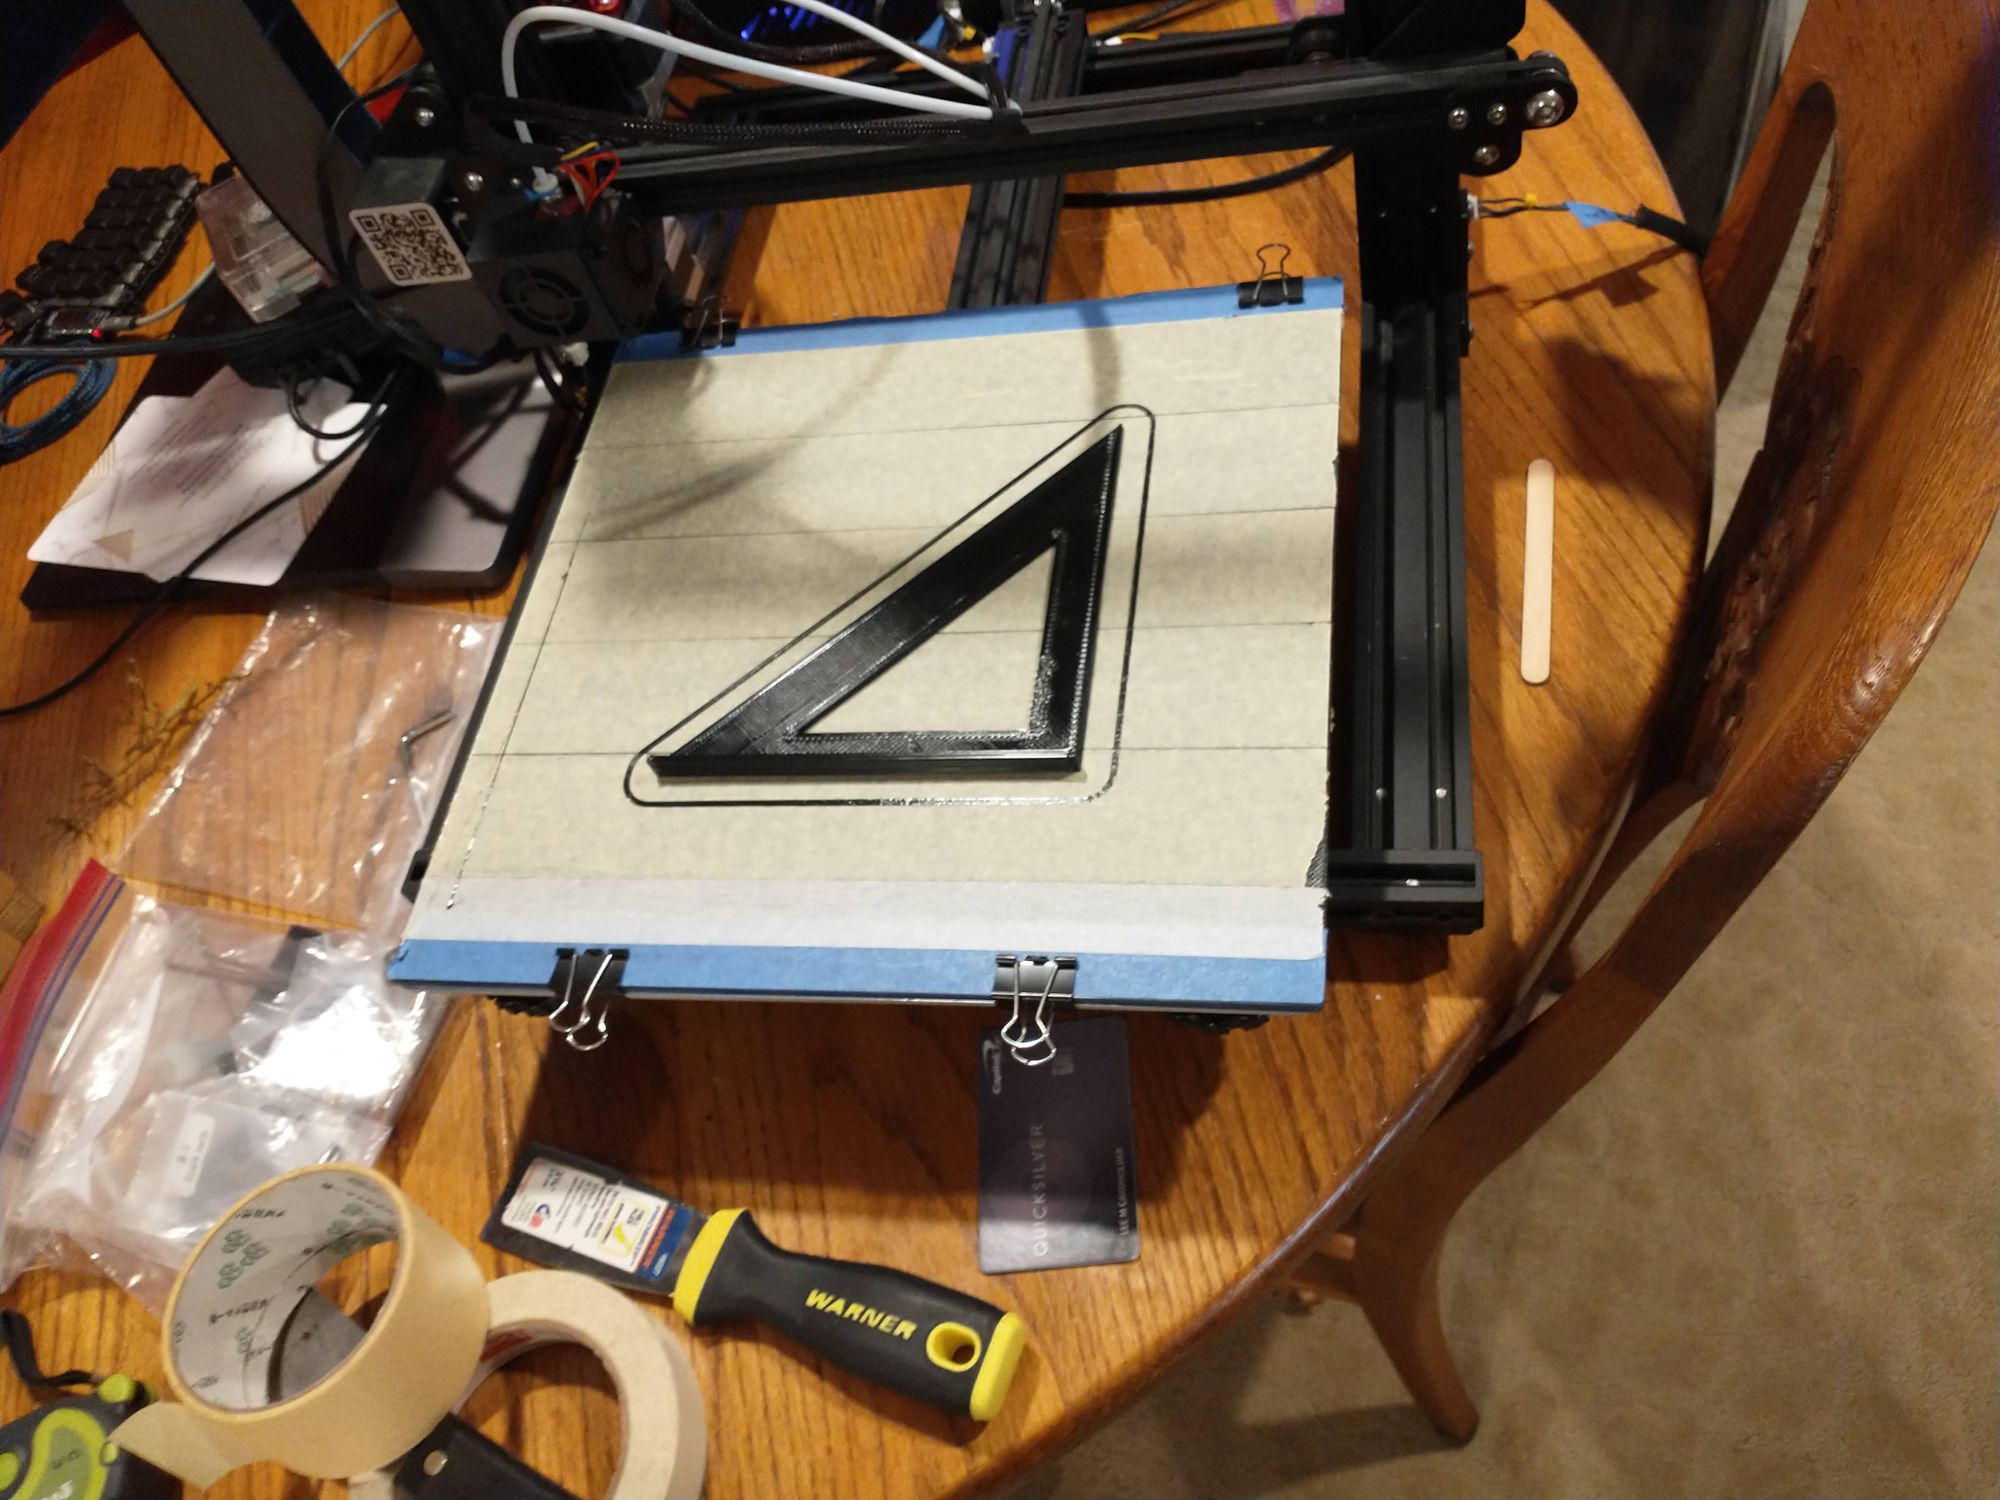
After making a few cuts, I began to realize that I was missing an essential tool: a square! (What I used to call a triangle when I was younger.)
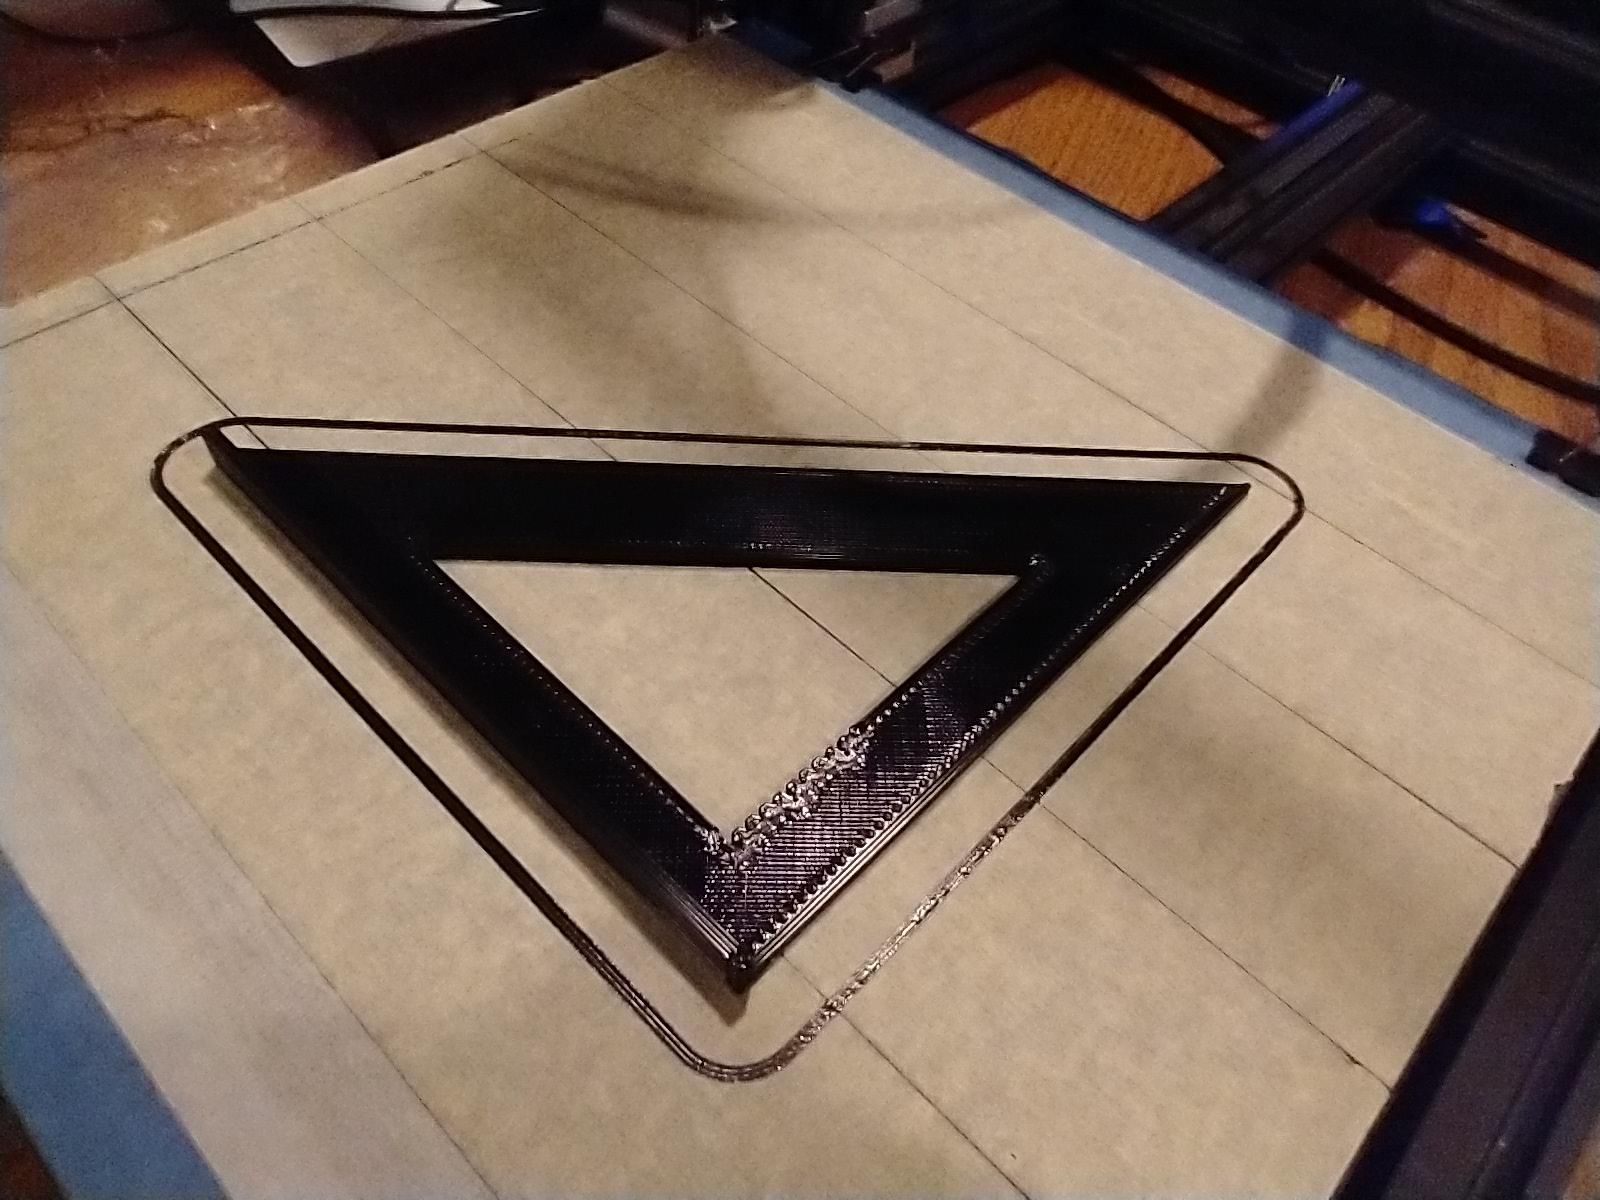
Since driving to the lumber yard and purchasing one seemed like too much of a hassle and expense, I designed one on the computer and 3D printed it. Overall it took about 2 hours, but it wasn't perfect on the first try. As you can see in the pictures below, the 3D printer's bed liner stuck to it a little too well, but it still seems to serve its purpose:
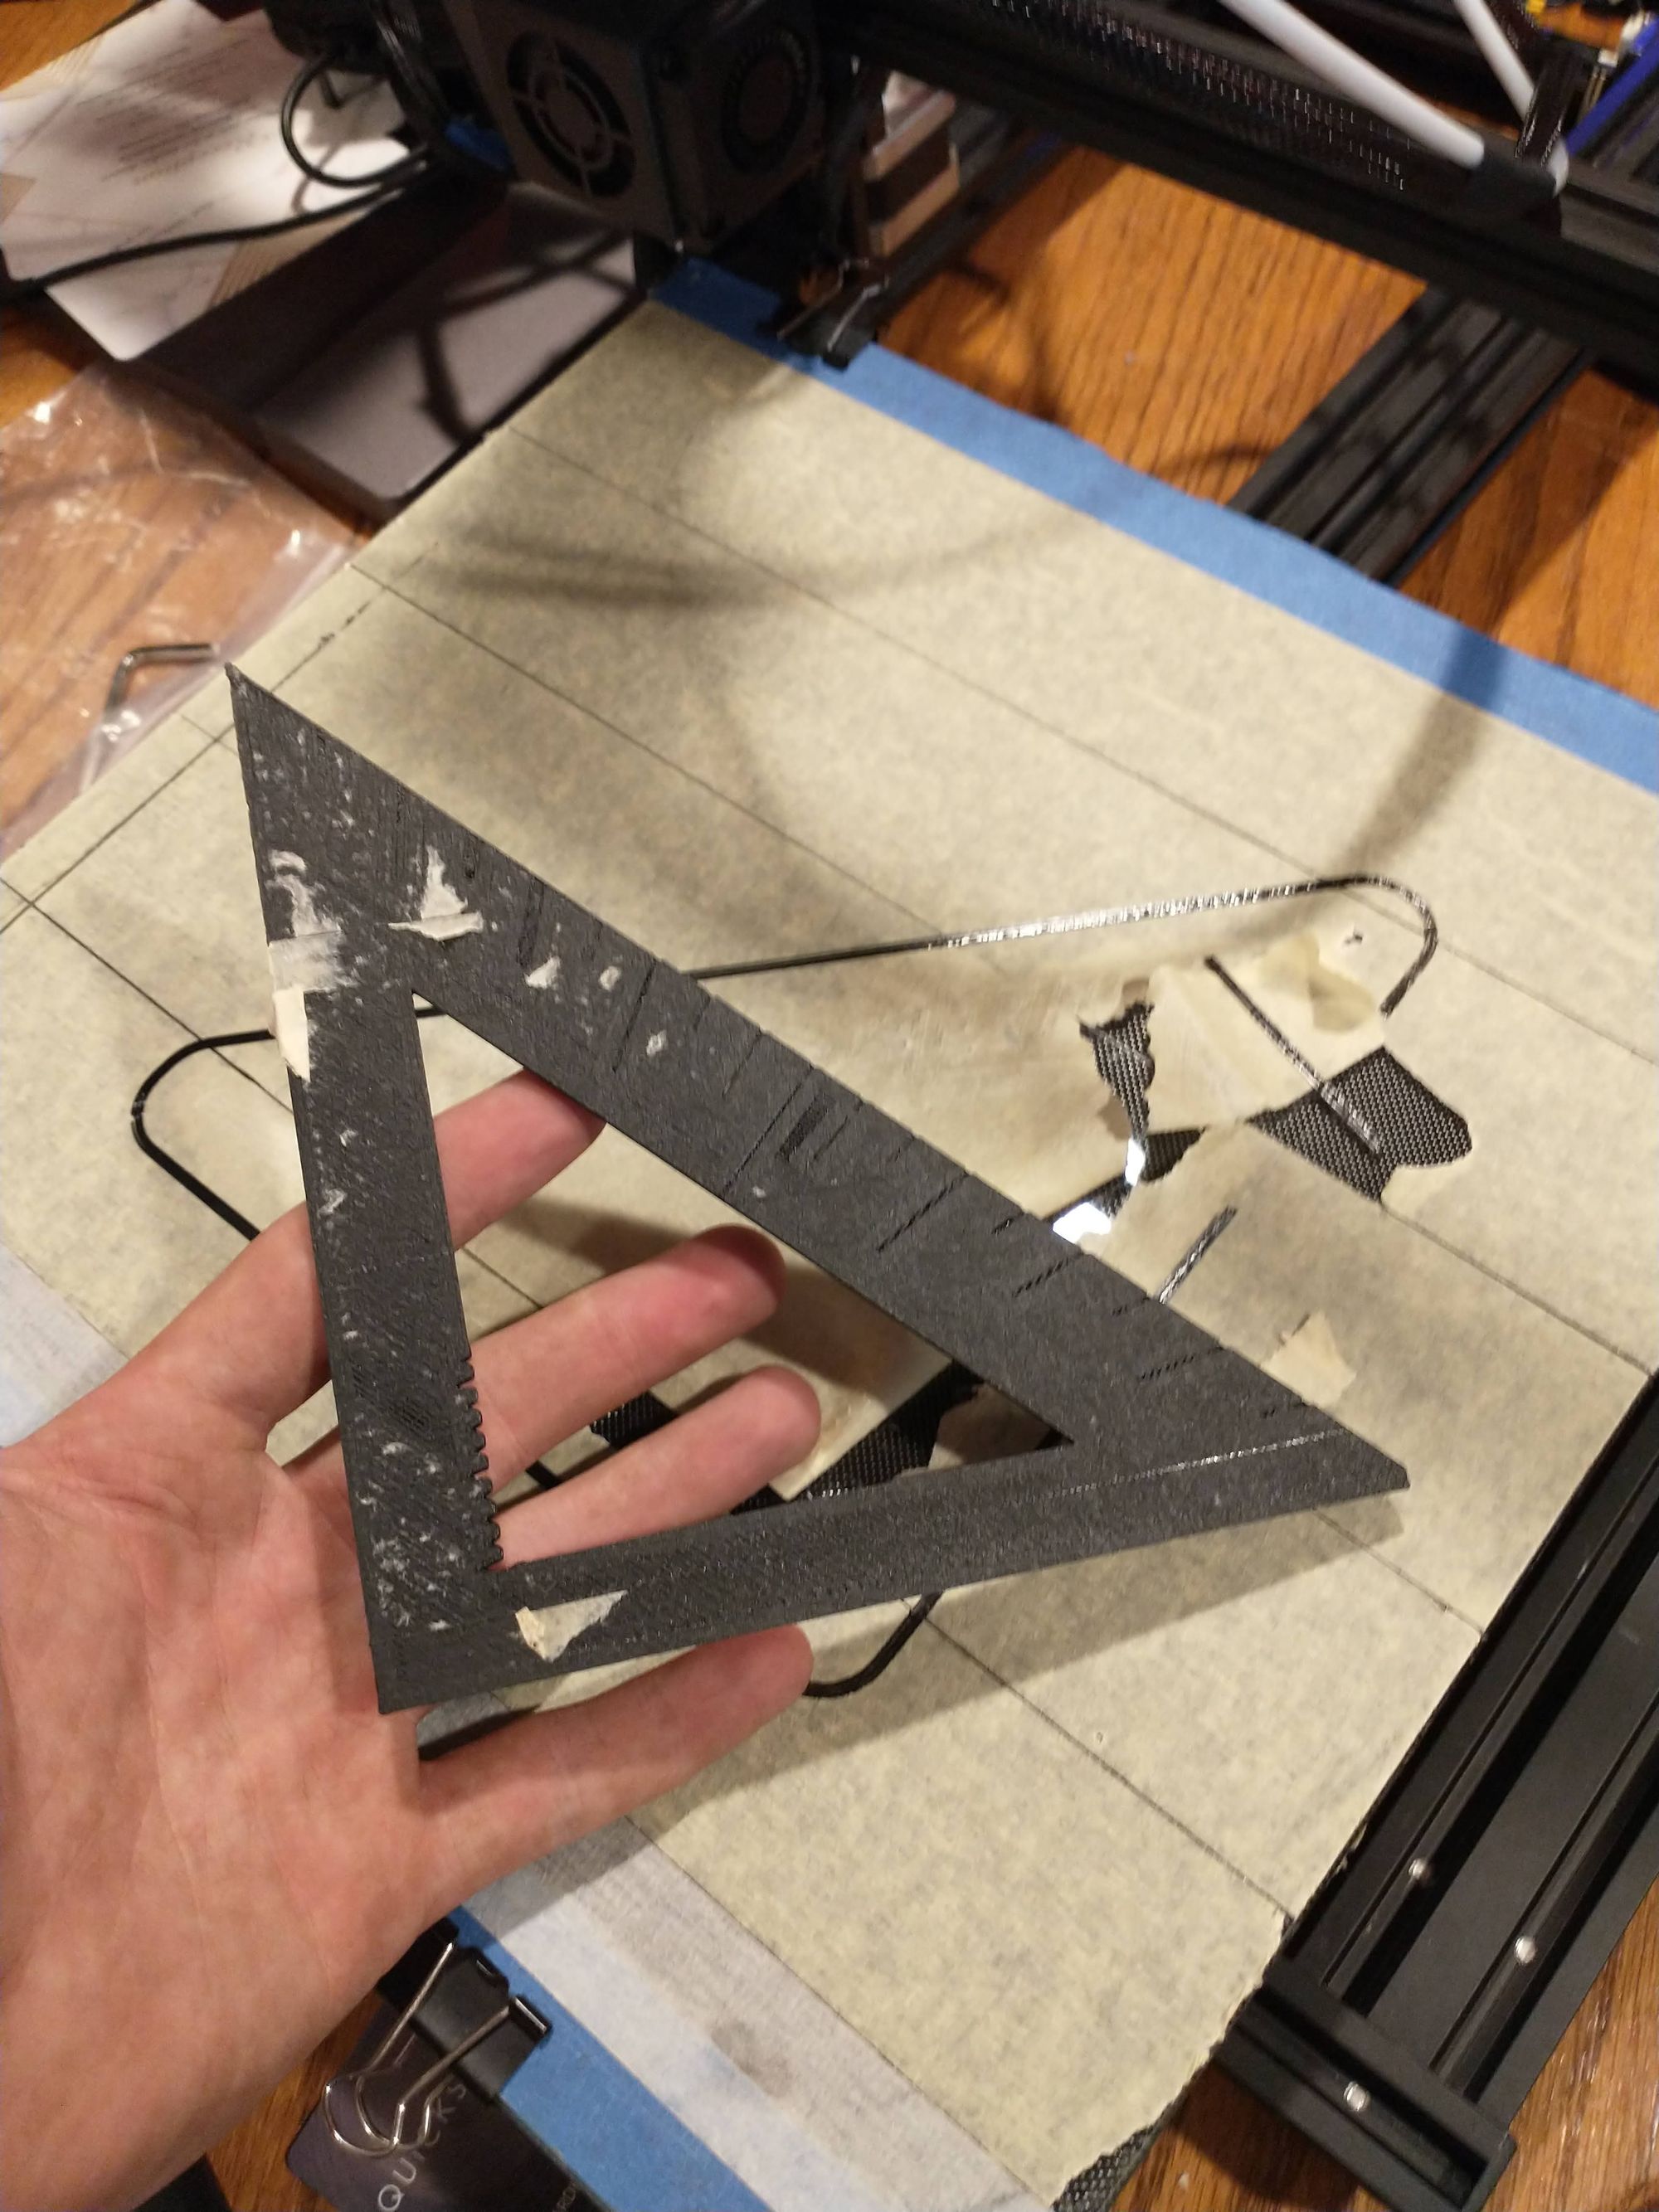
I'm going to make a post later to tell how I improved on the design of this square and make the files open source so anyone can use or modify them.
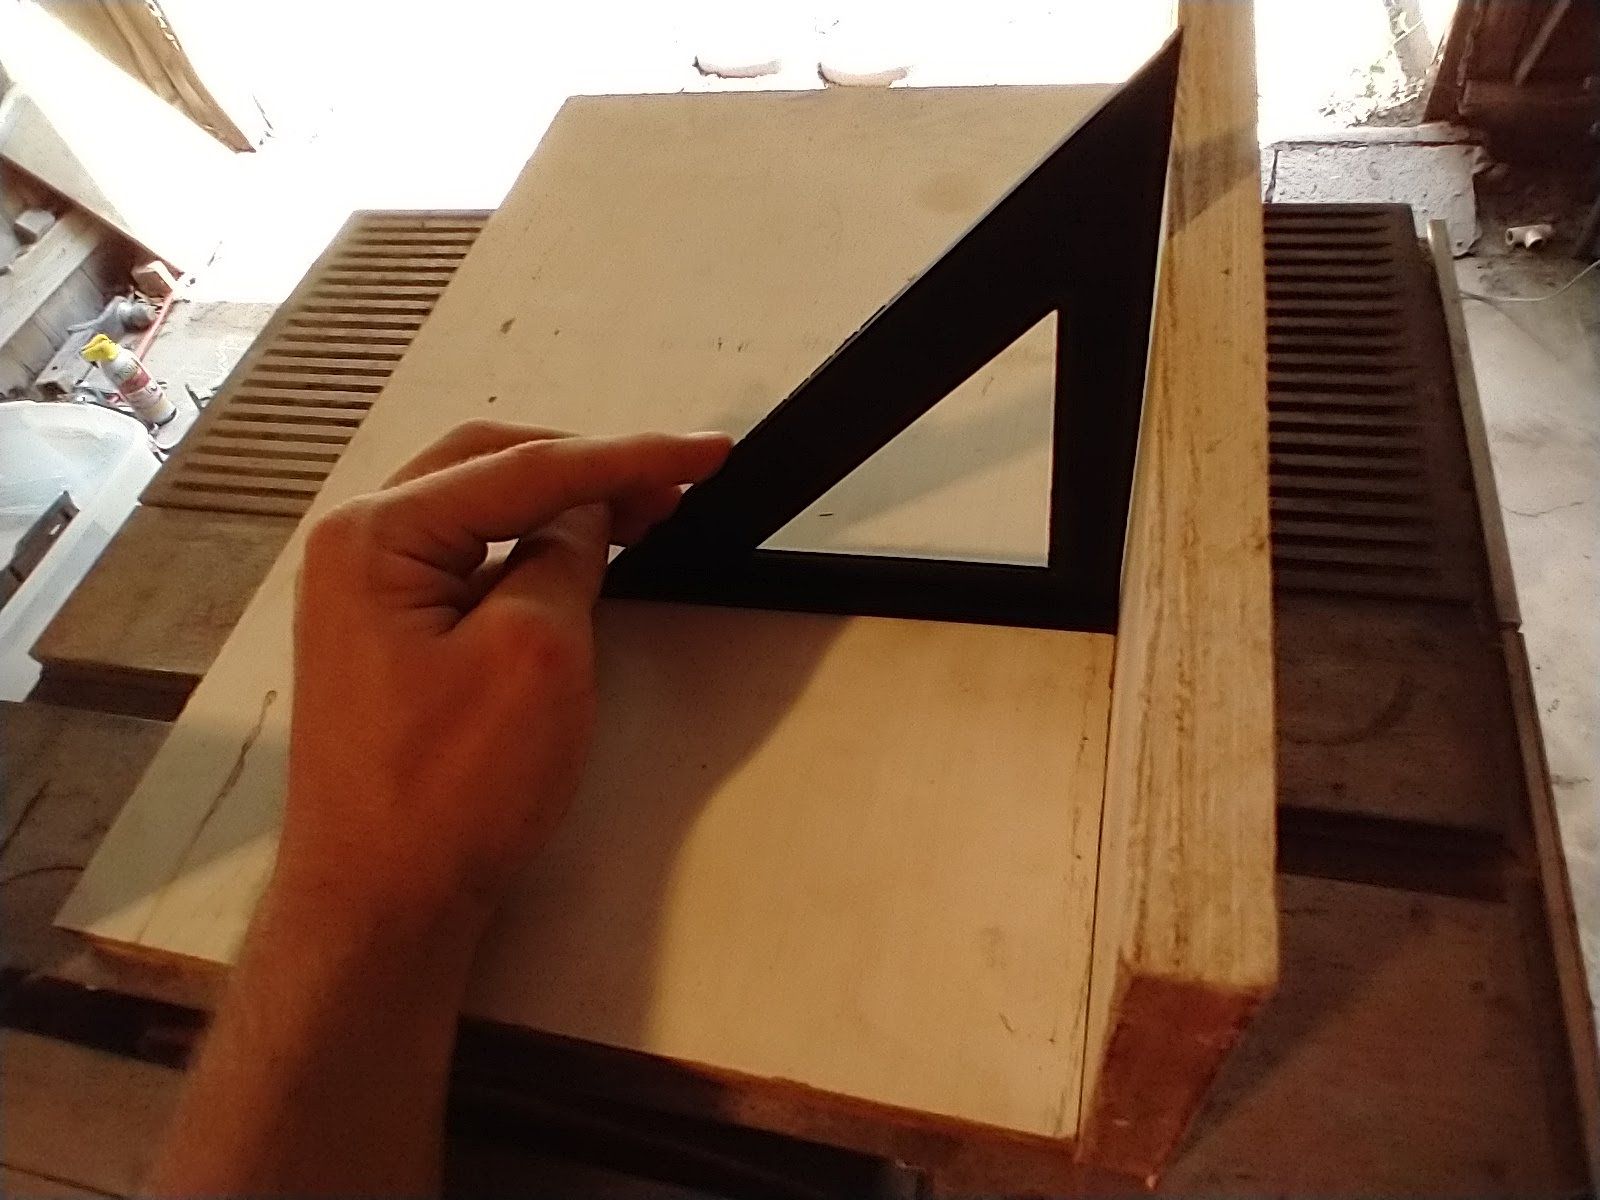
I used my nifty new phone stand to record this video of me finding the centerline of my boards using my less-than-perfect square. The results were actually spot on!
making a backstop for the sled
The most important part of a table saw sled is the backstop. Since I have a whole engineering degree, I thought I'd be able to wing it... I was almost wrong.
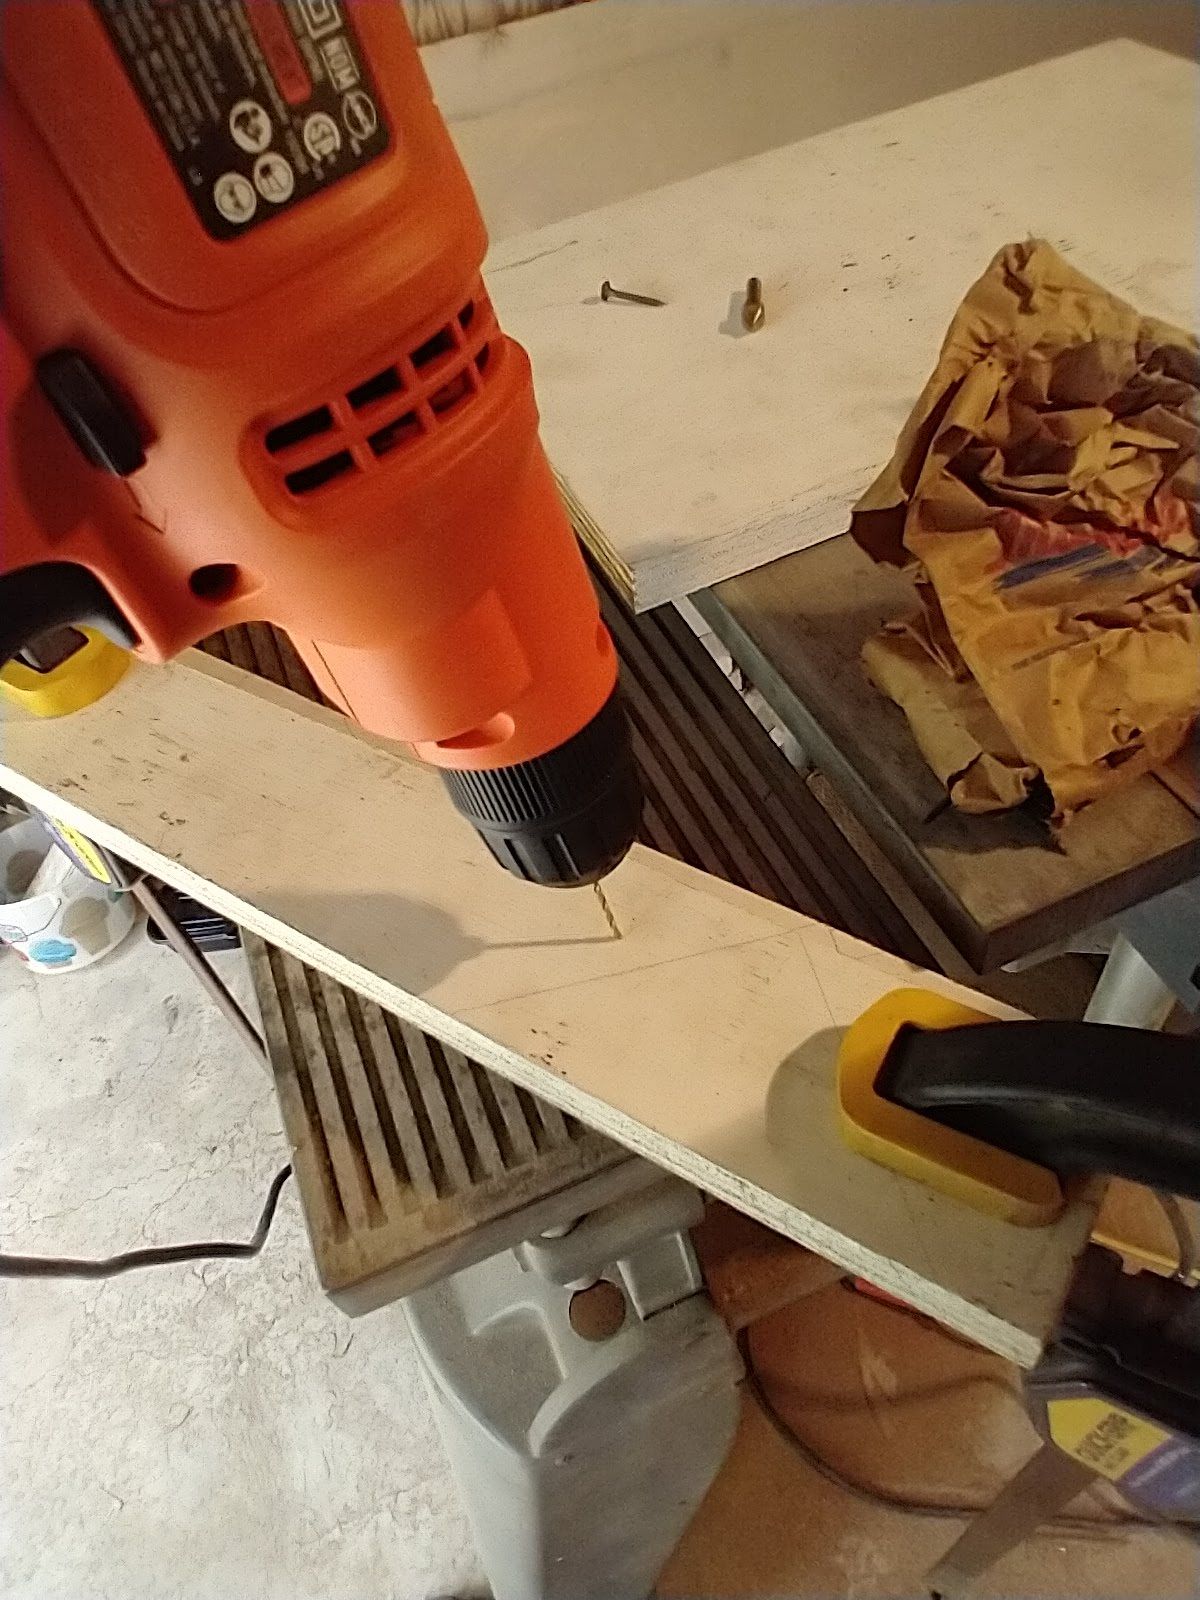
Since I don't know any joining techniques yet and most of them require a functioning sled anyway, I decided to just screw some boards together to see if it would work:
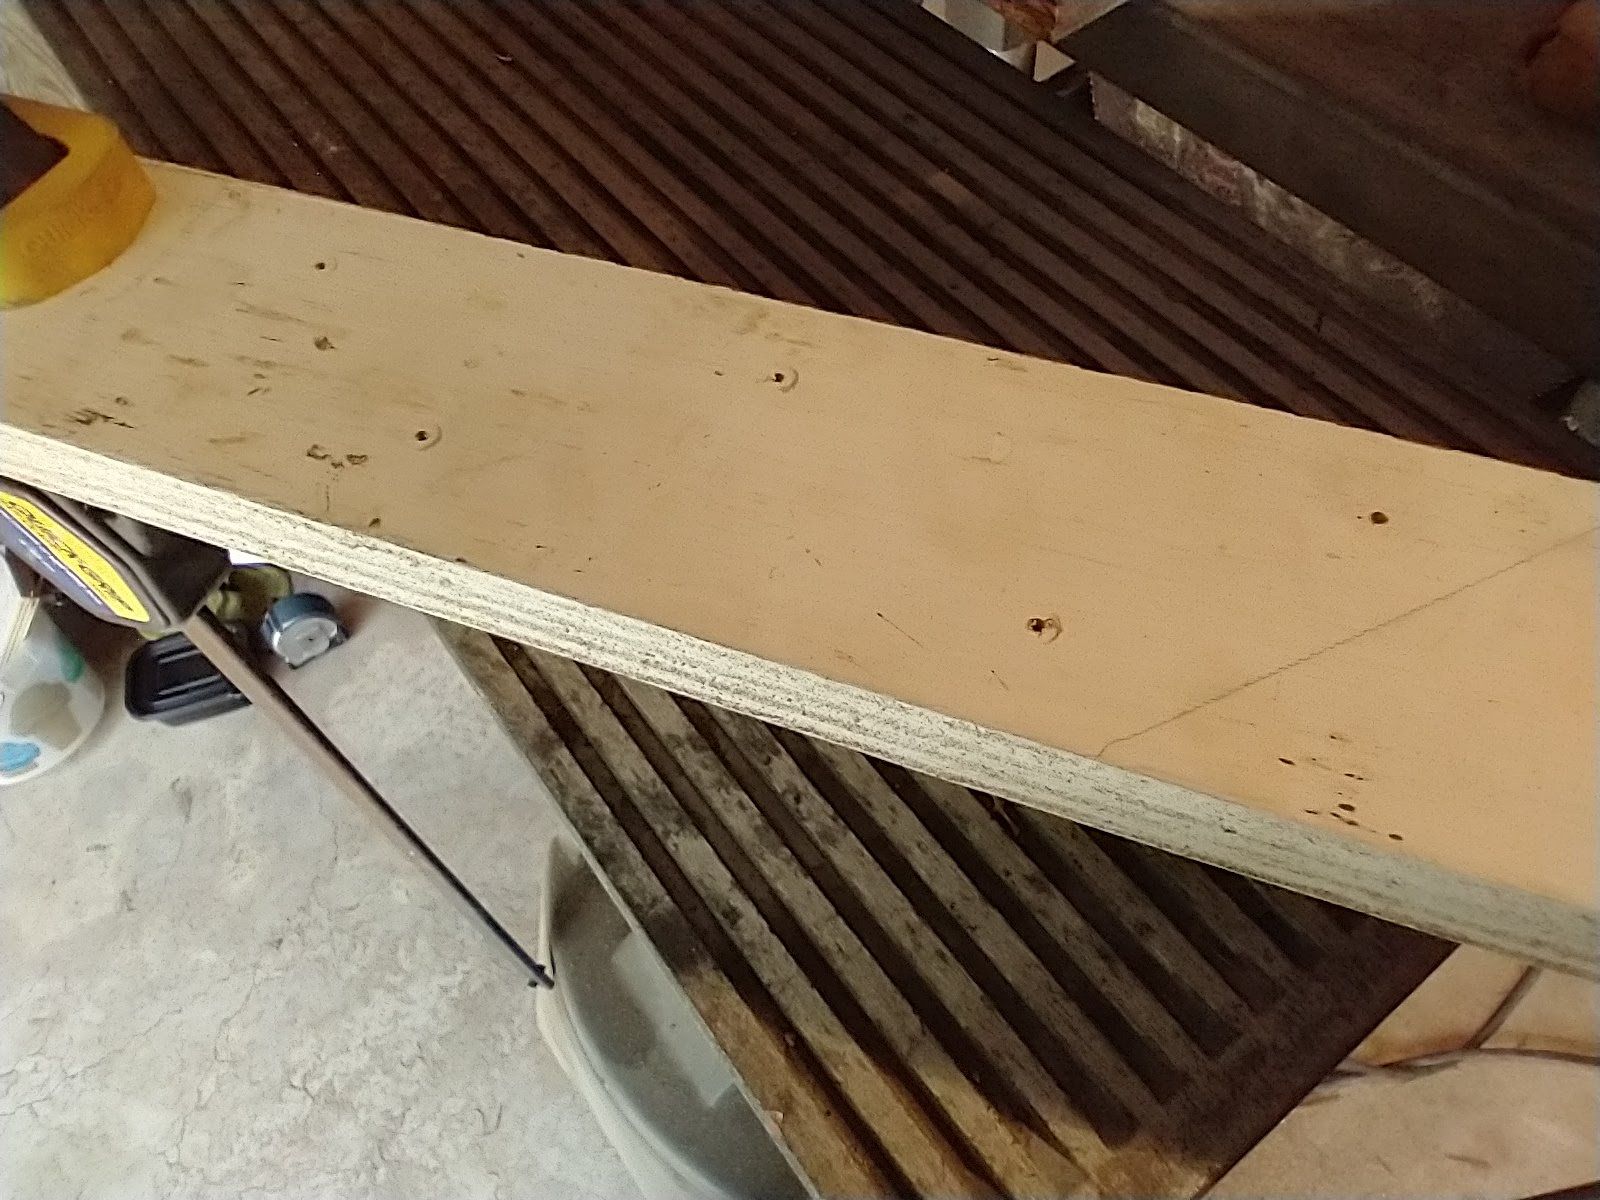
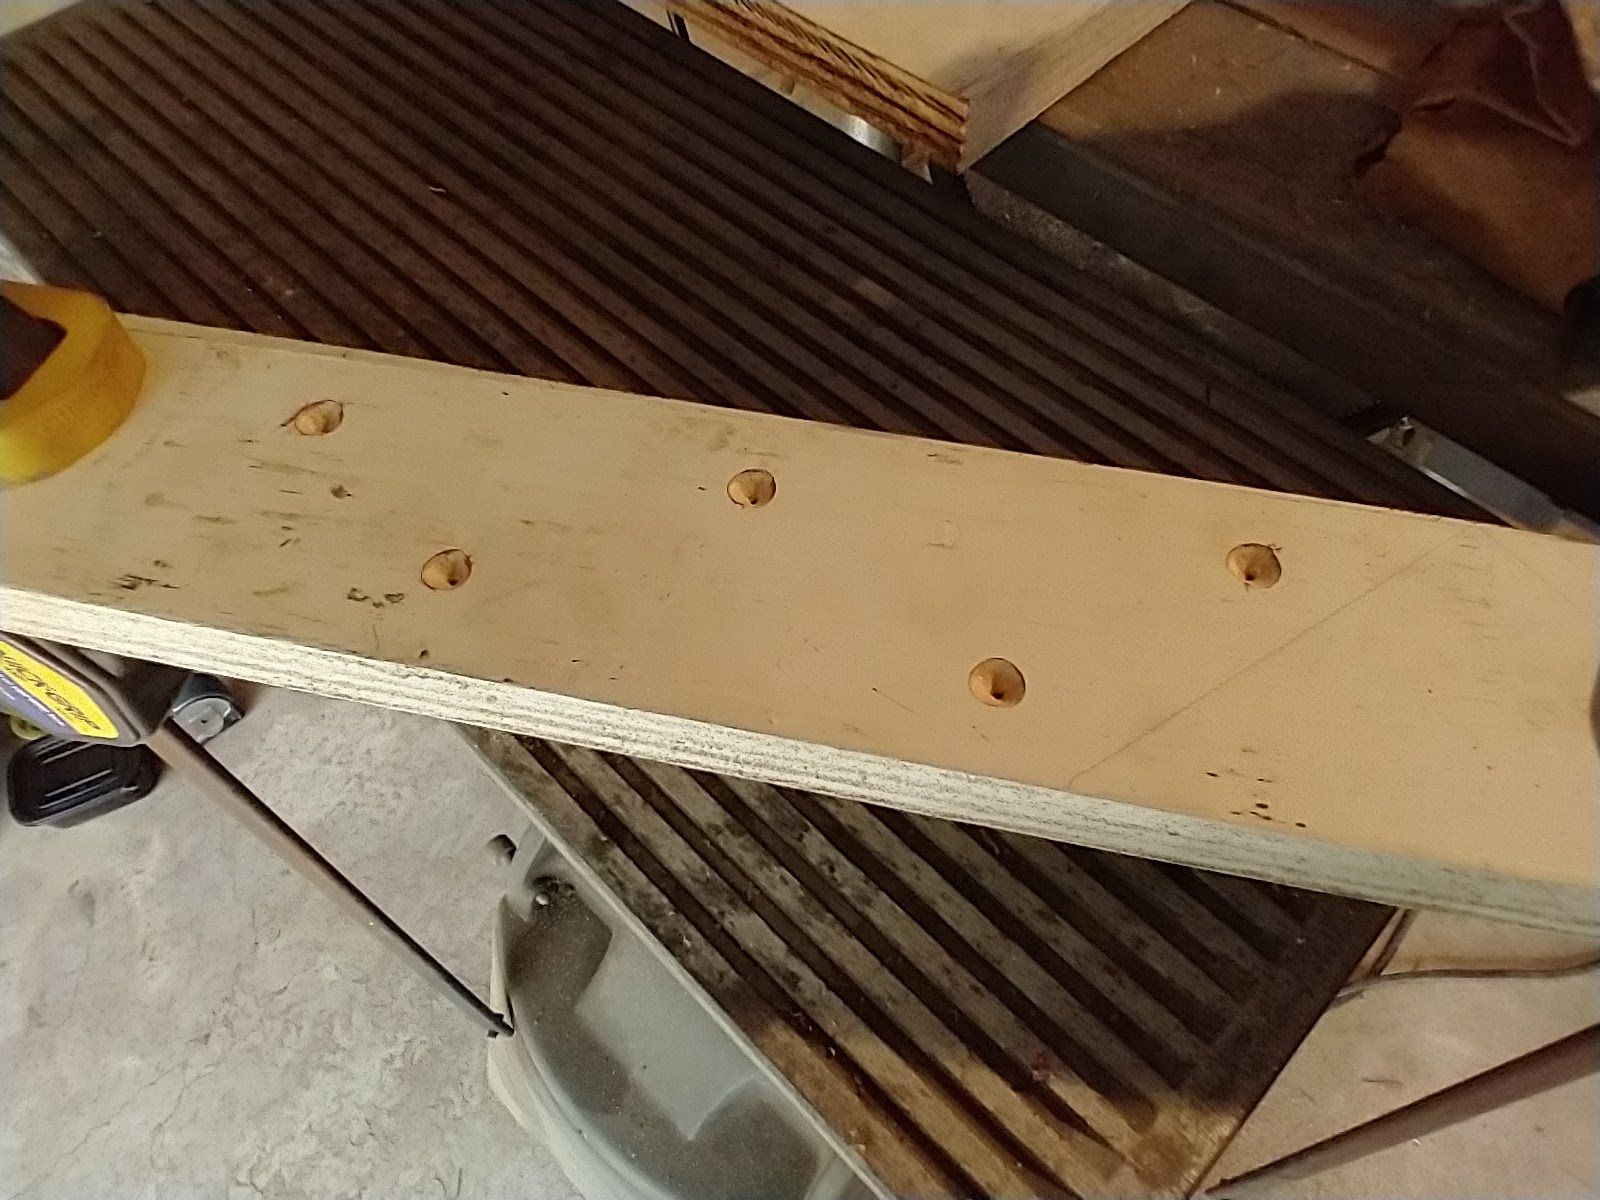
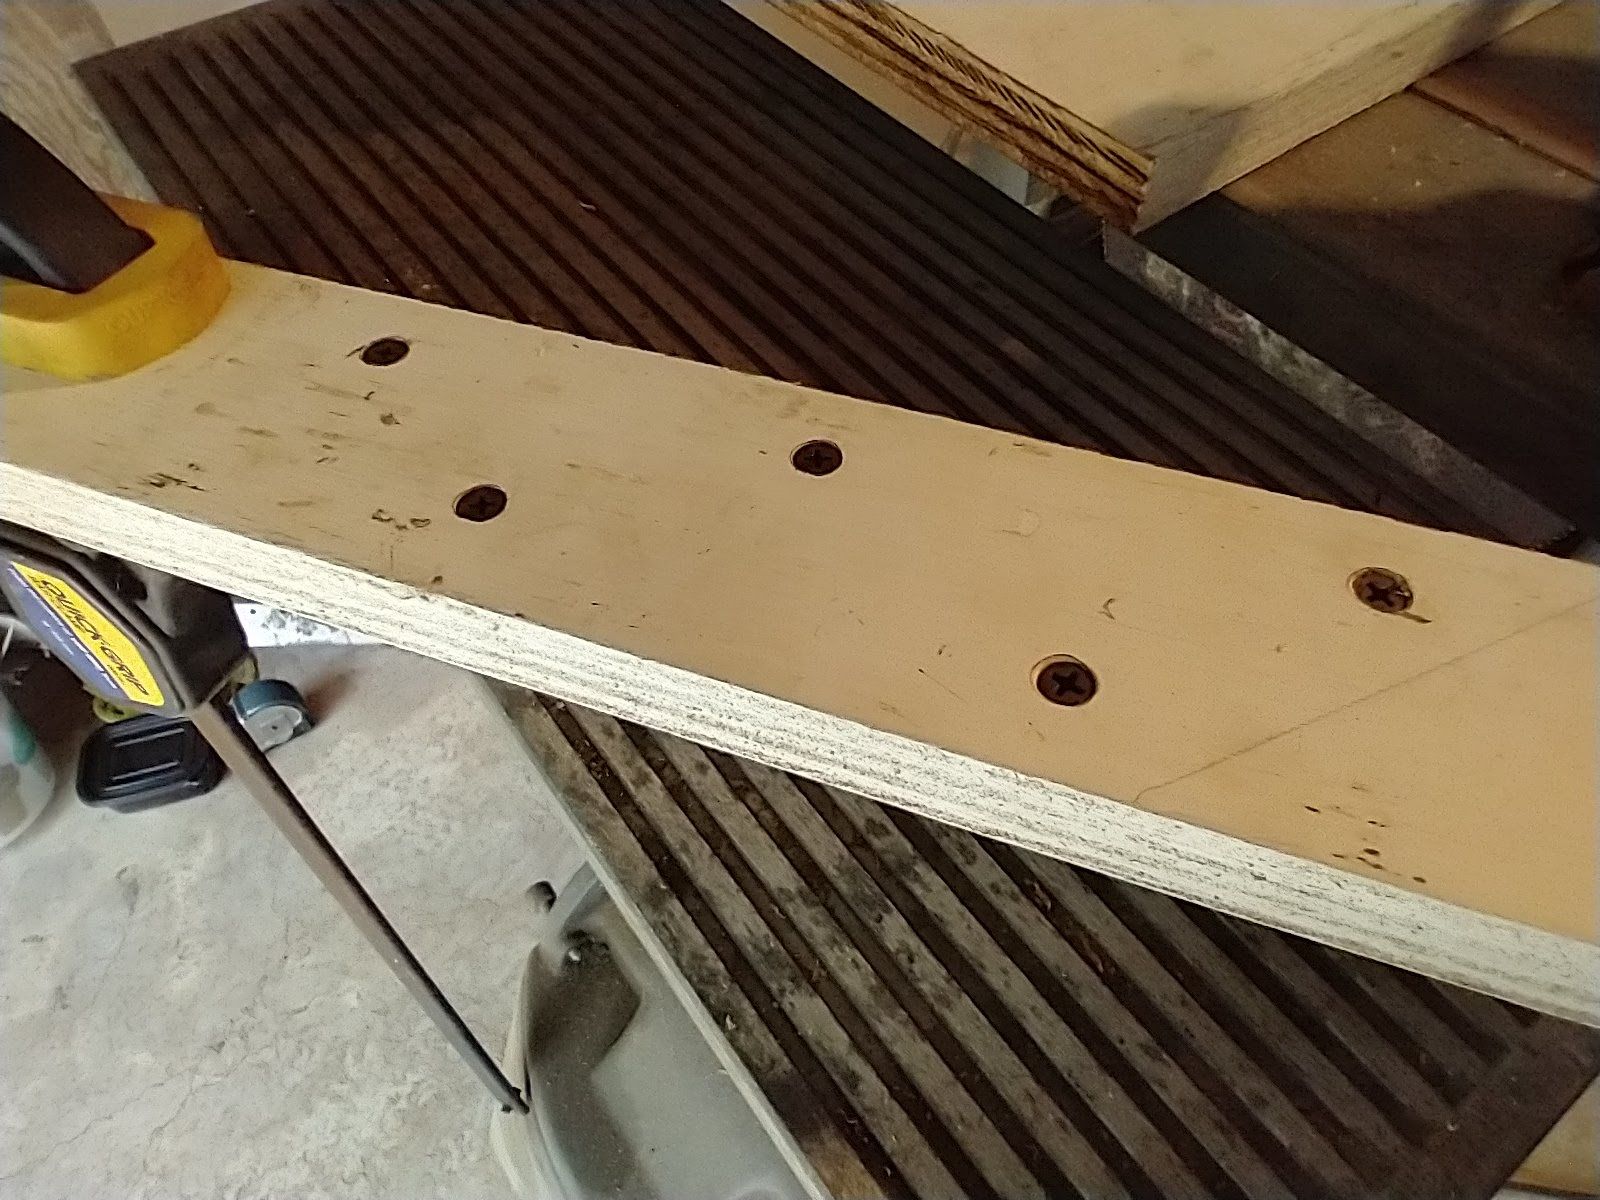
It all looked fine until I looked at the side. This is what happens when you don't measure!
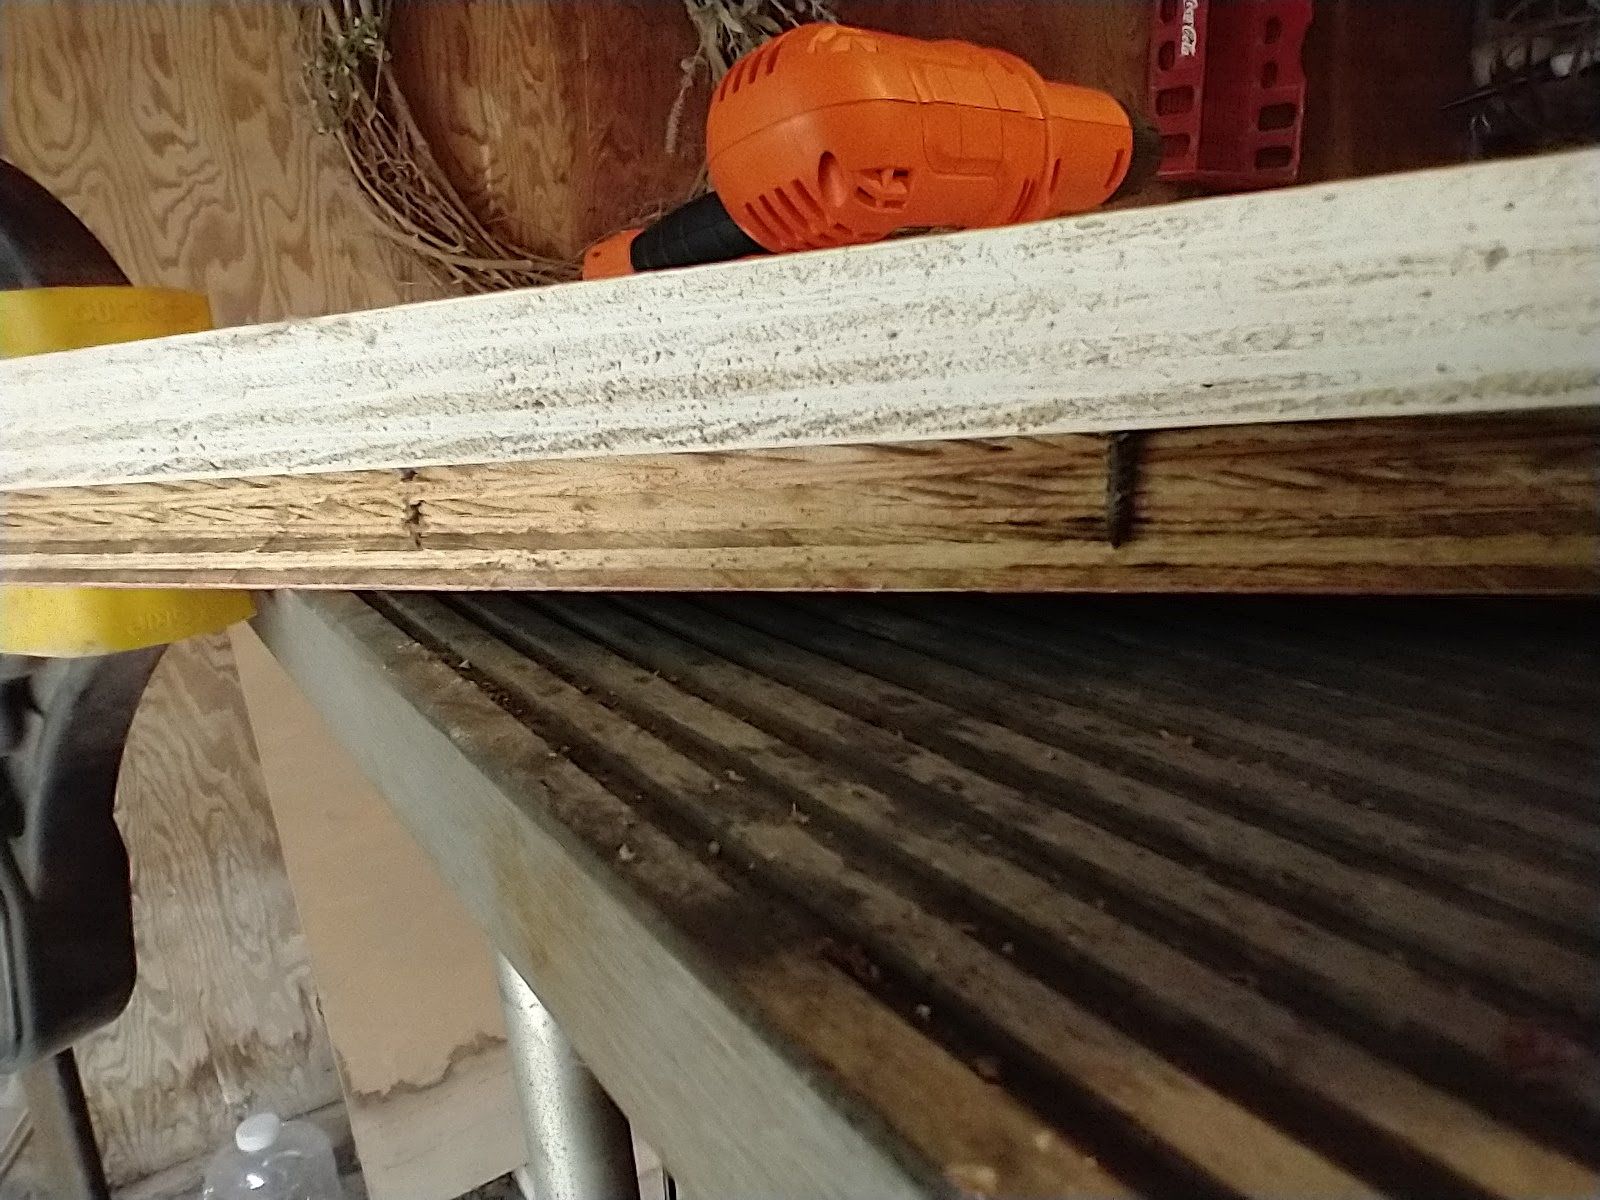
I redrilled the holes and pushed on to attach the backstop to the rest of the sled:
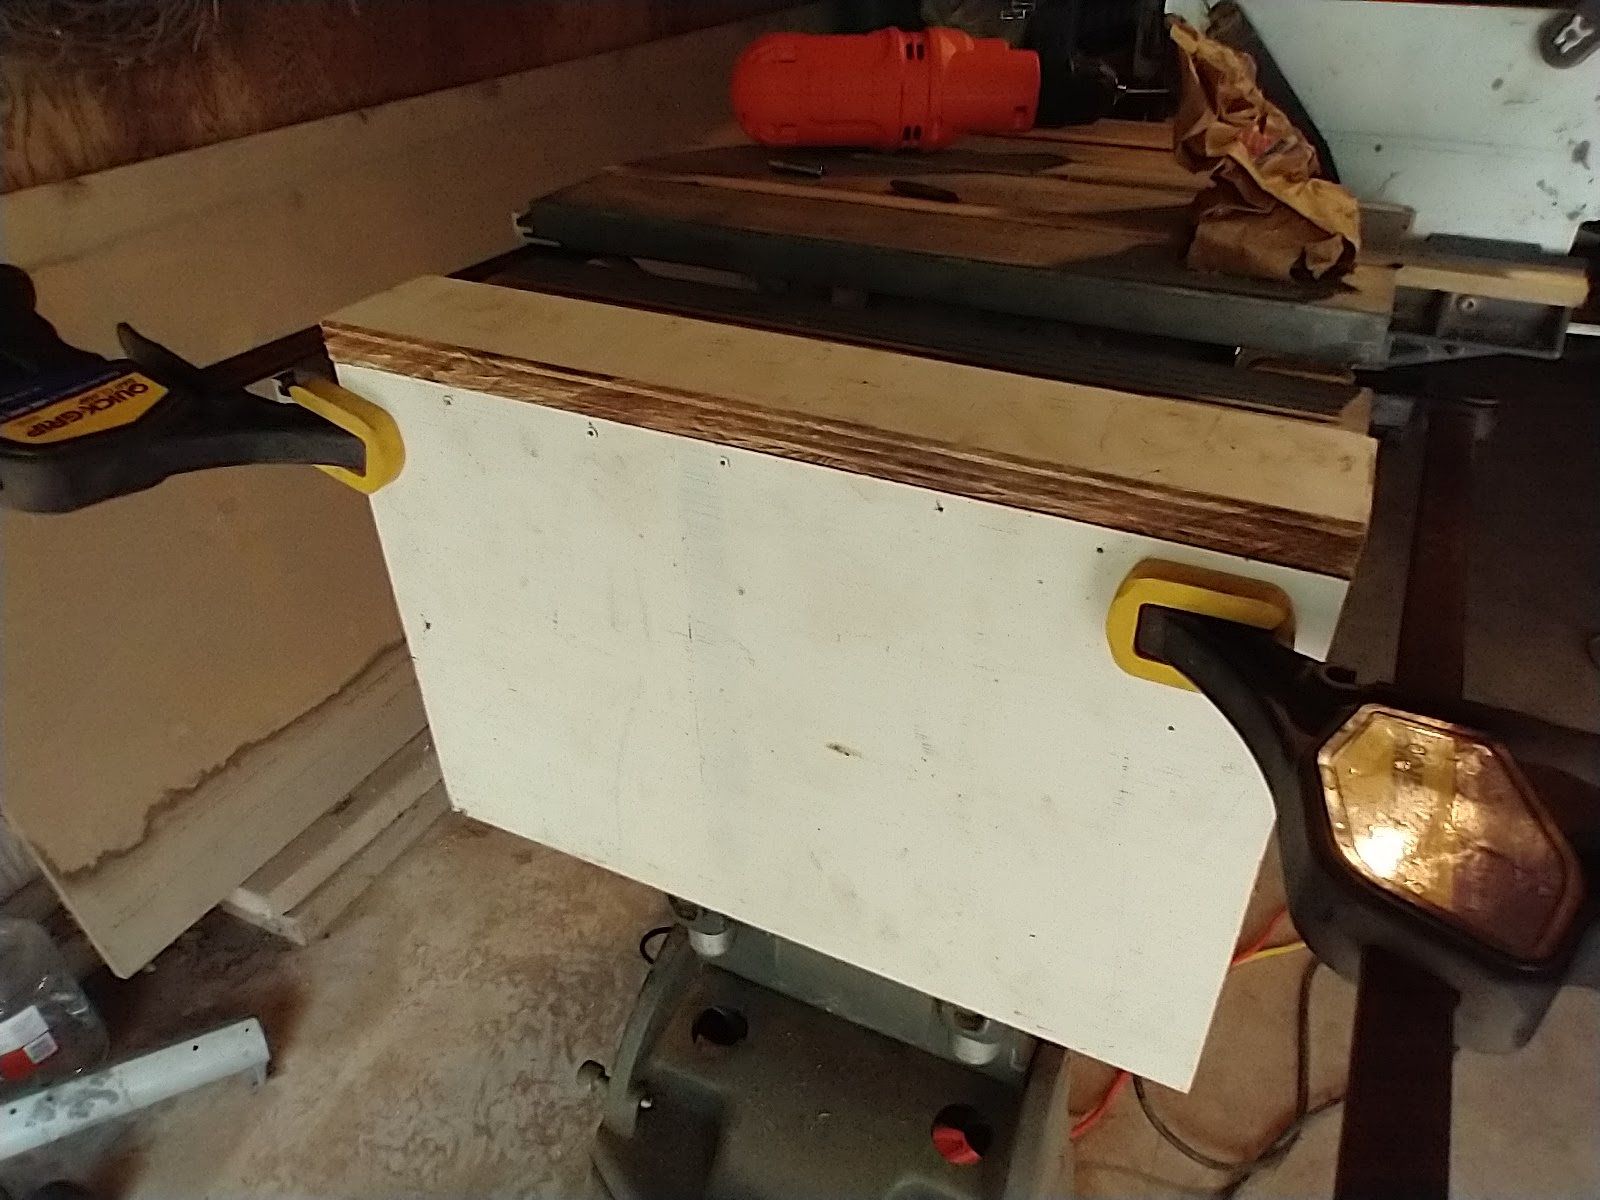

putting it all together
The next step was to attach the sled to the rails I made from the scrap flooring earlier. I actually had to look around for screws that were slightly shorter to make everything fit. Fortunately, I found some at the bottom of the toolbox! Notice how I drew lines this time to make sure I didn't miss with the screws?


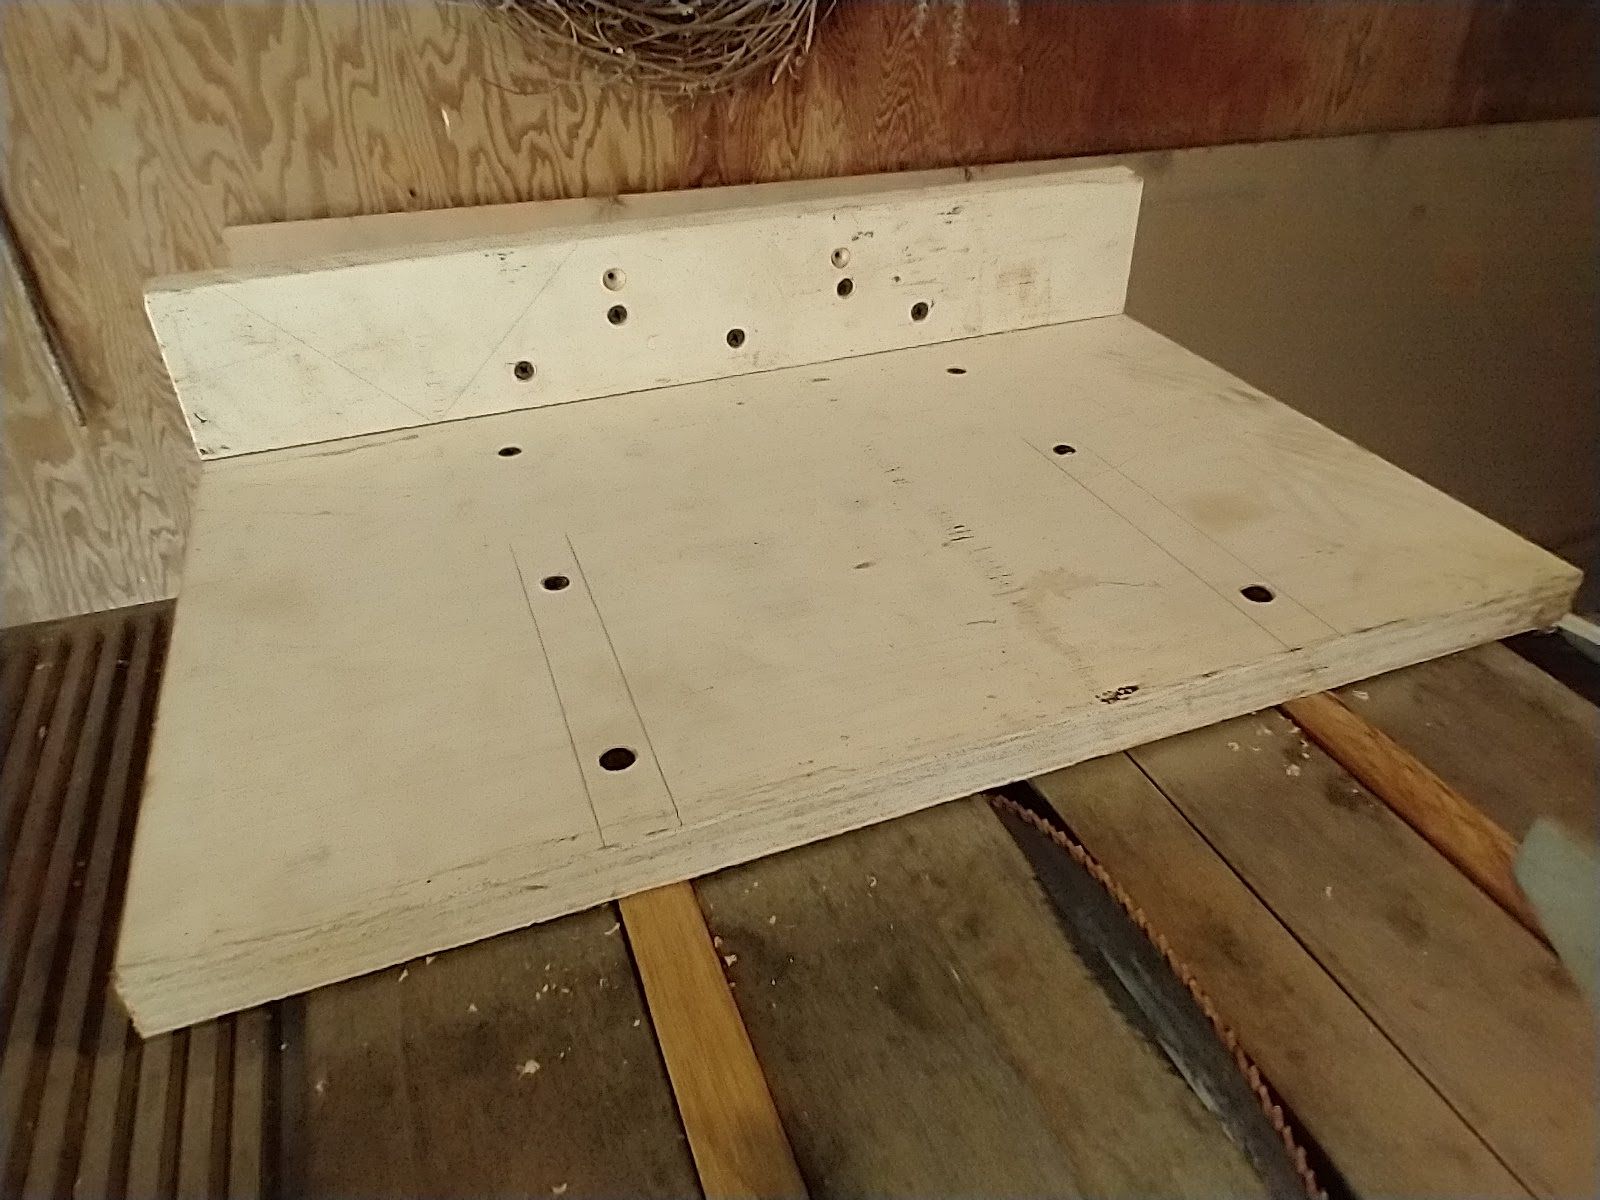
You can see that I used my 3D printed square to make sure everything lined up well!
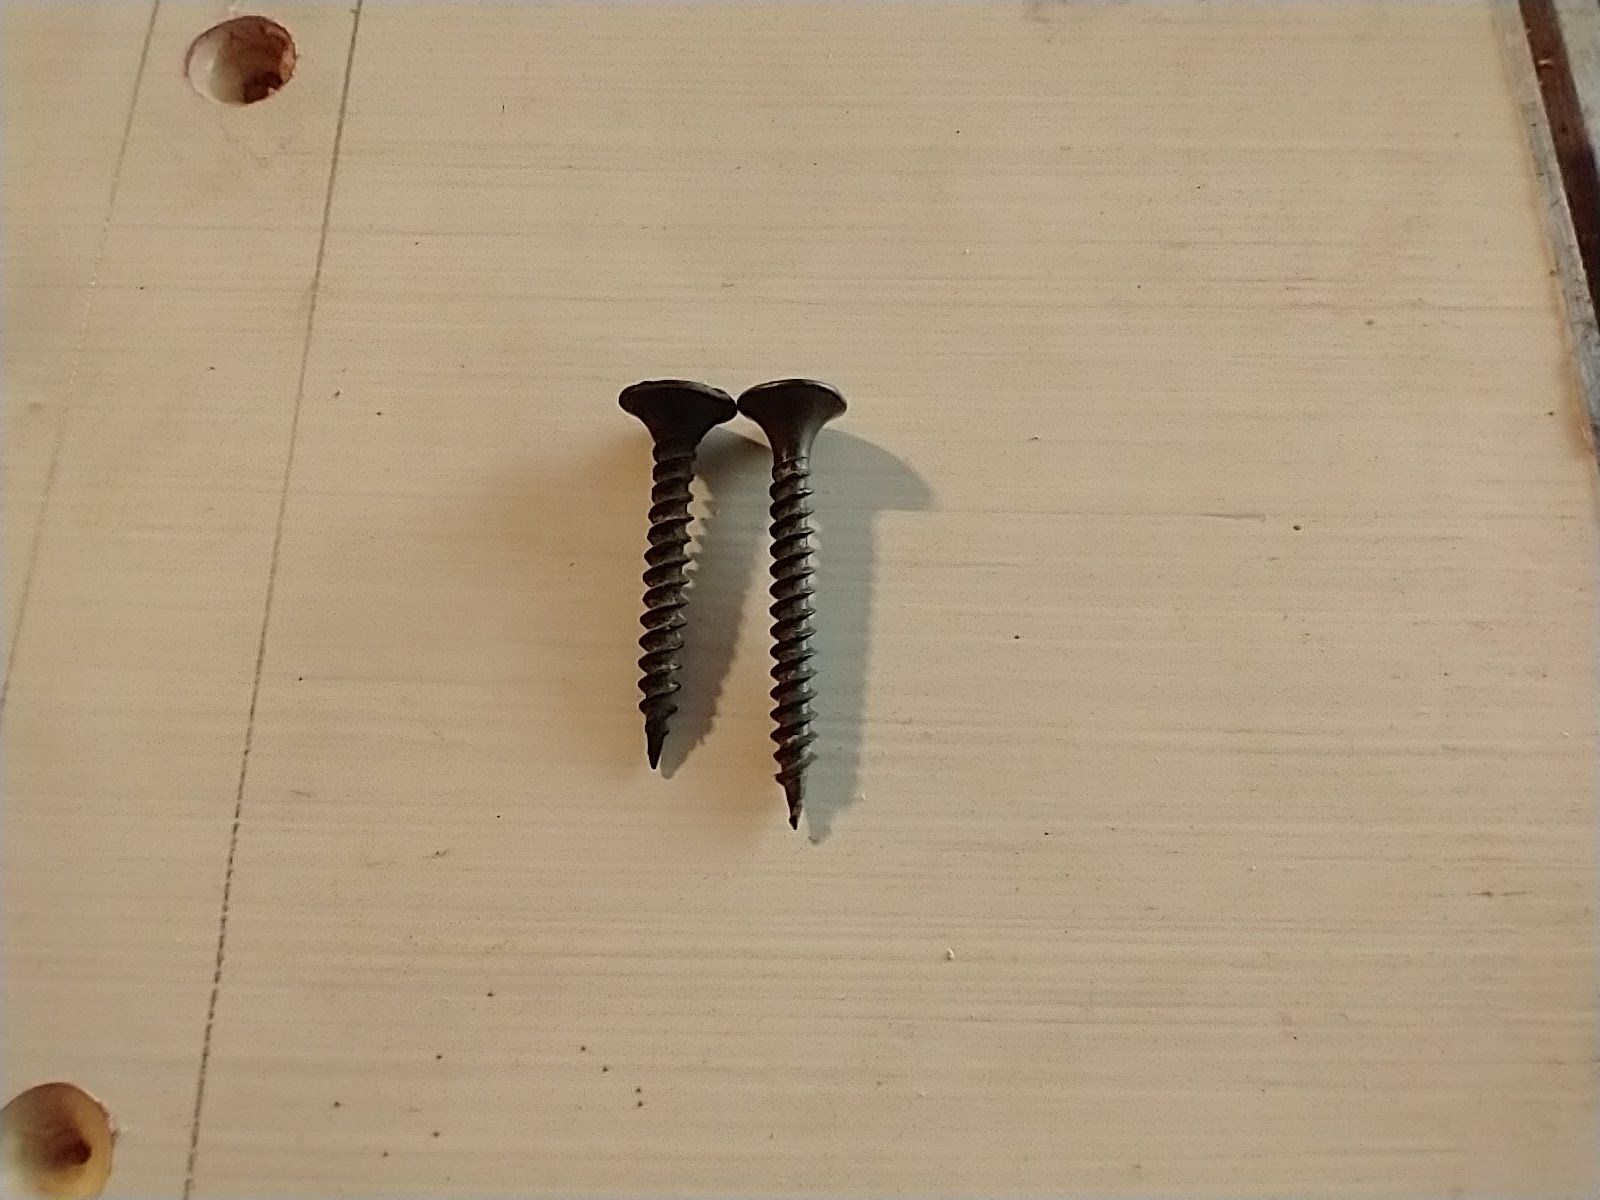
For the astute observers out there, you've noticed that there's a screw directly in the path of the blade in one of my pictures above. Fear not! I removed it before it could cause a hazard.
first cut with the new sled!
Here it is! The moment of truth. Cutting the slot in the sled! (I went pretty slowly just to make sure everything was holding together.)
In this video, you can almost hear my brain working over the noise of the saw as I discover what those funky looking spring things at the back of the saw do.
Unfortunately, my table saw blade is too short to make the cuts I need to make with it; but: a day's never wasted if you learn something new! All in all, today was a great success!
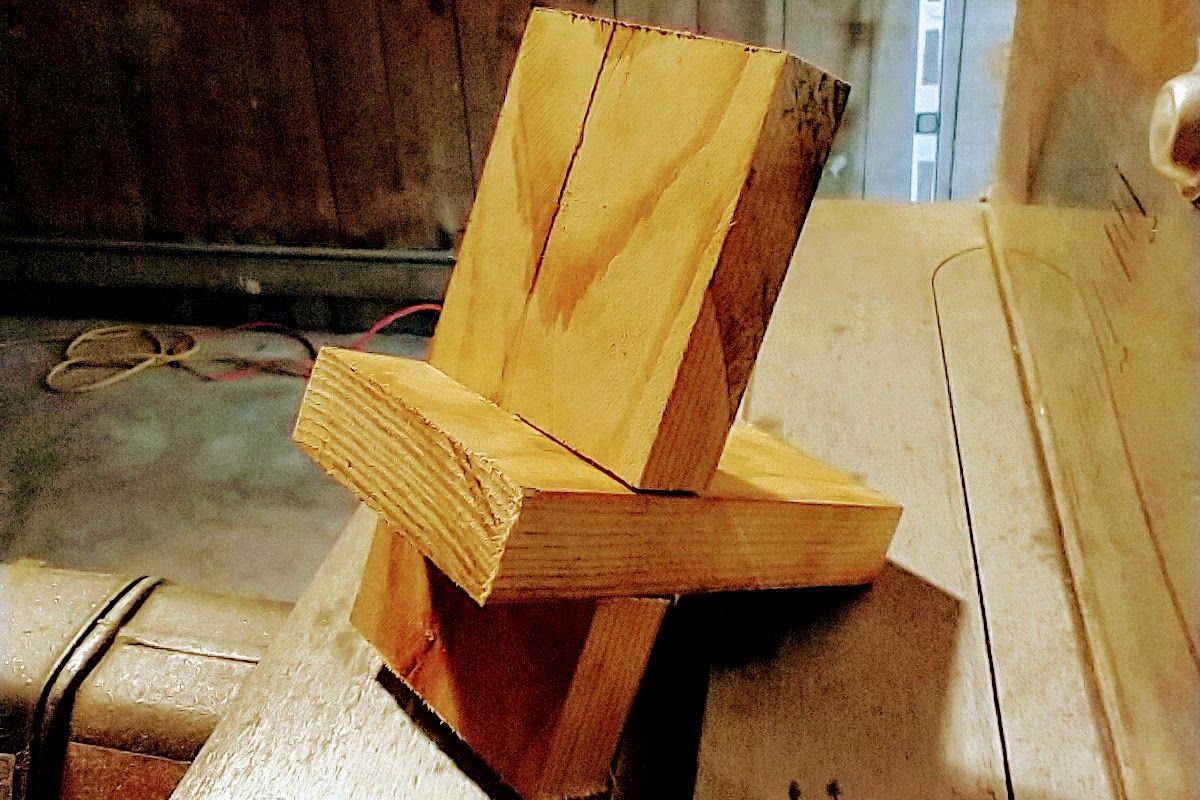
For now, I'm back to doing things the old fashioned way:
subscribe to get email updates and support my work
I'll have to come back to redesign this sled using much better carpentry techniques. I'll need to change some of its dimensions and design before I can use it to make the cuts for my desk. Also, keep an eye on your email for how I design and make things on my 3D printer!
You can click the following link or the subscribe button at the bottom of the page to support my work and get an email every time I make a new post!