new organ: part 3

When last I left you, I had just finished making all the legs for my new organ console.
Today, I'll attach those legs to the rest of the console! (There'll be lots more clamps!)
 Tate Shannon
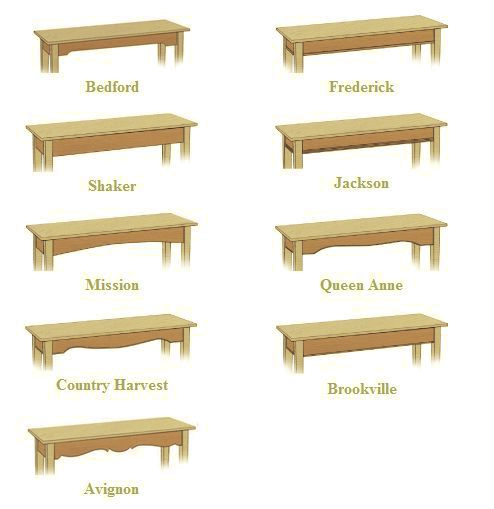
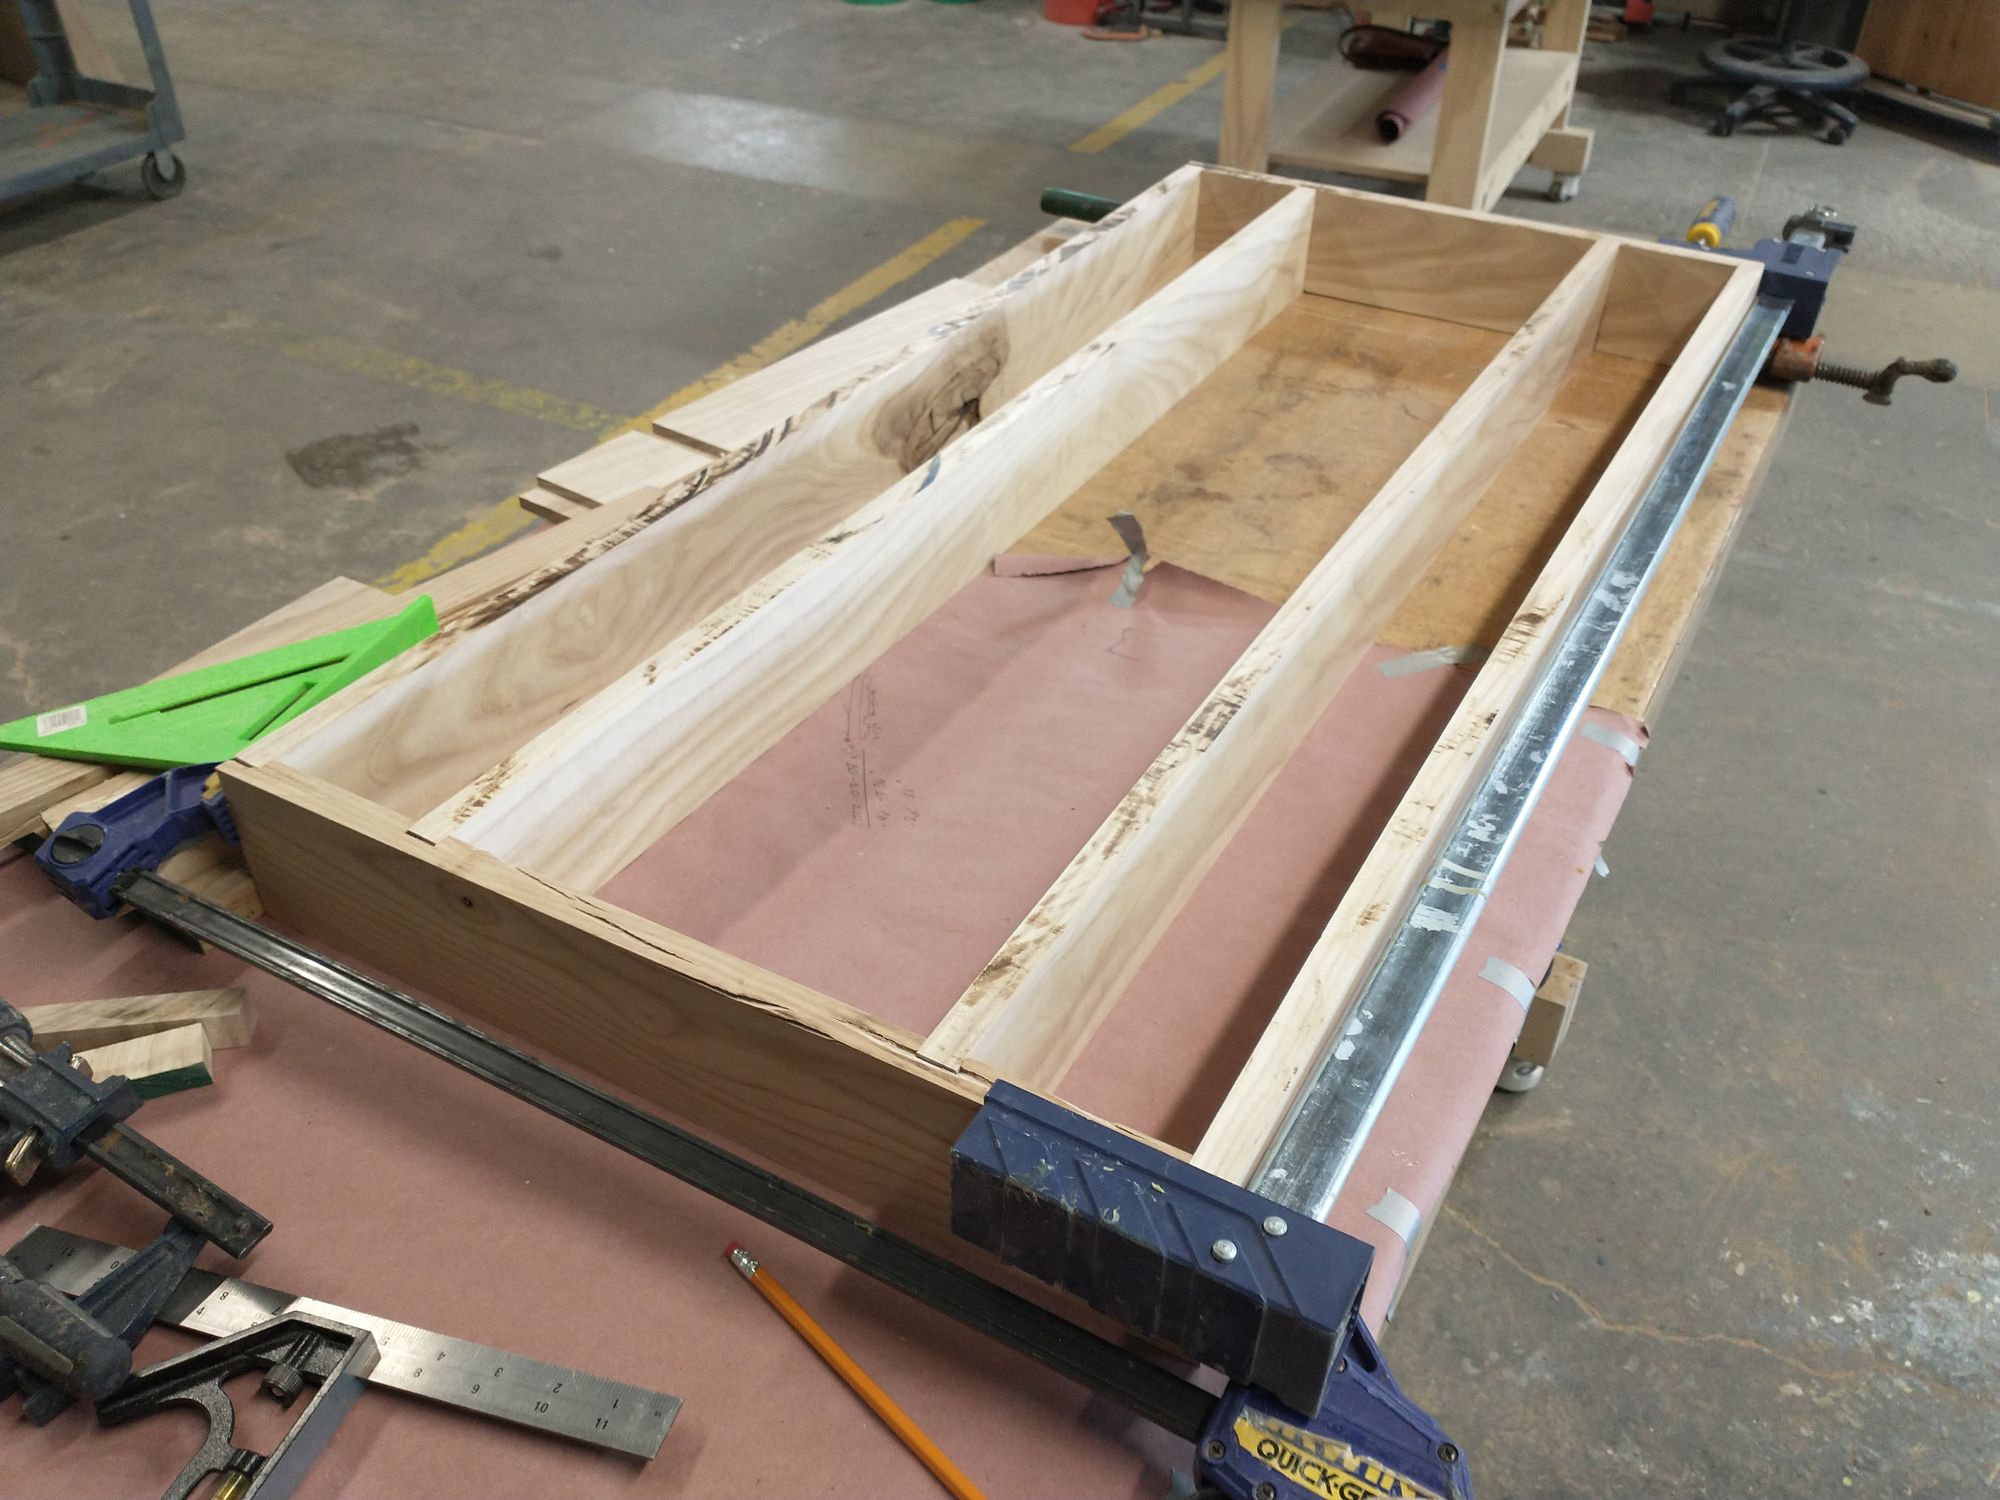
First things first: I need something to attach the legs to the table-top. In most tables, this is accomplished with an apron. Here's what those aprons usually look like:
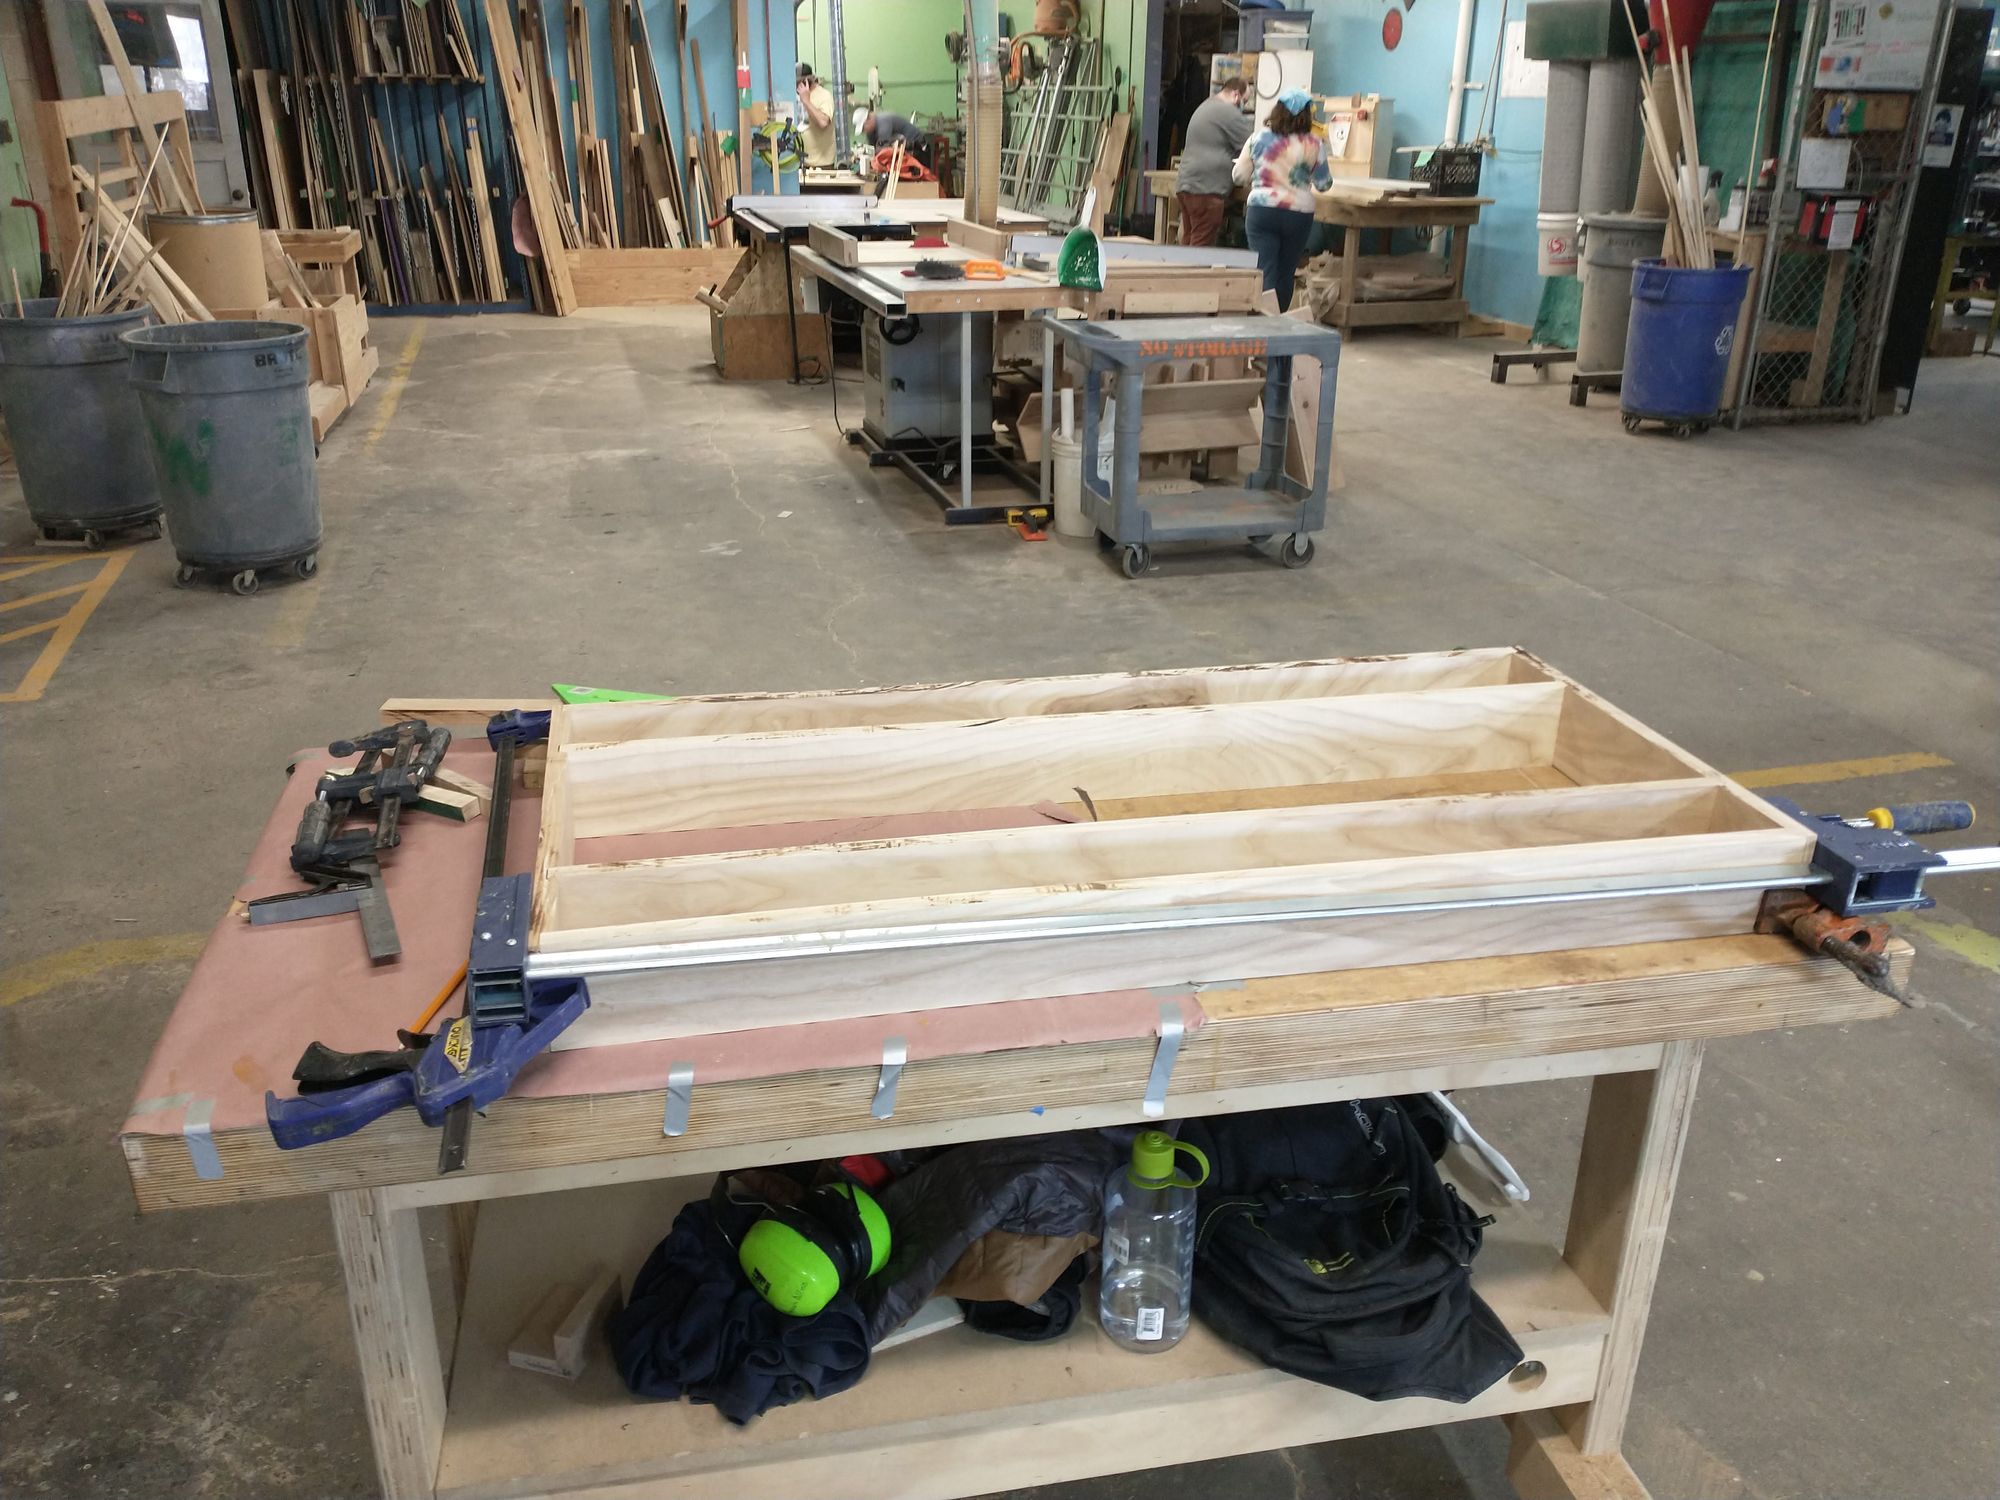
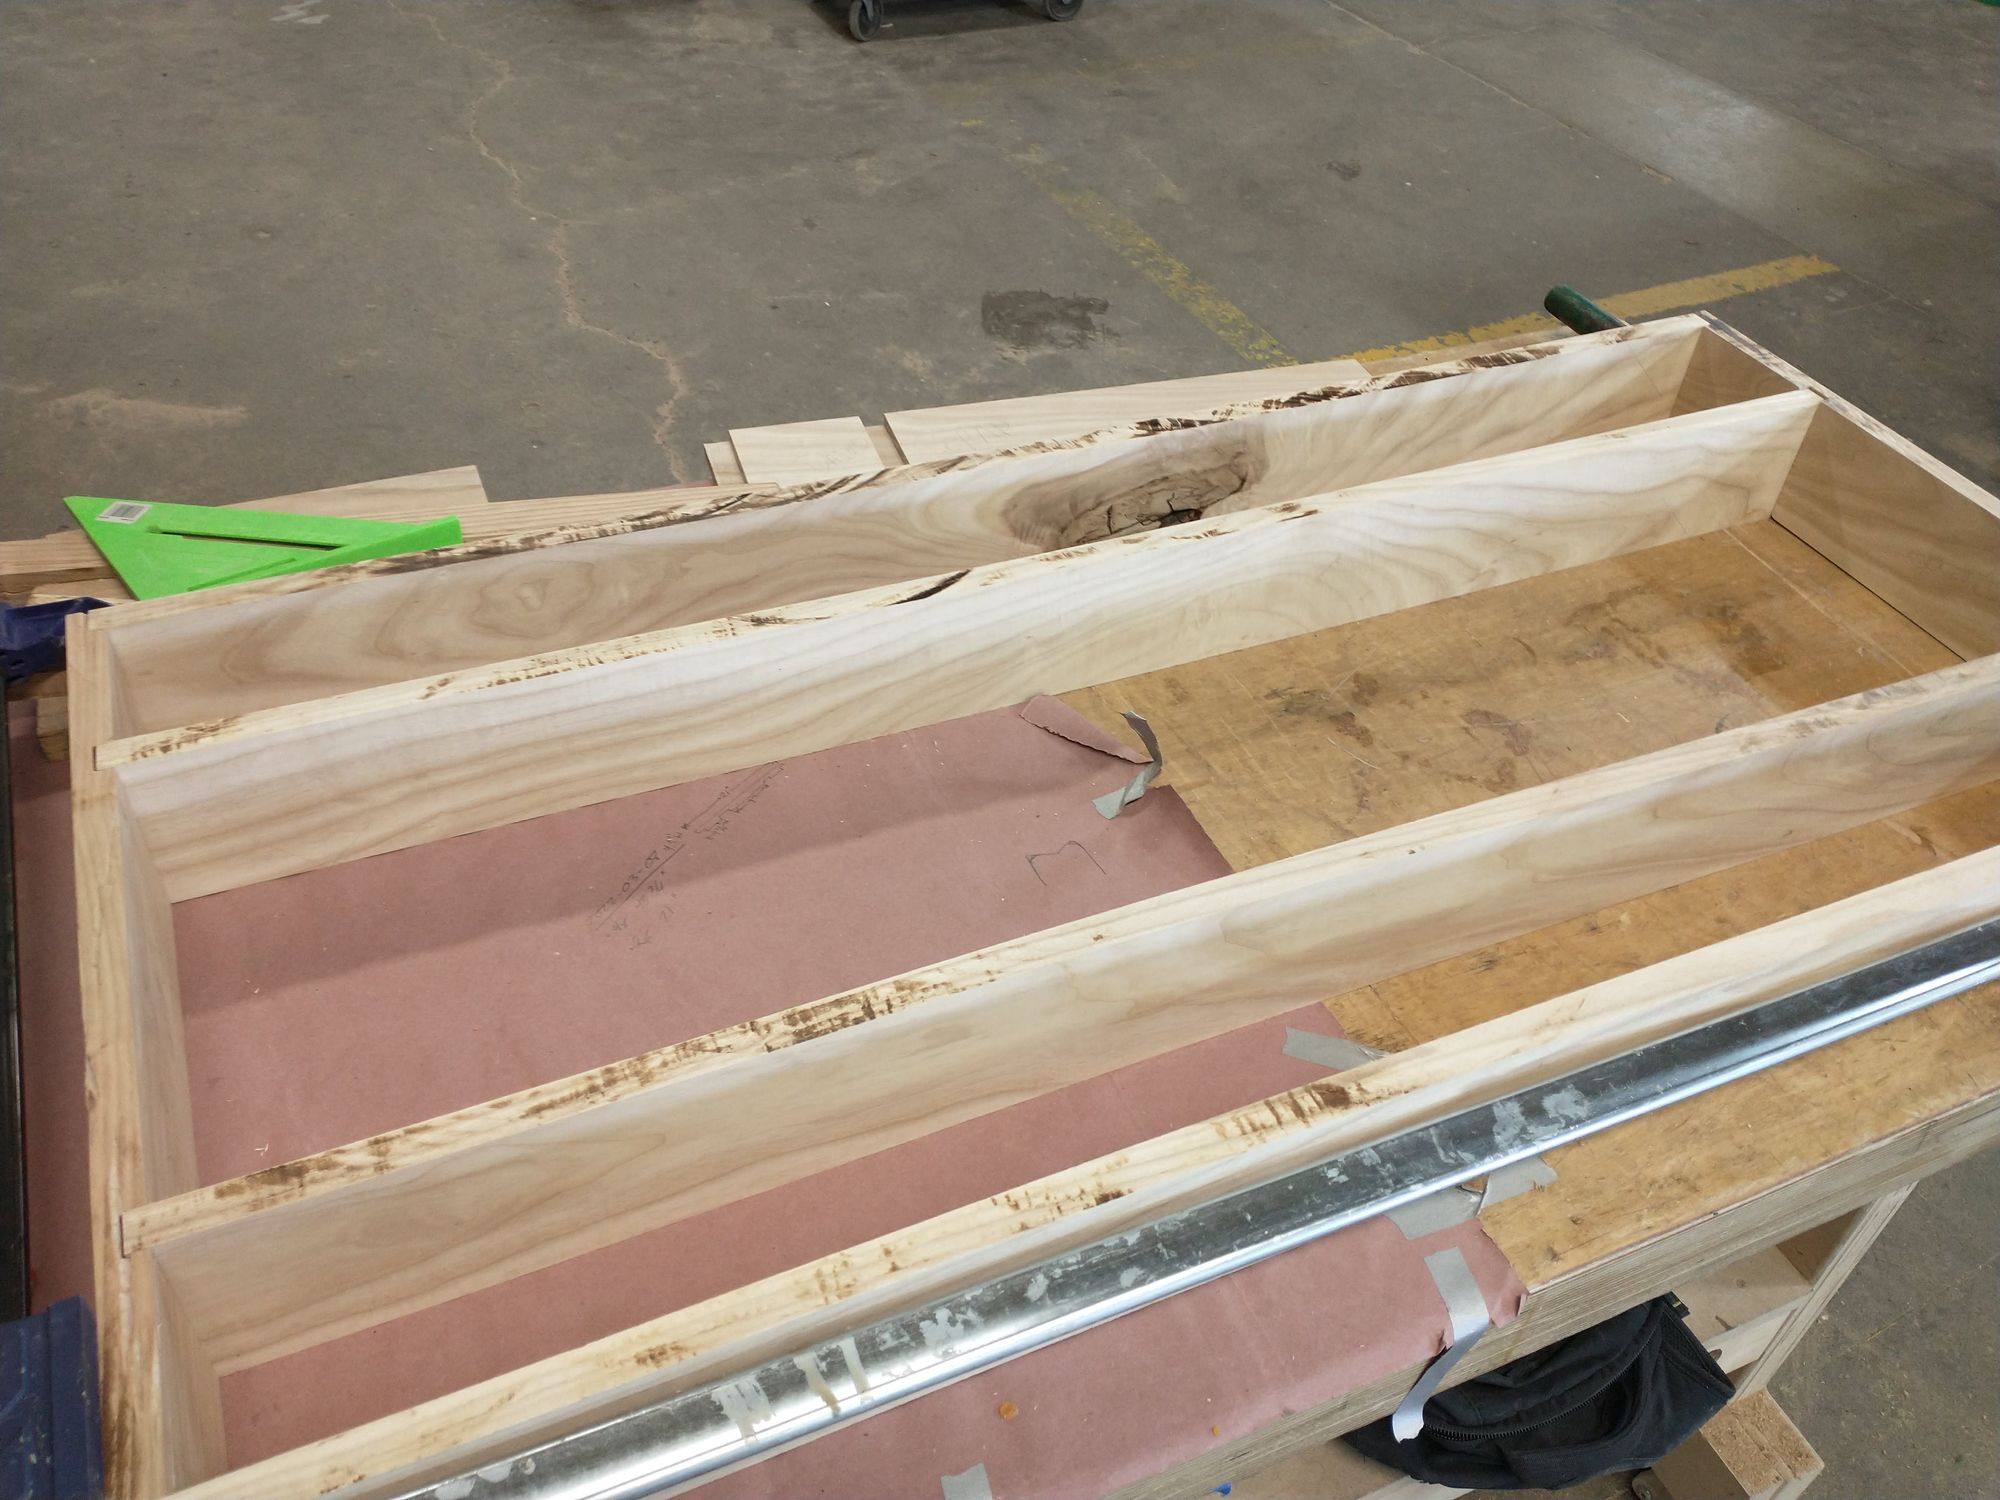
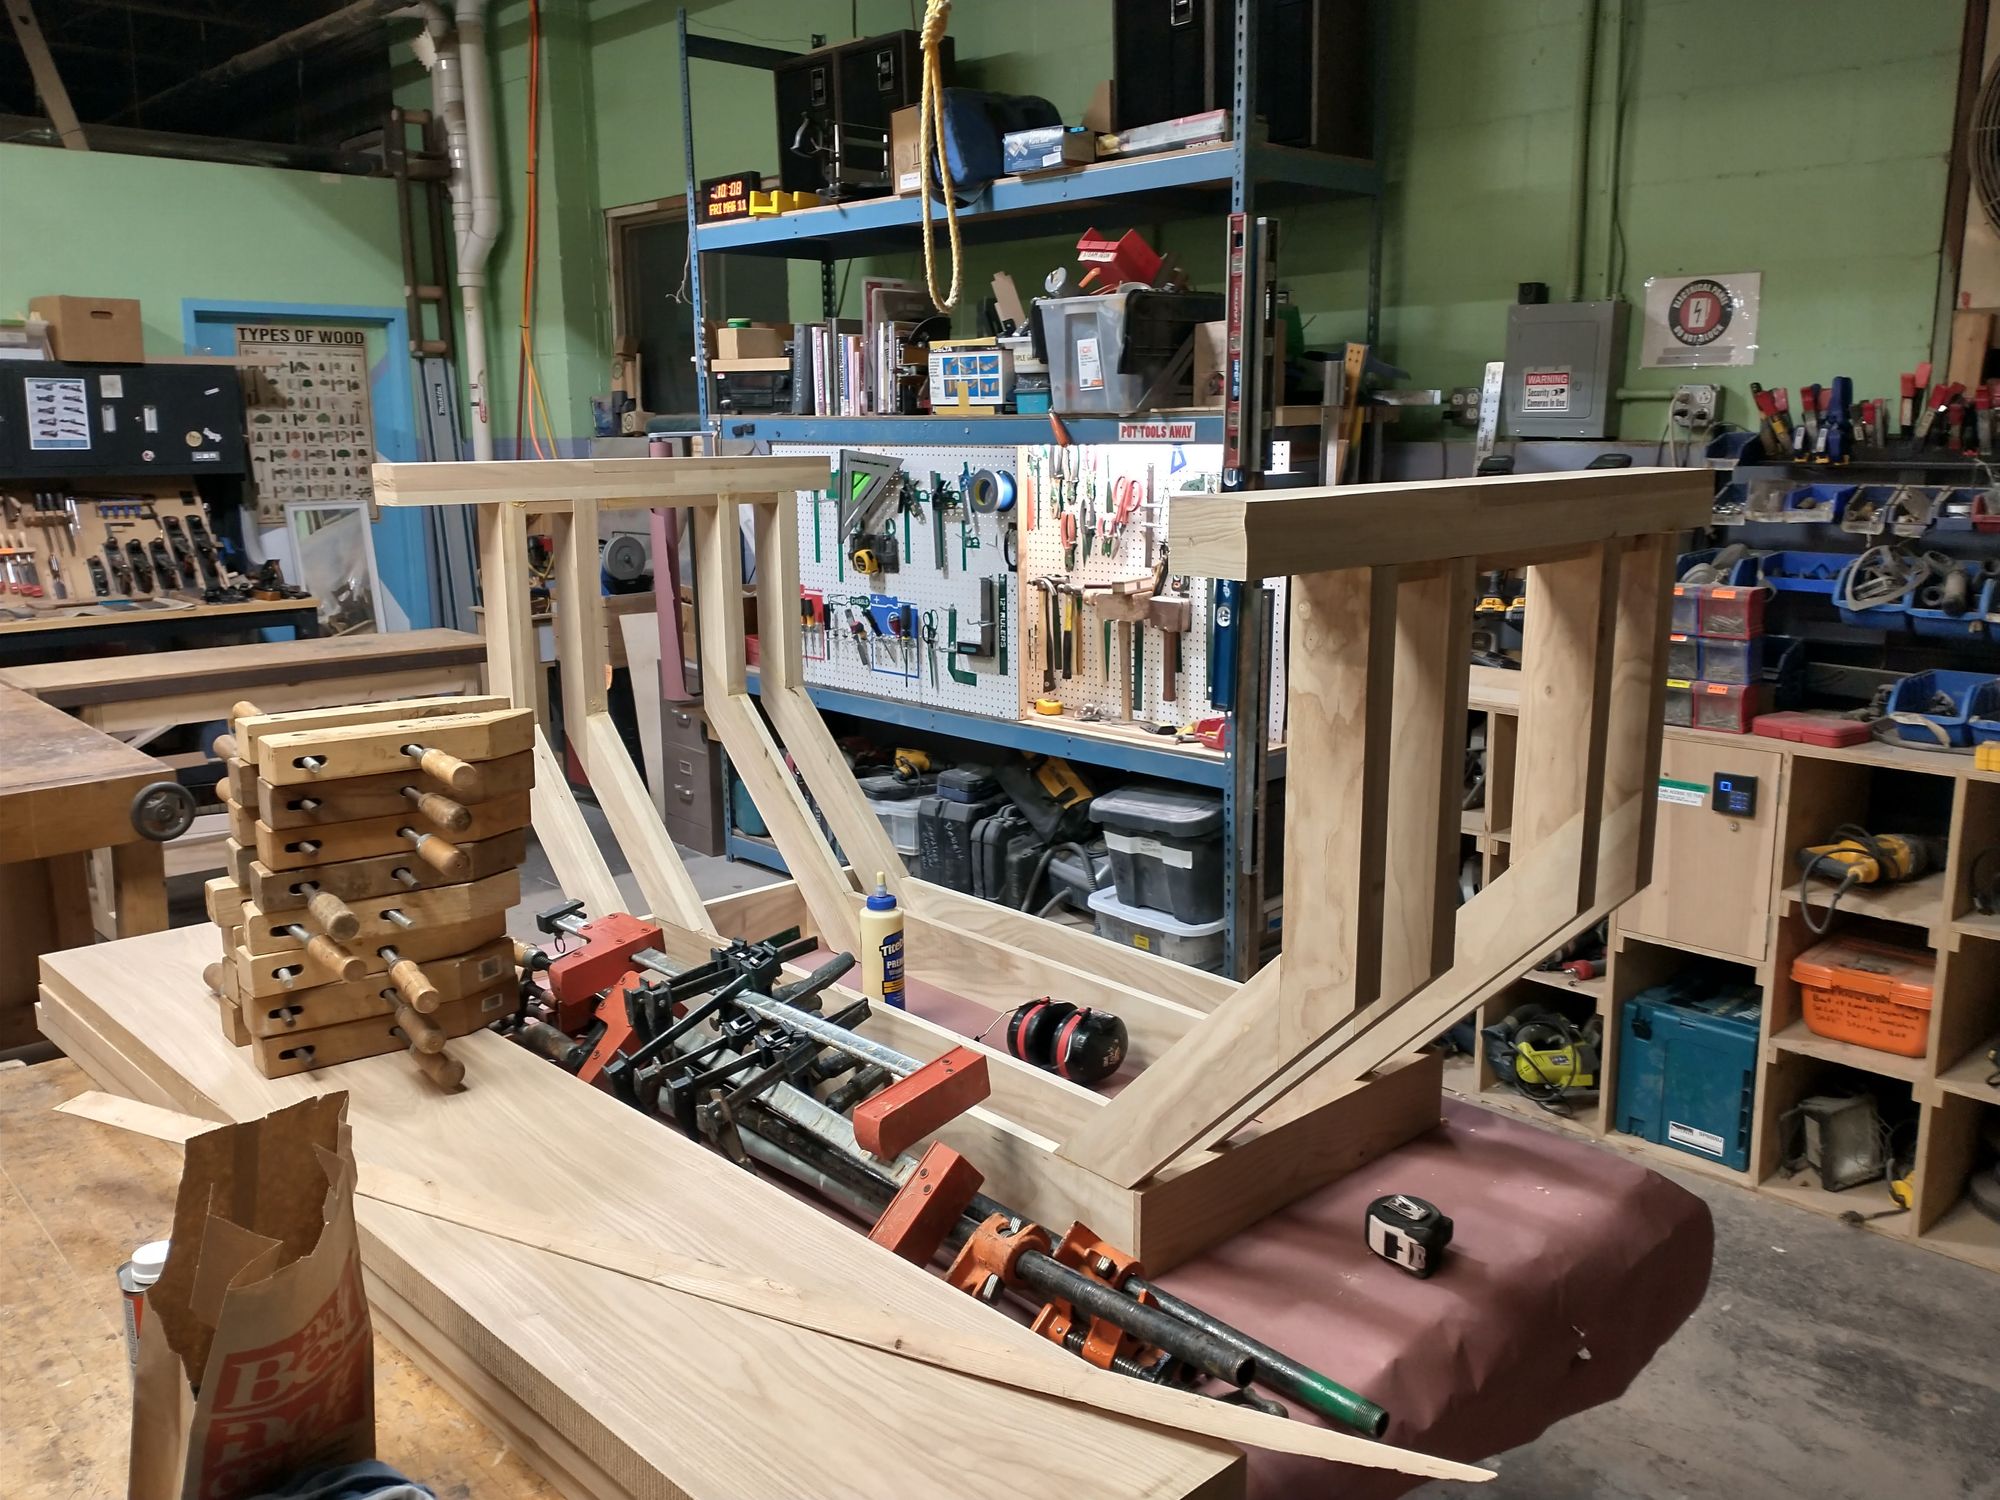
Here's what mine looks like:
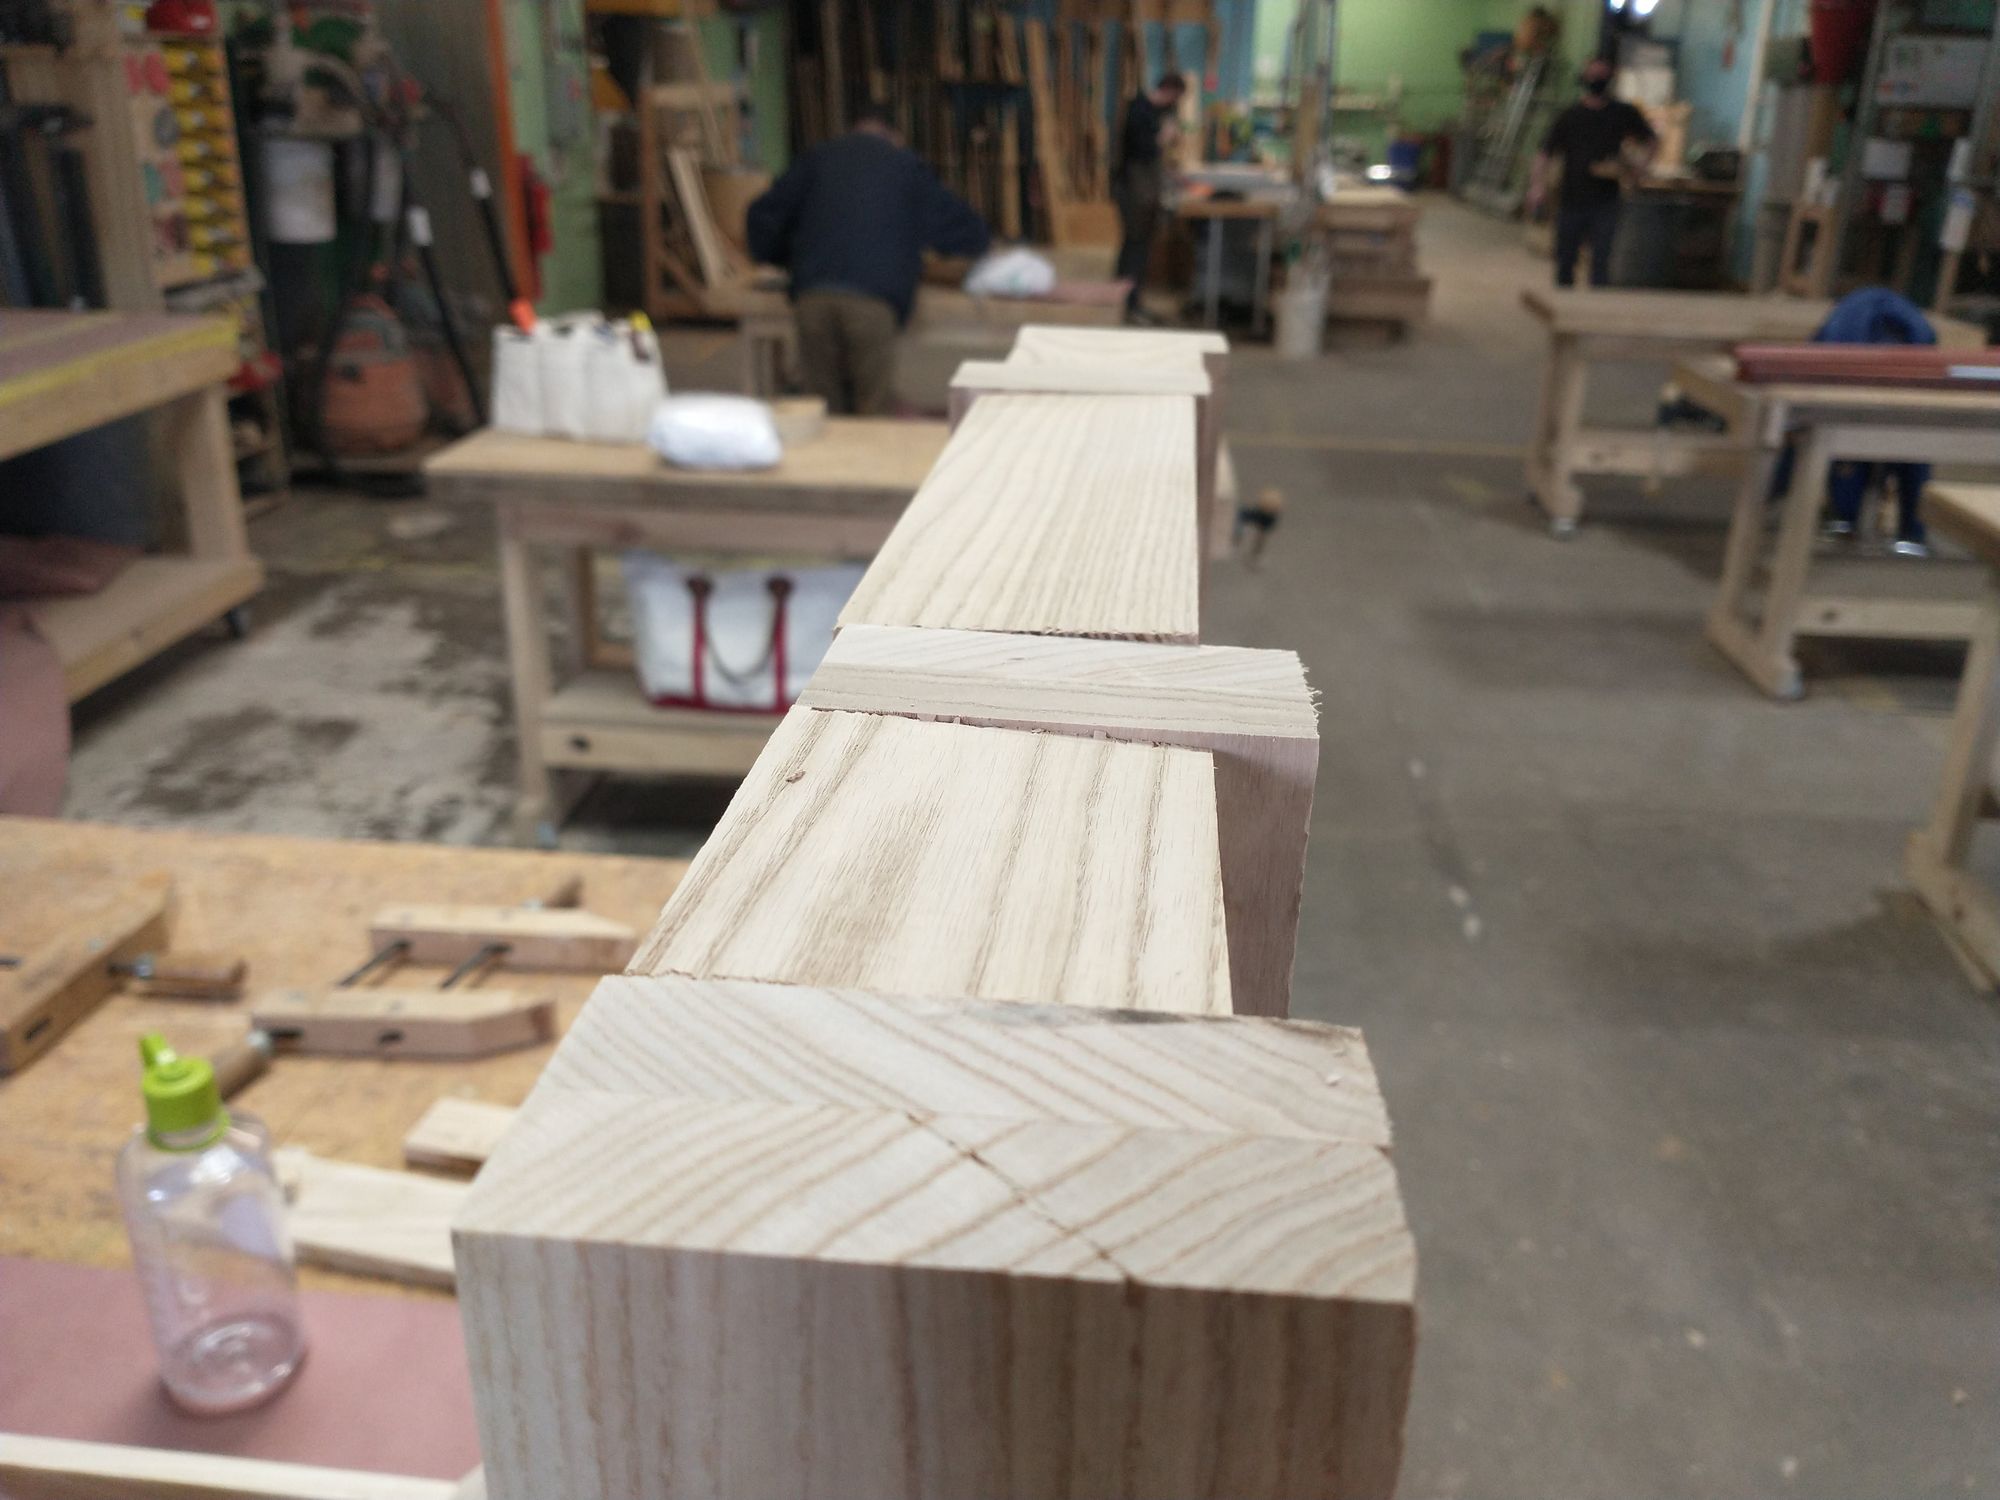
Remember that the pairs of legs were made in different lengths?
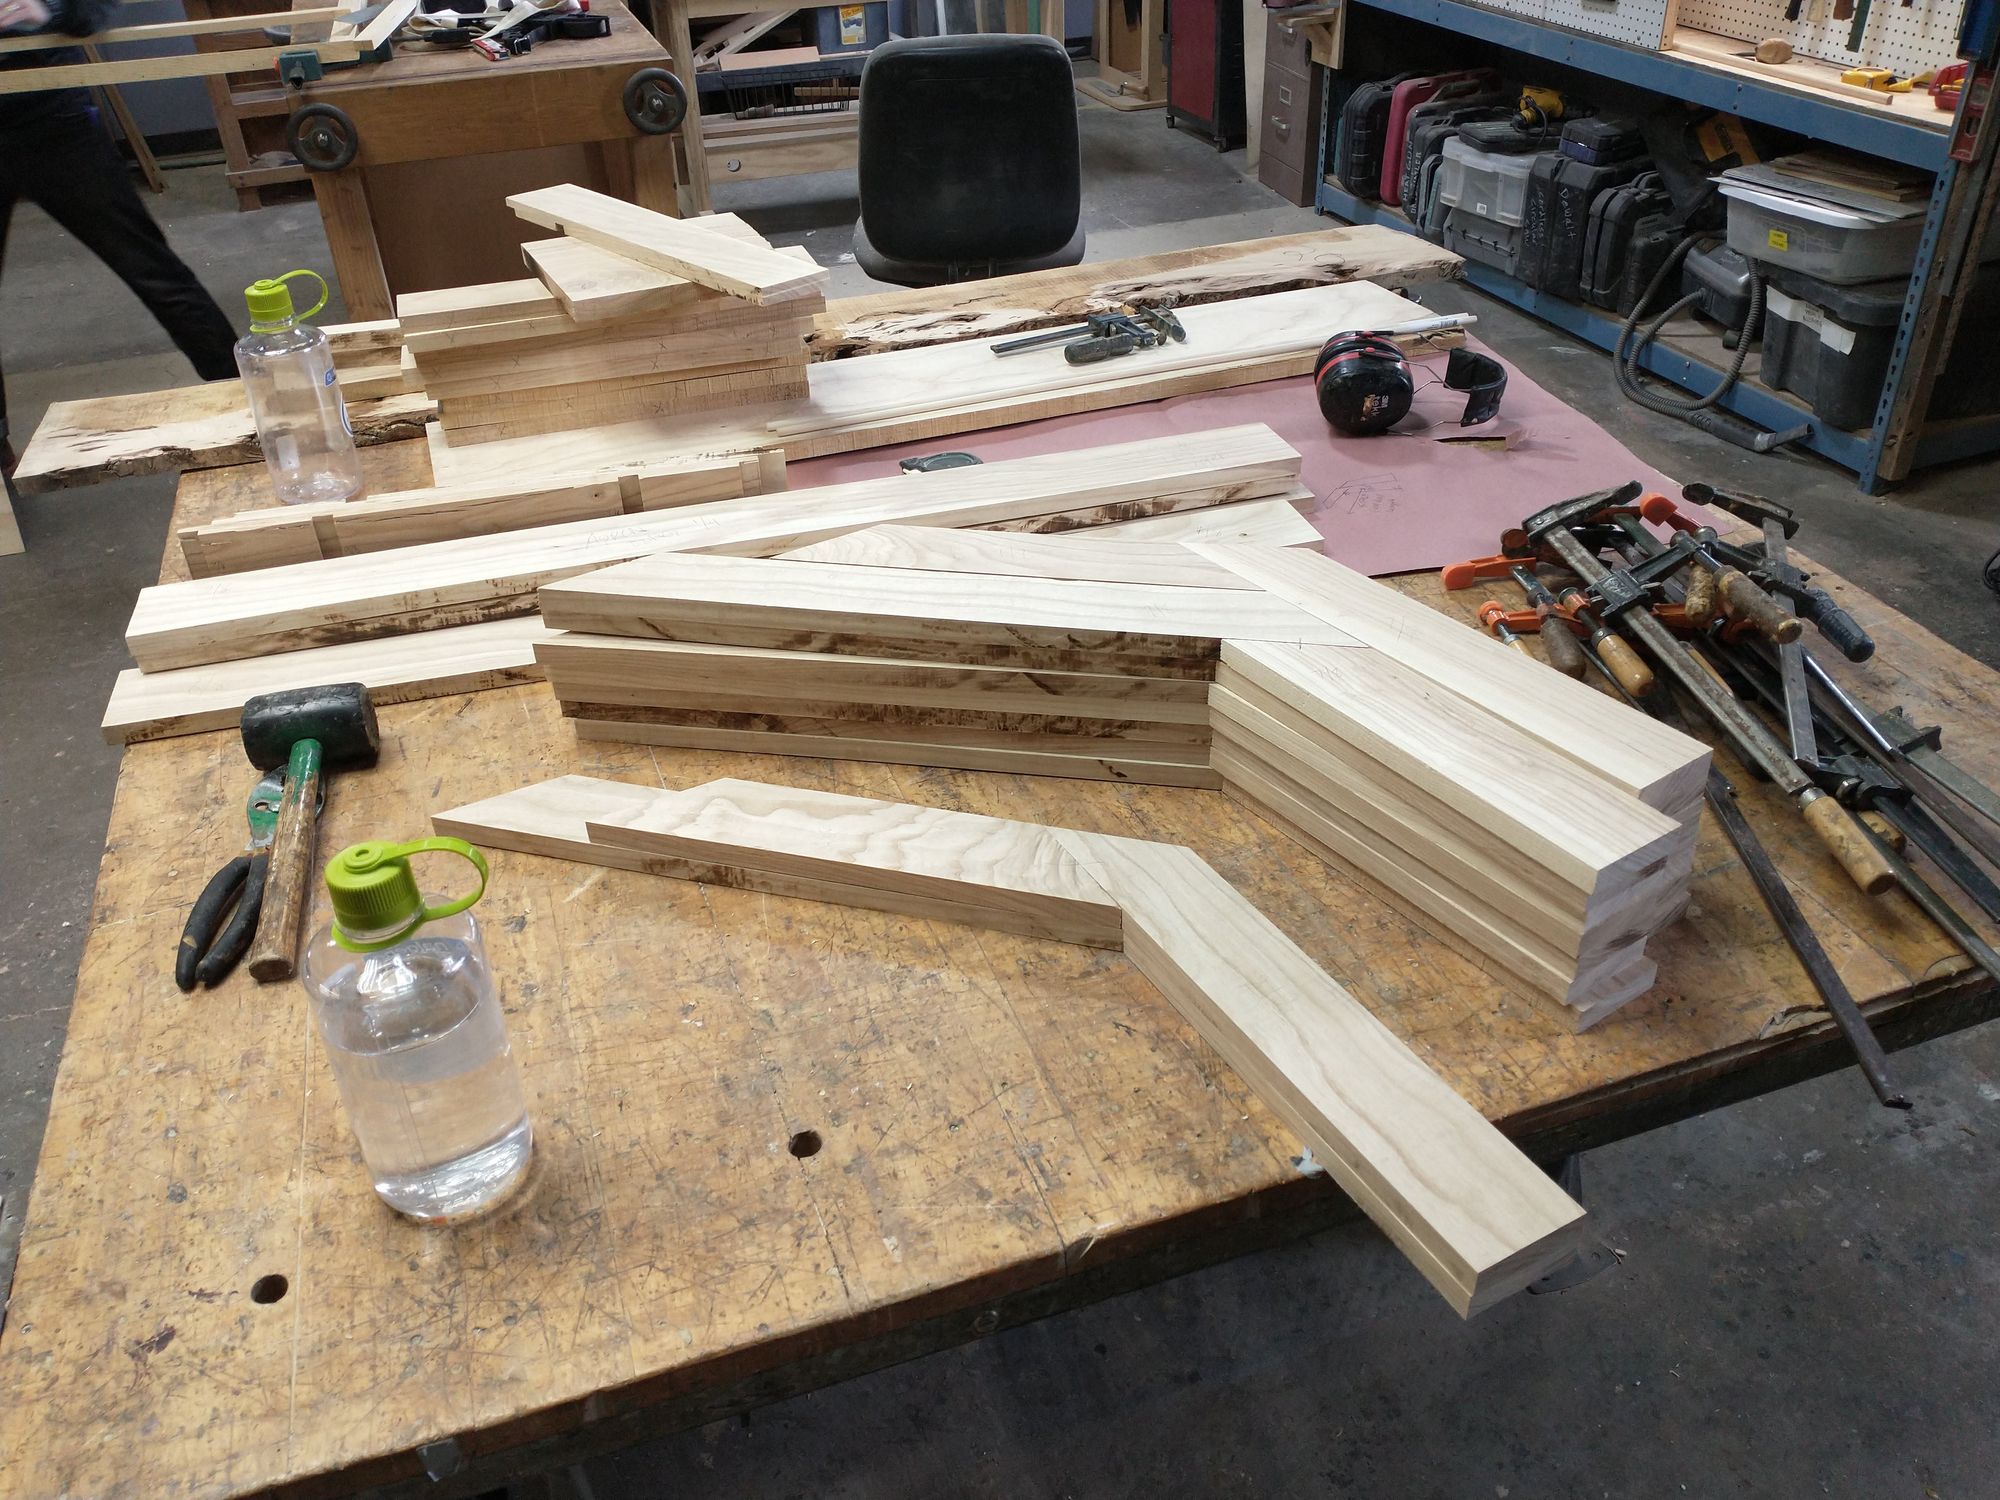
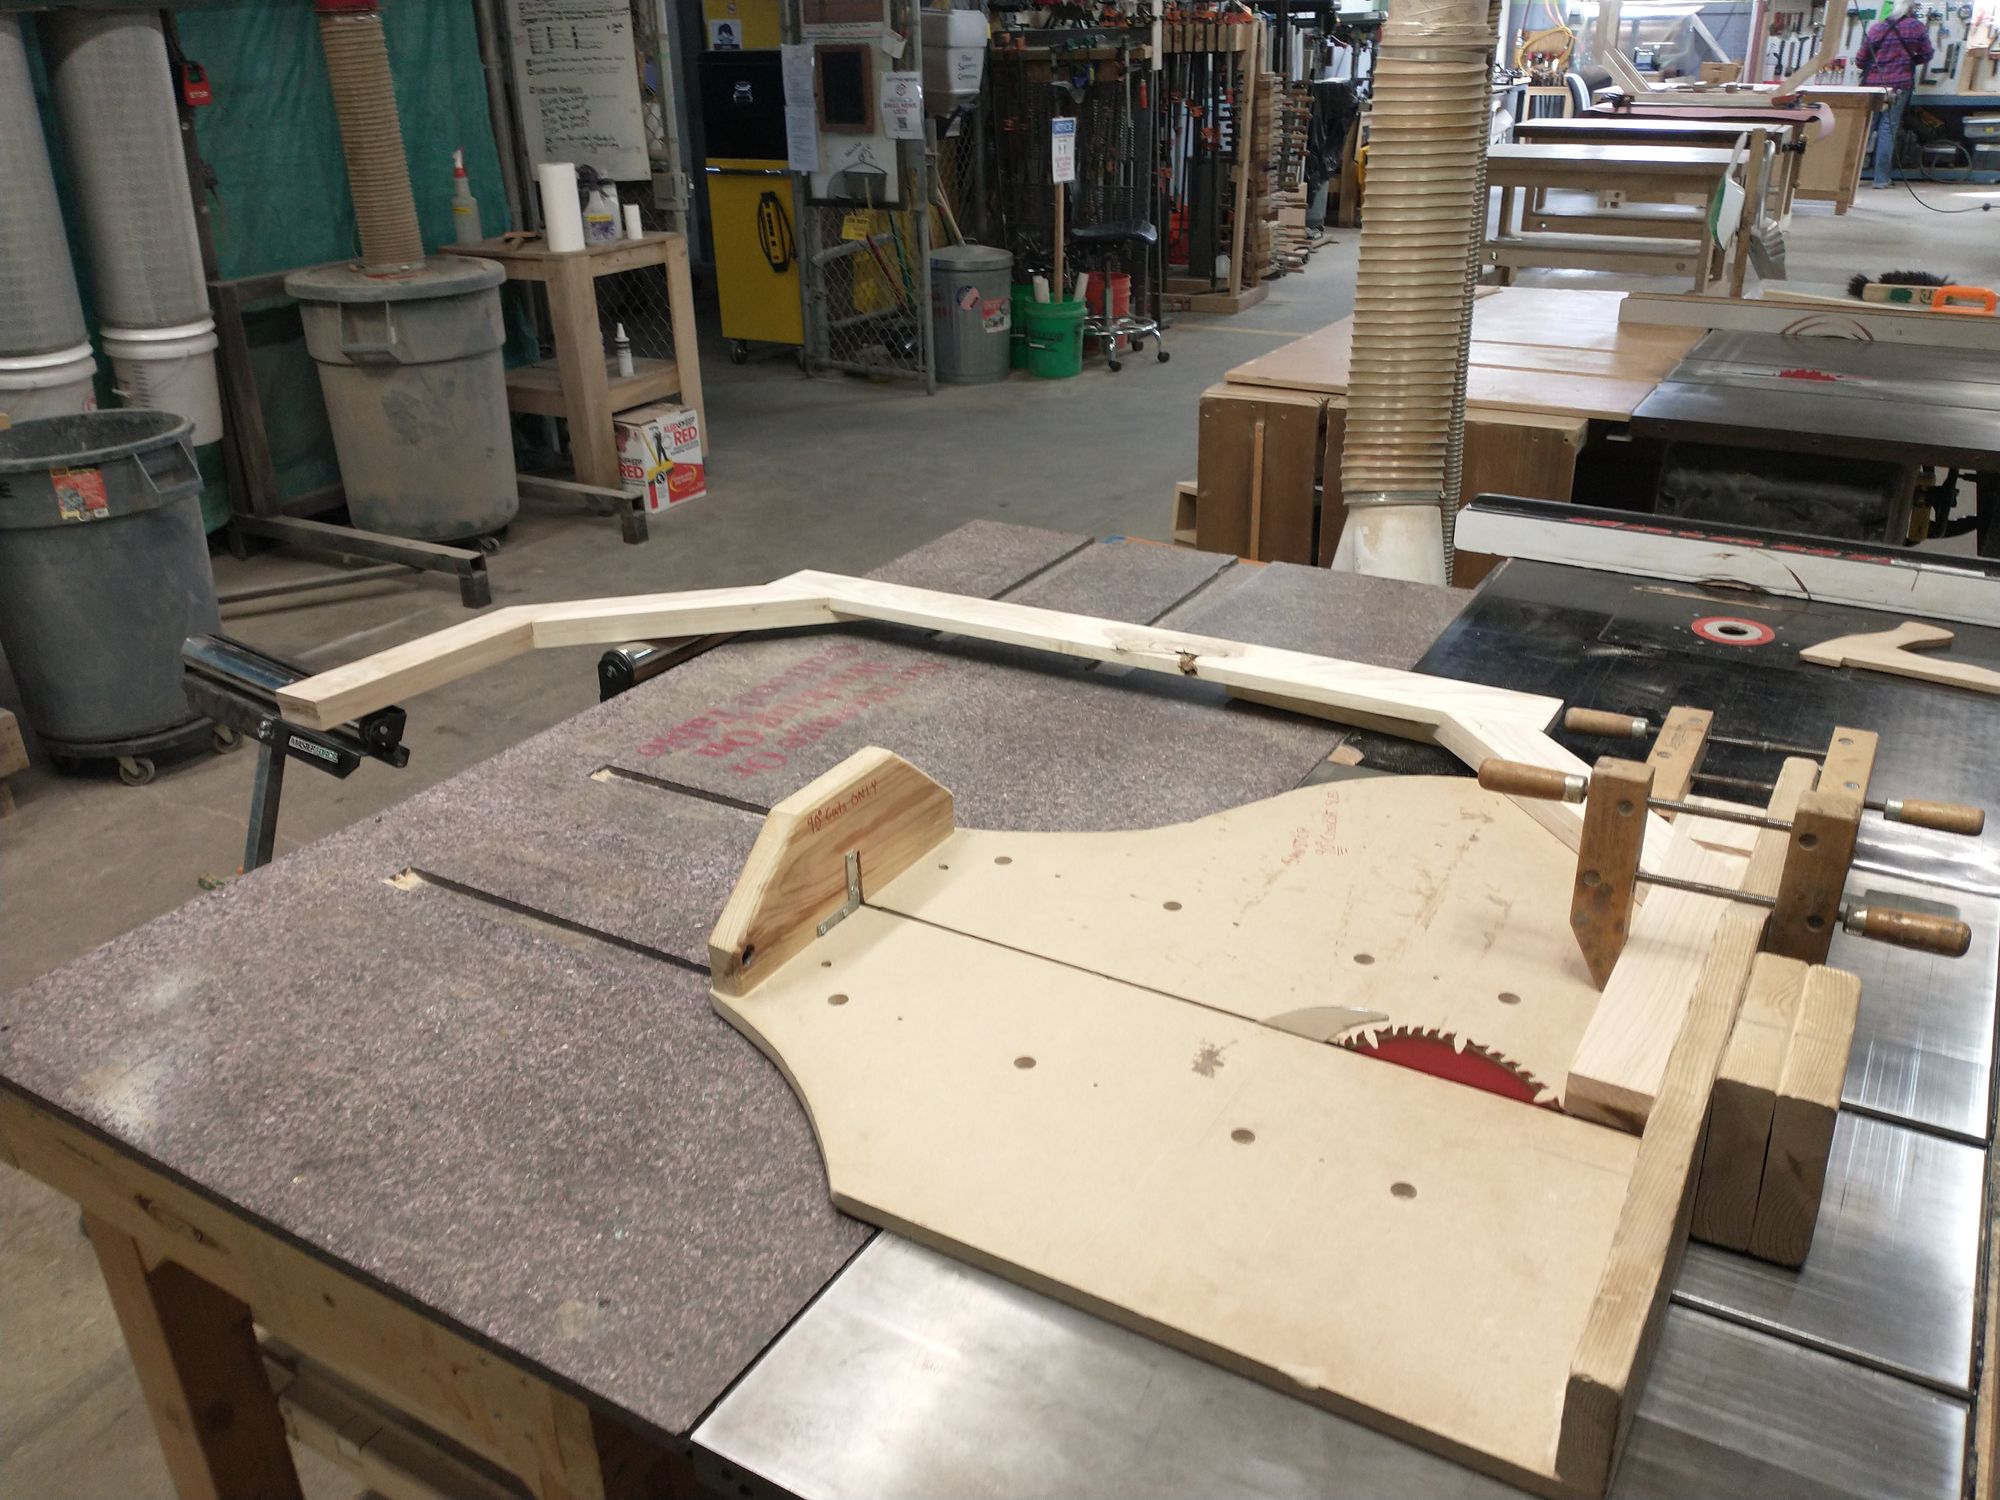
The part that sticks out is the part that attaches to the apron!
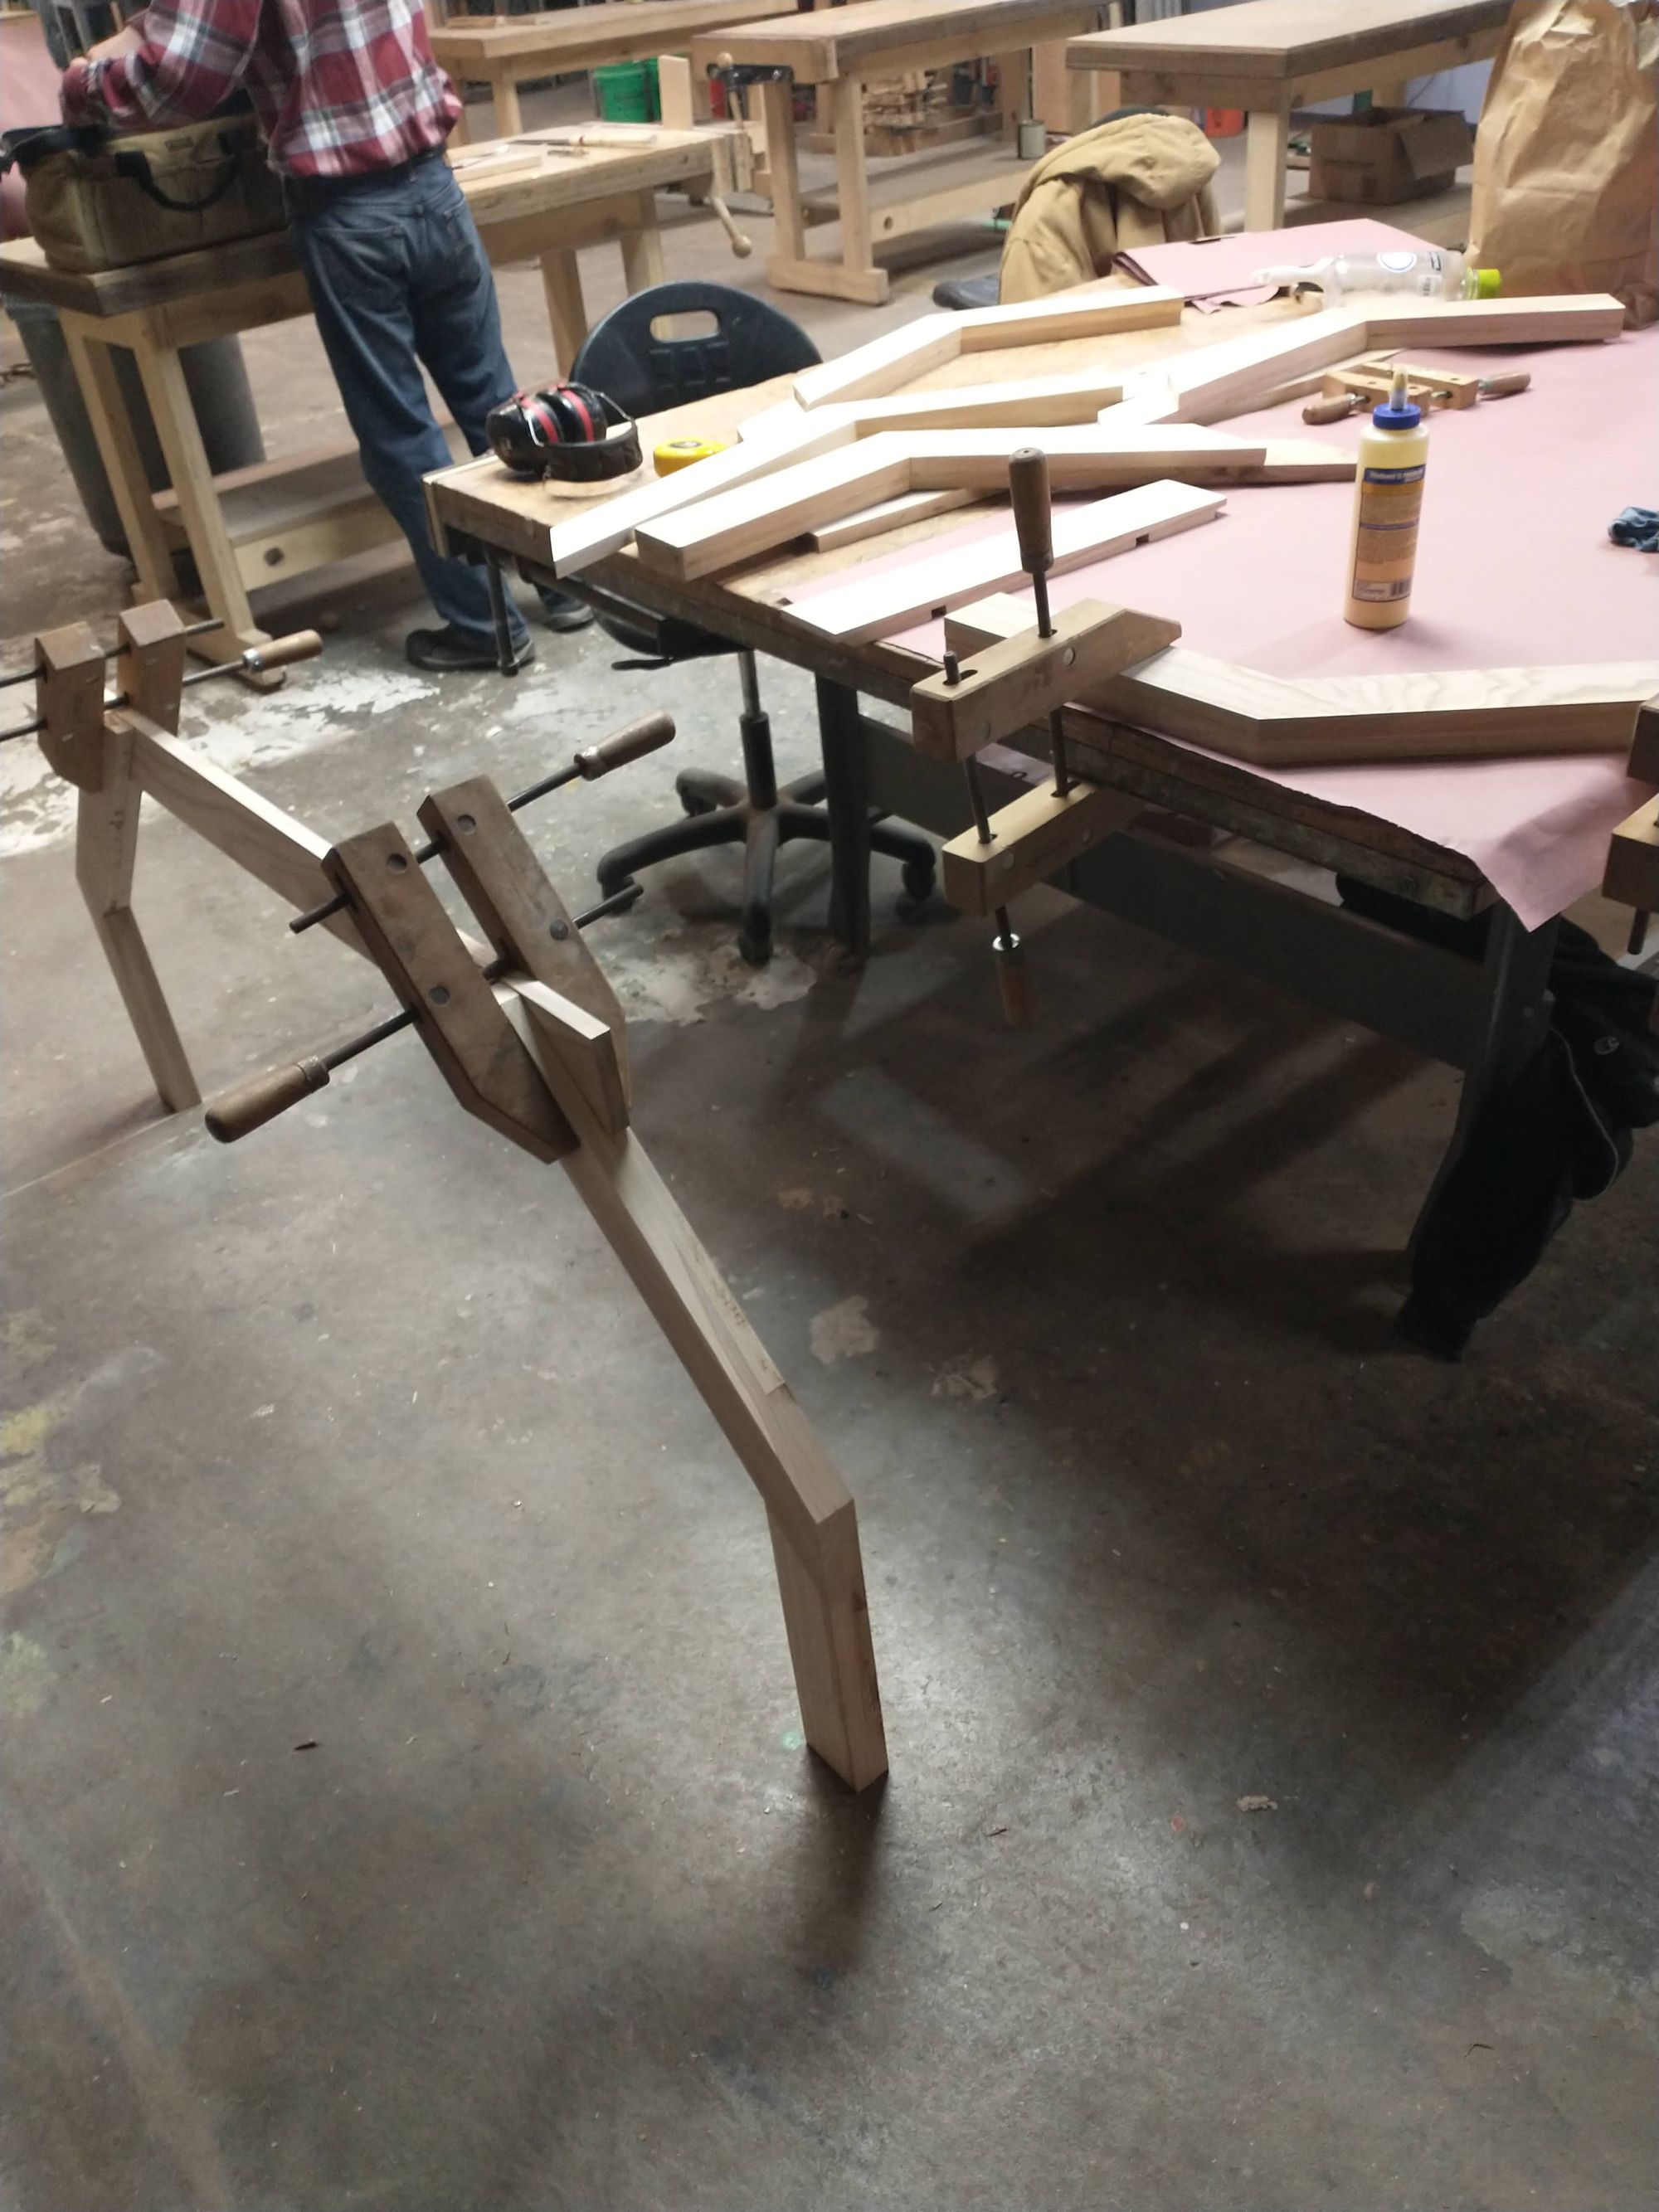
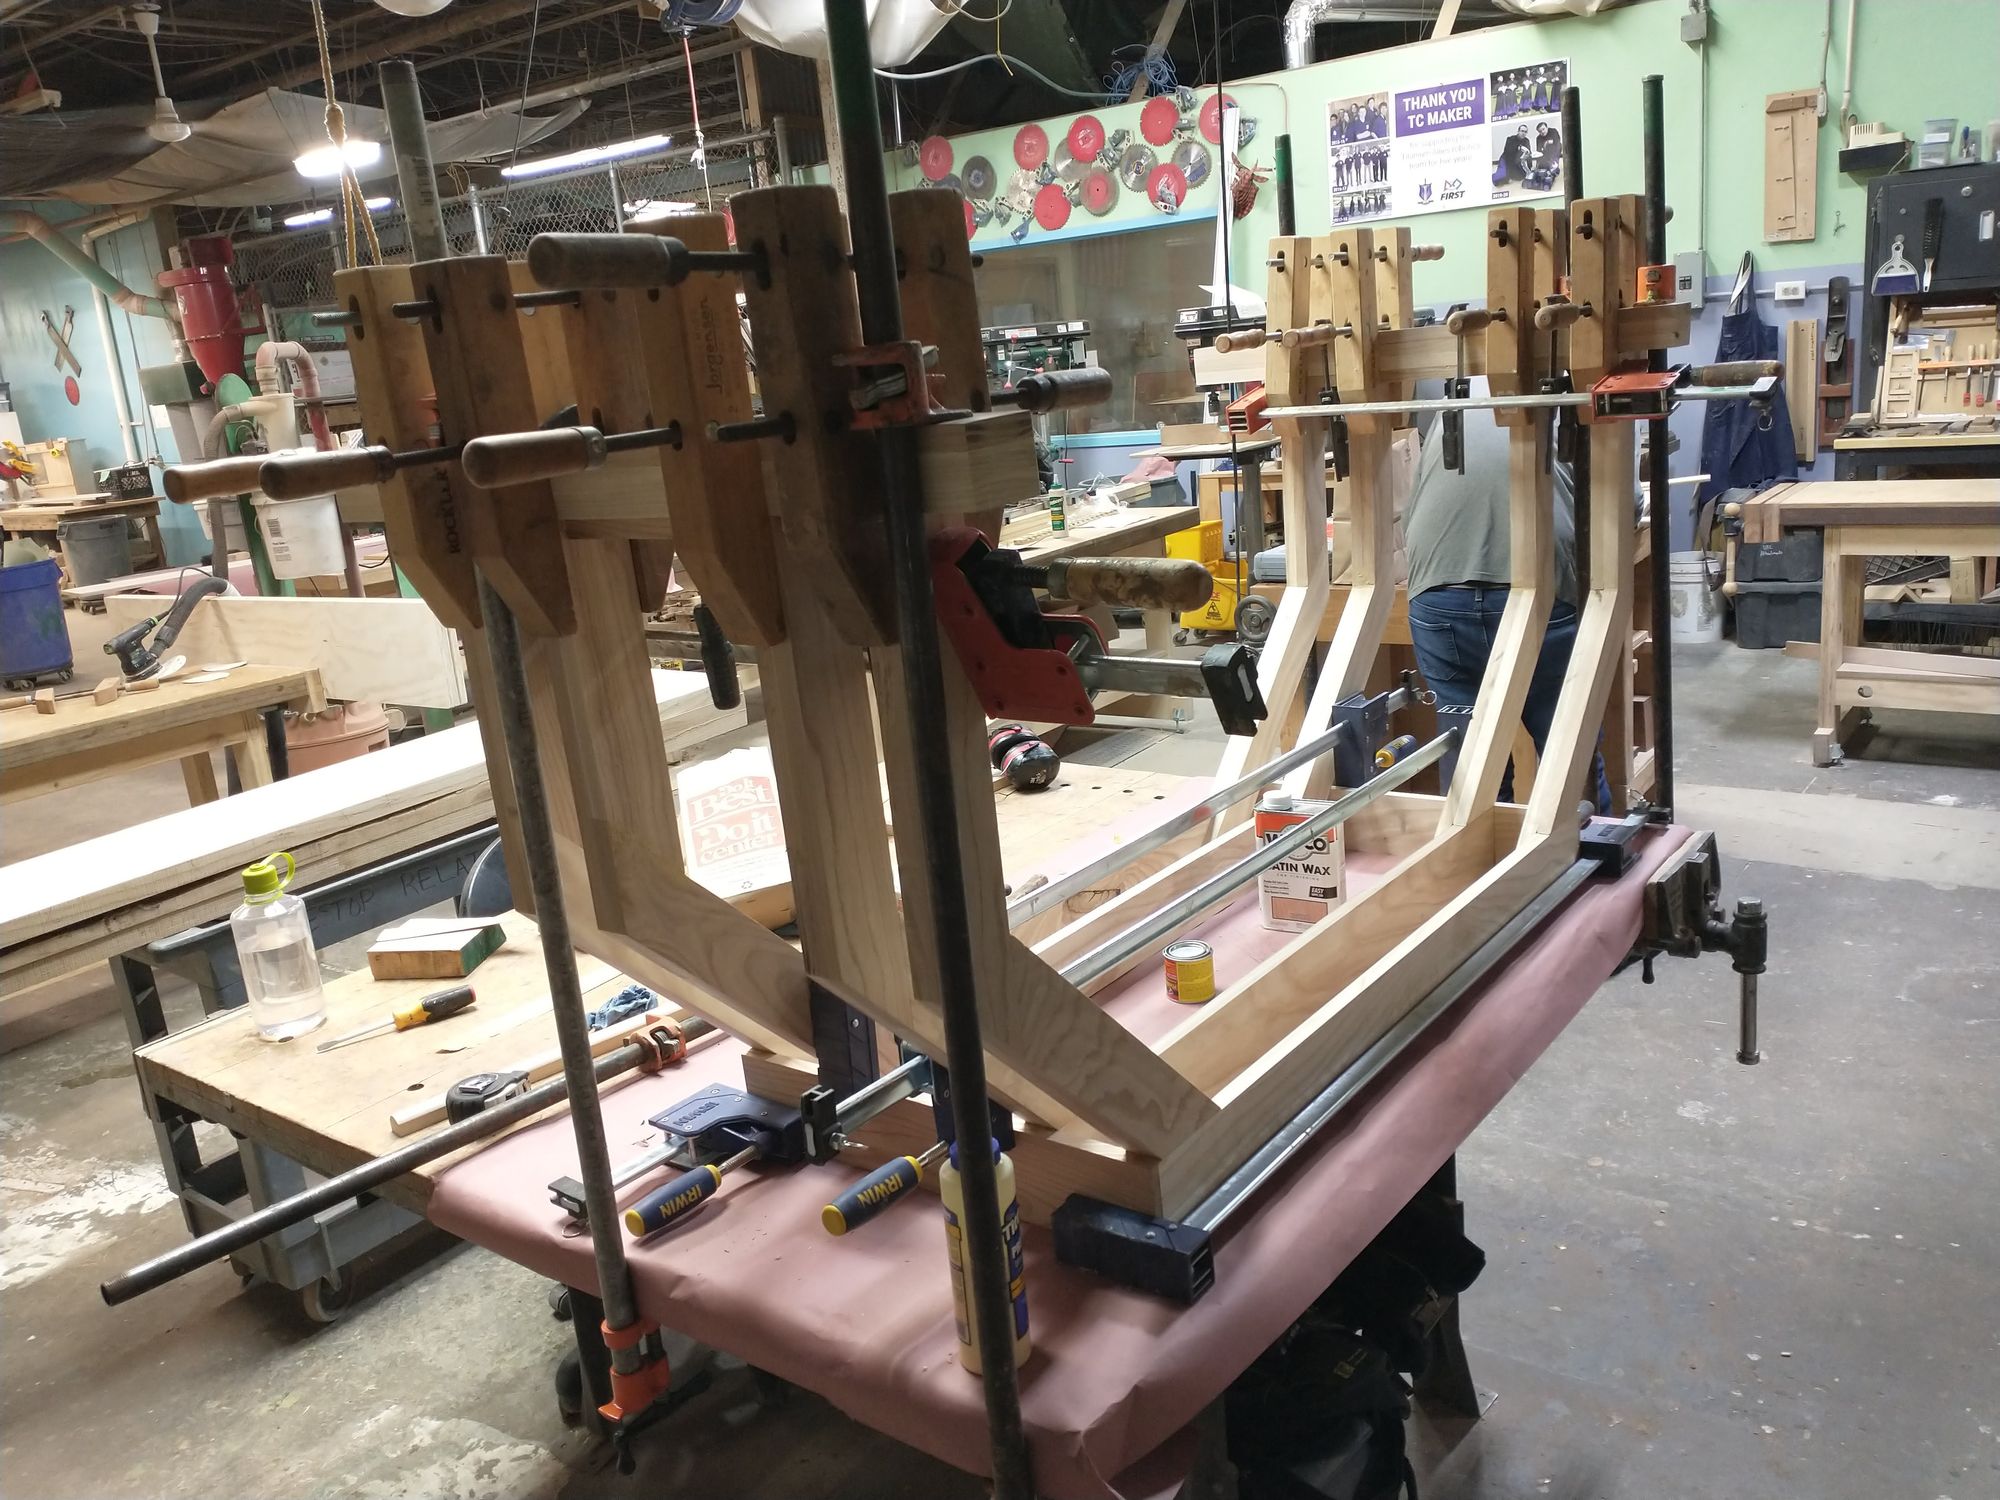
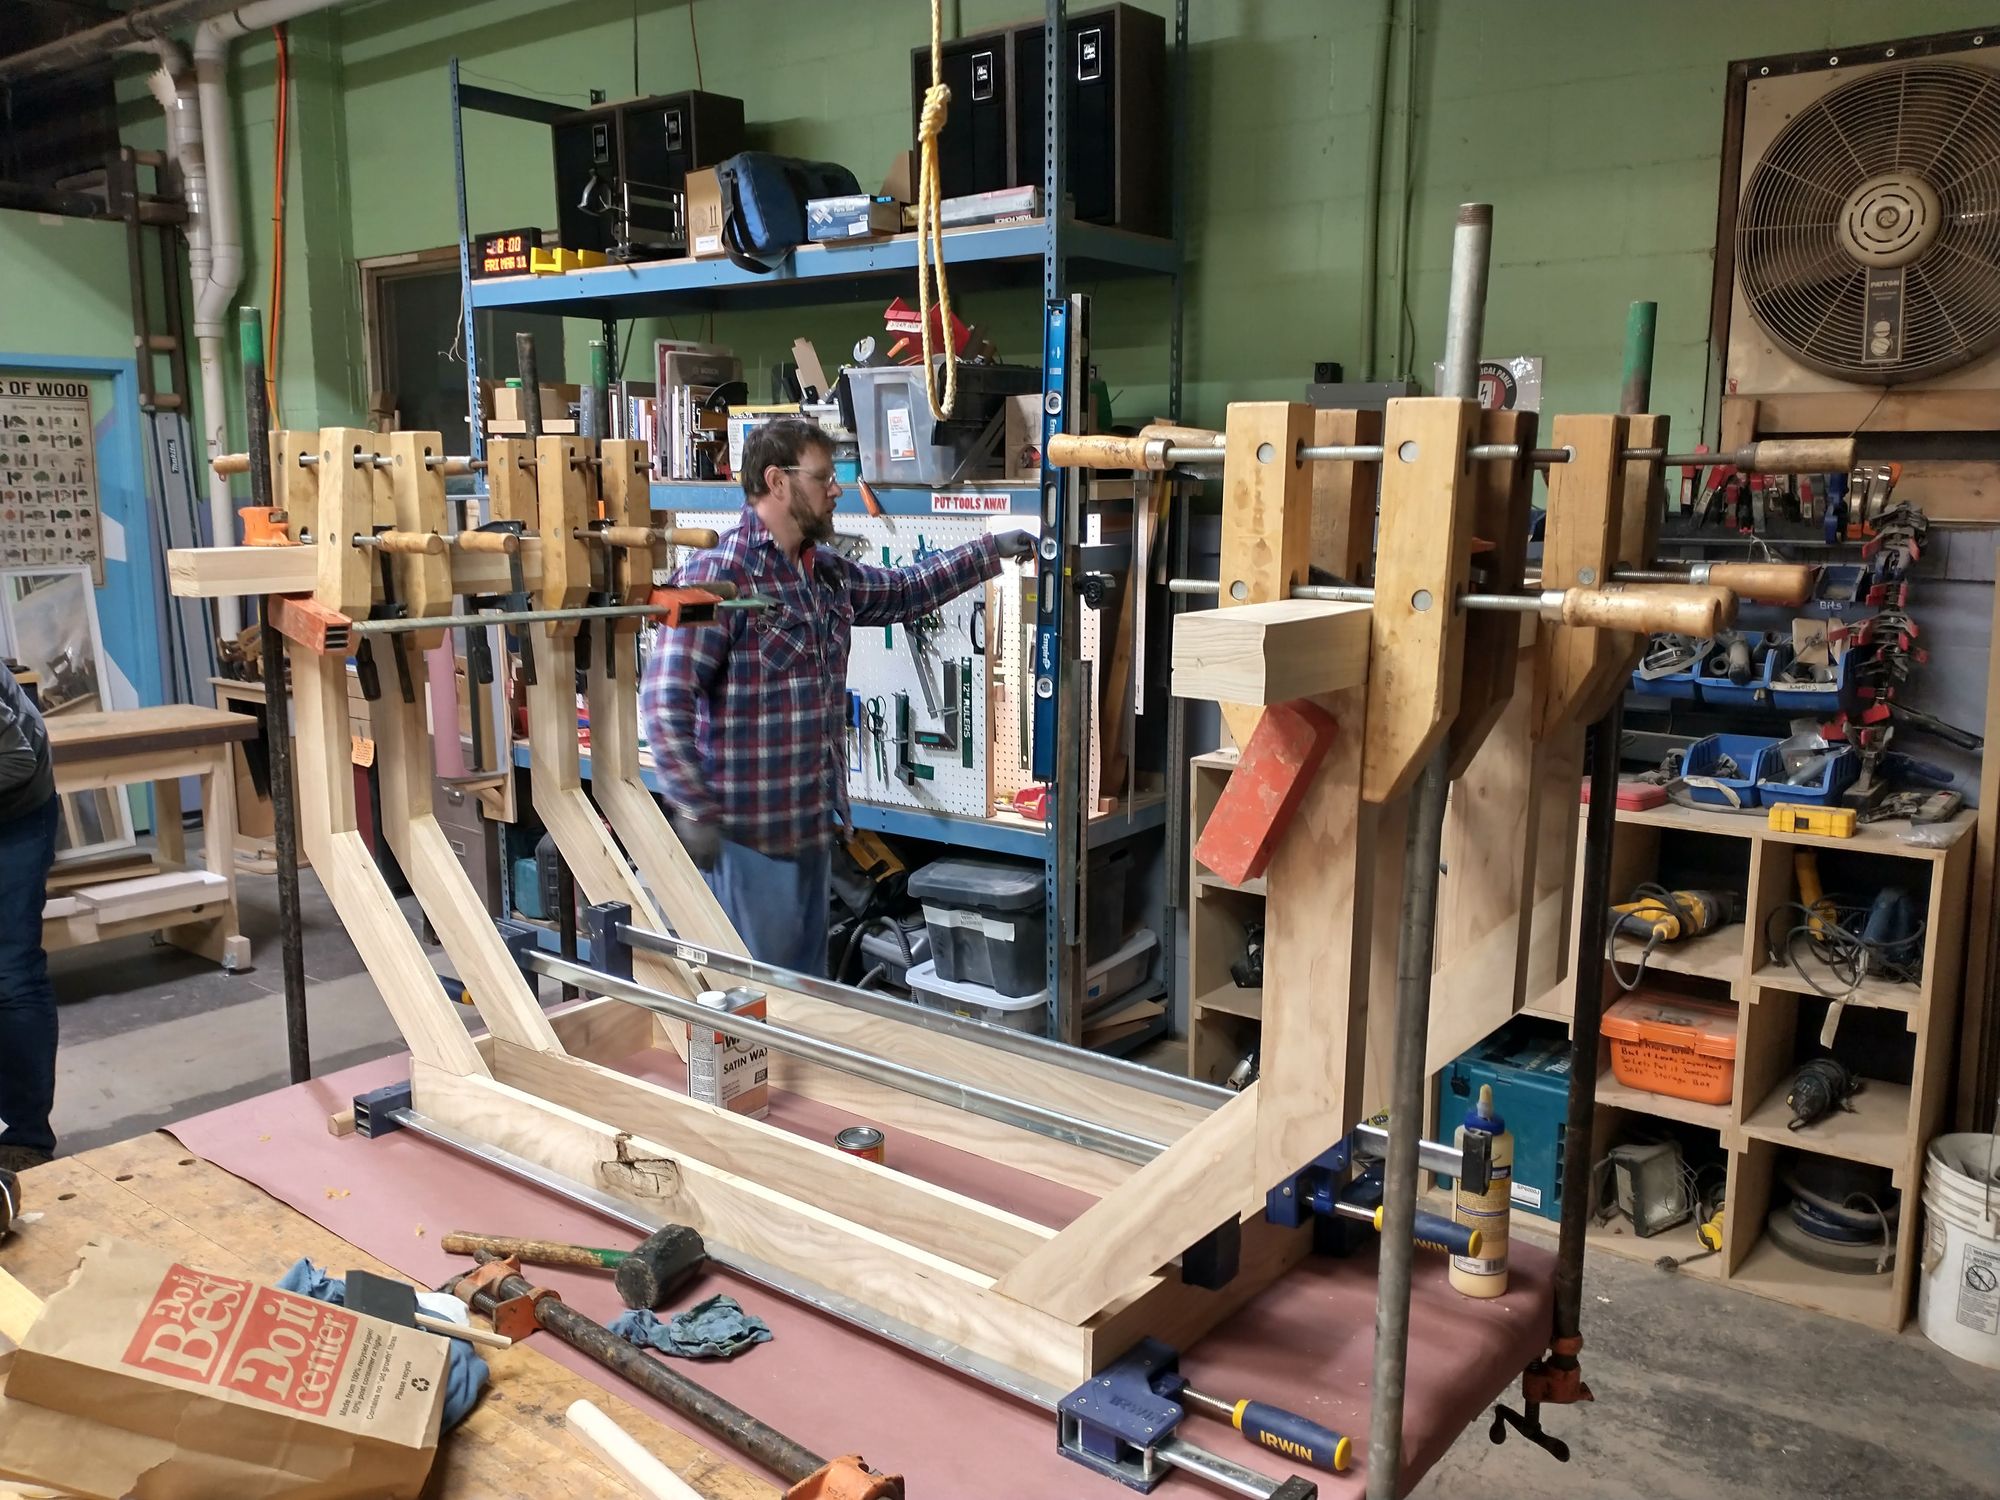
So, I glued all the legs to the apron and everything worked out beautifully... but not quite.
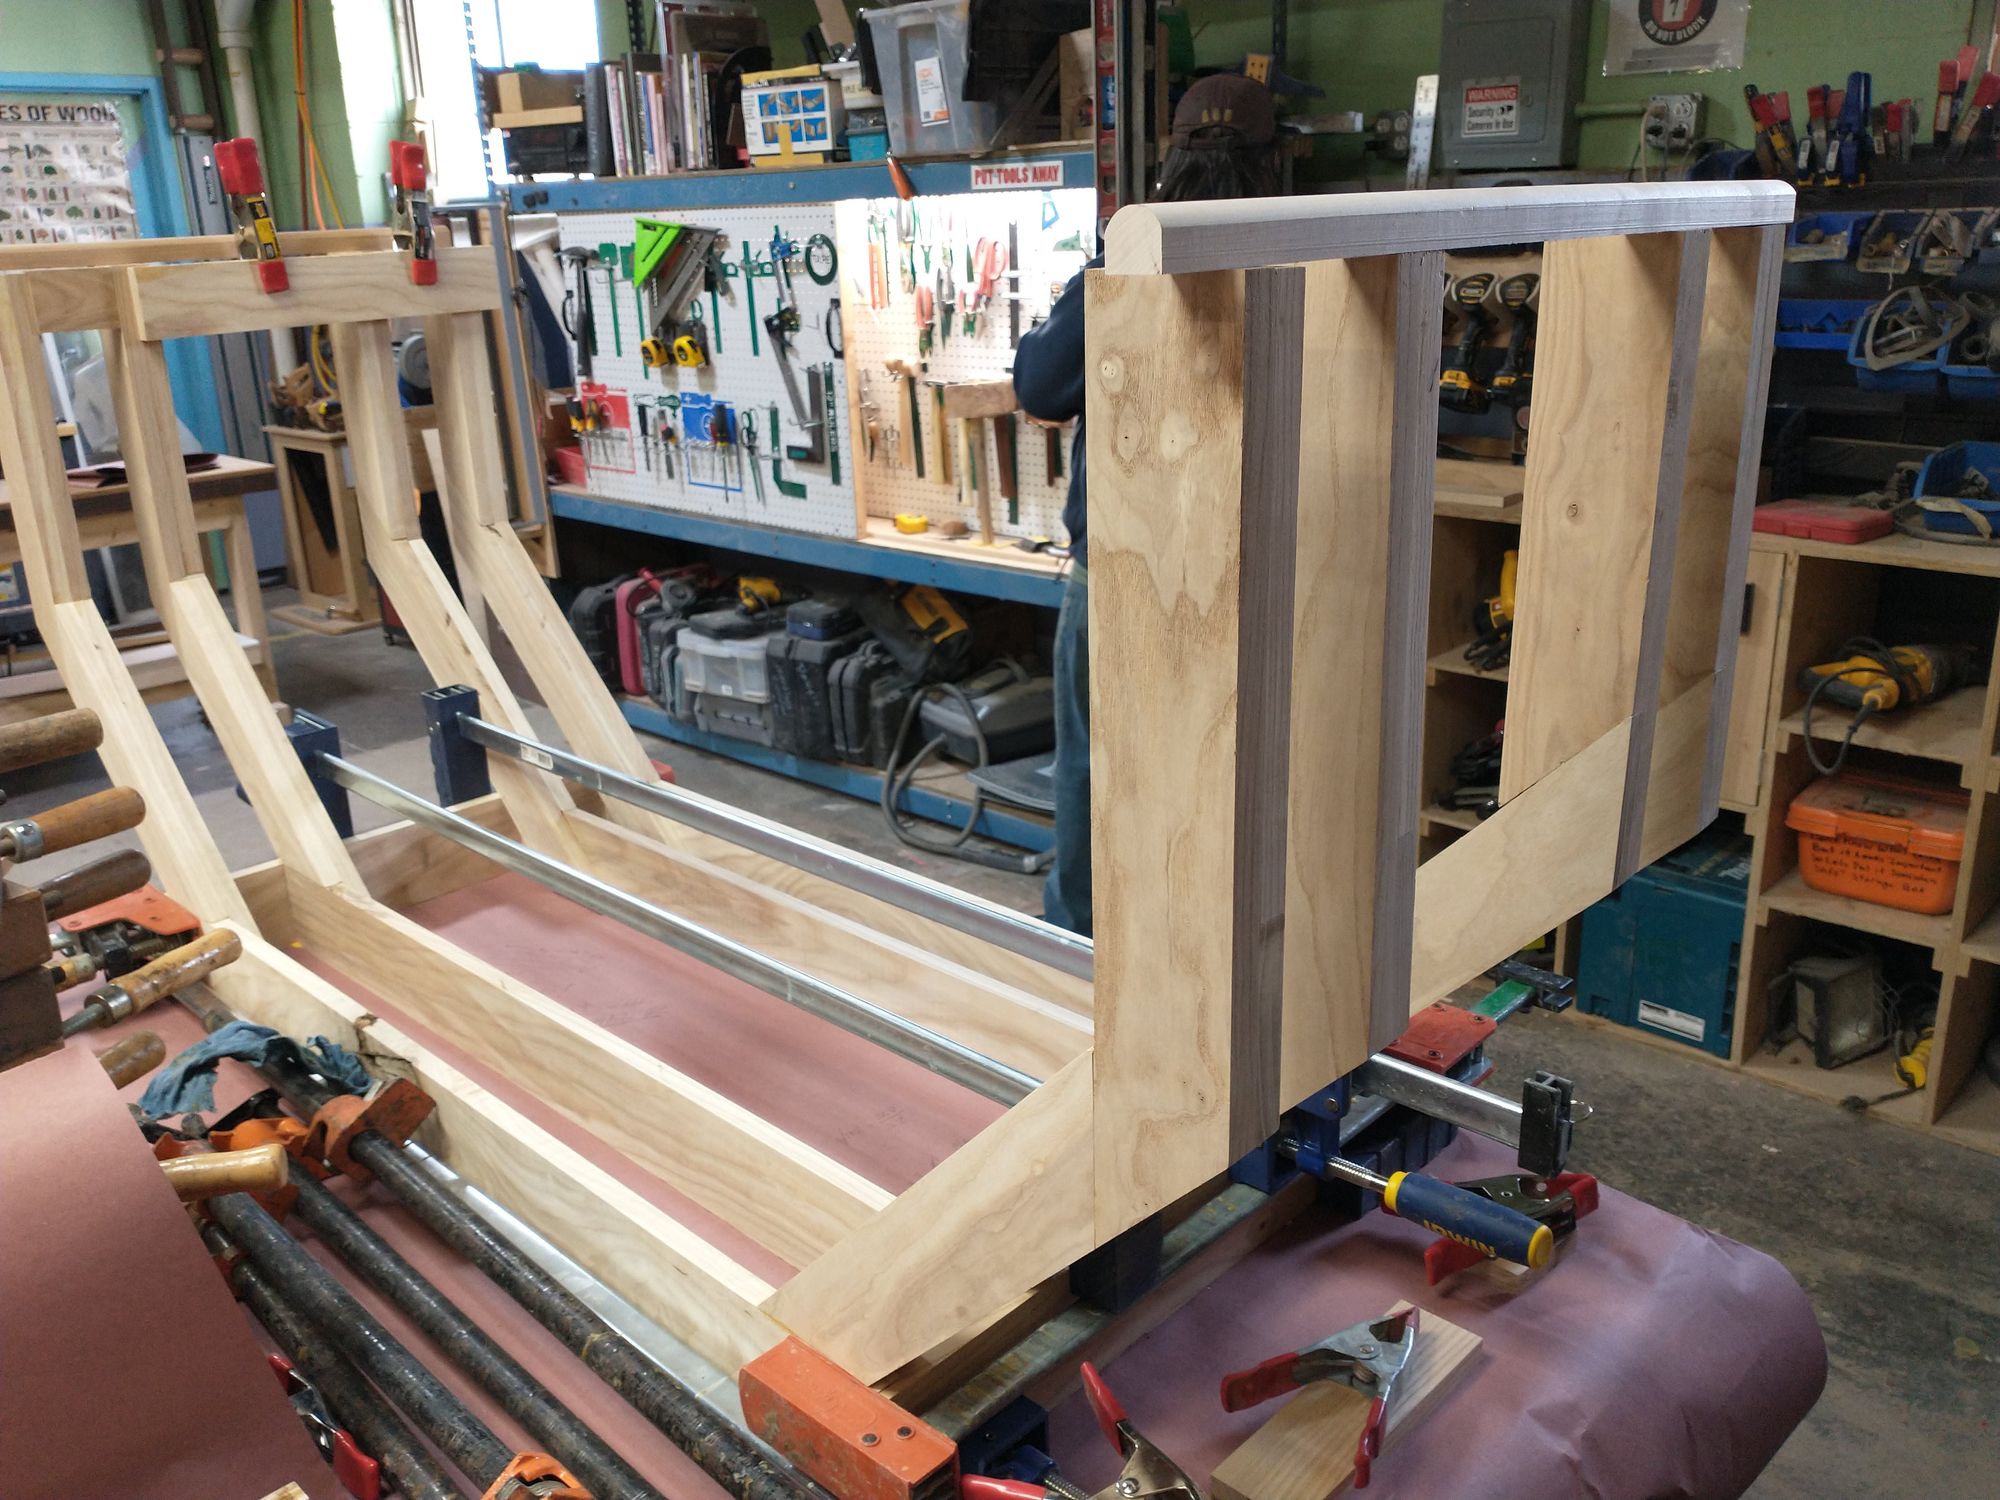
Those legs are crooked!
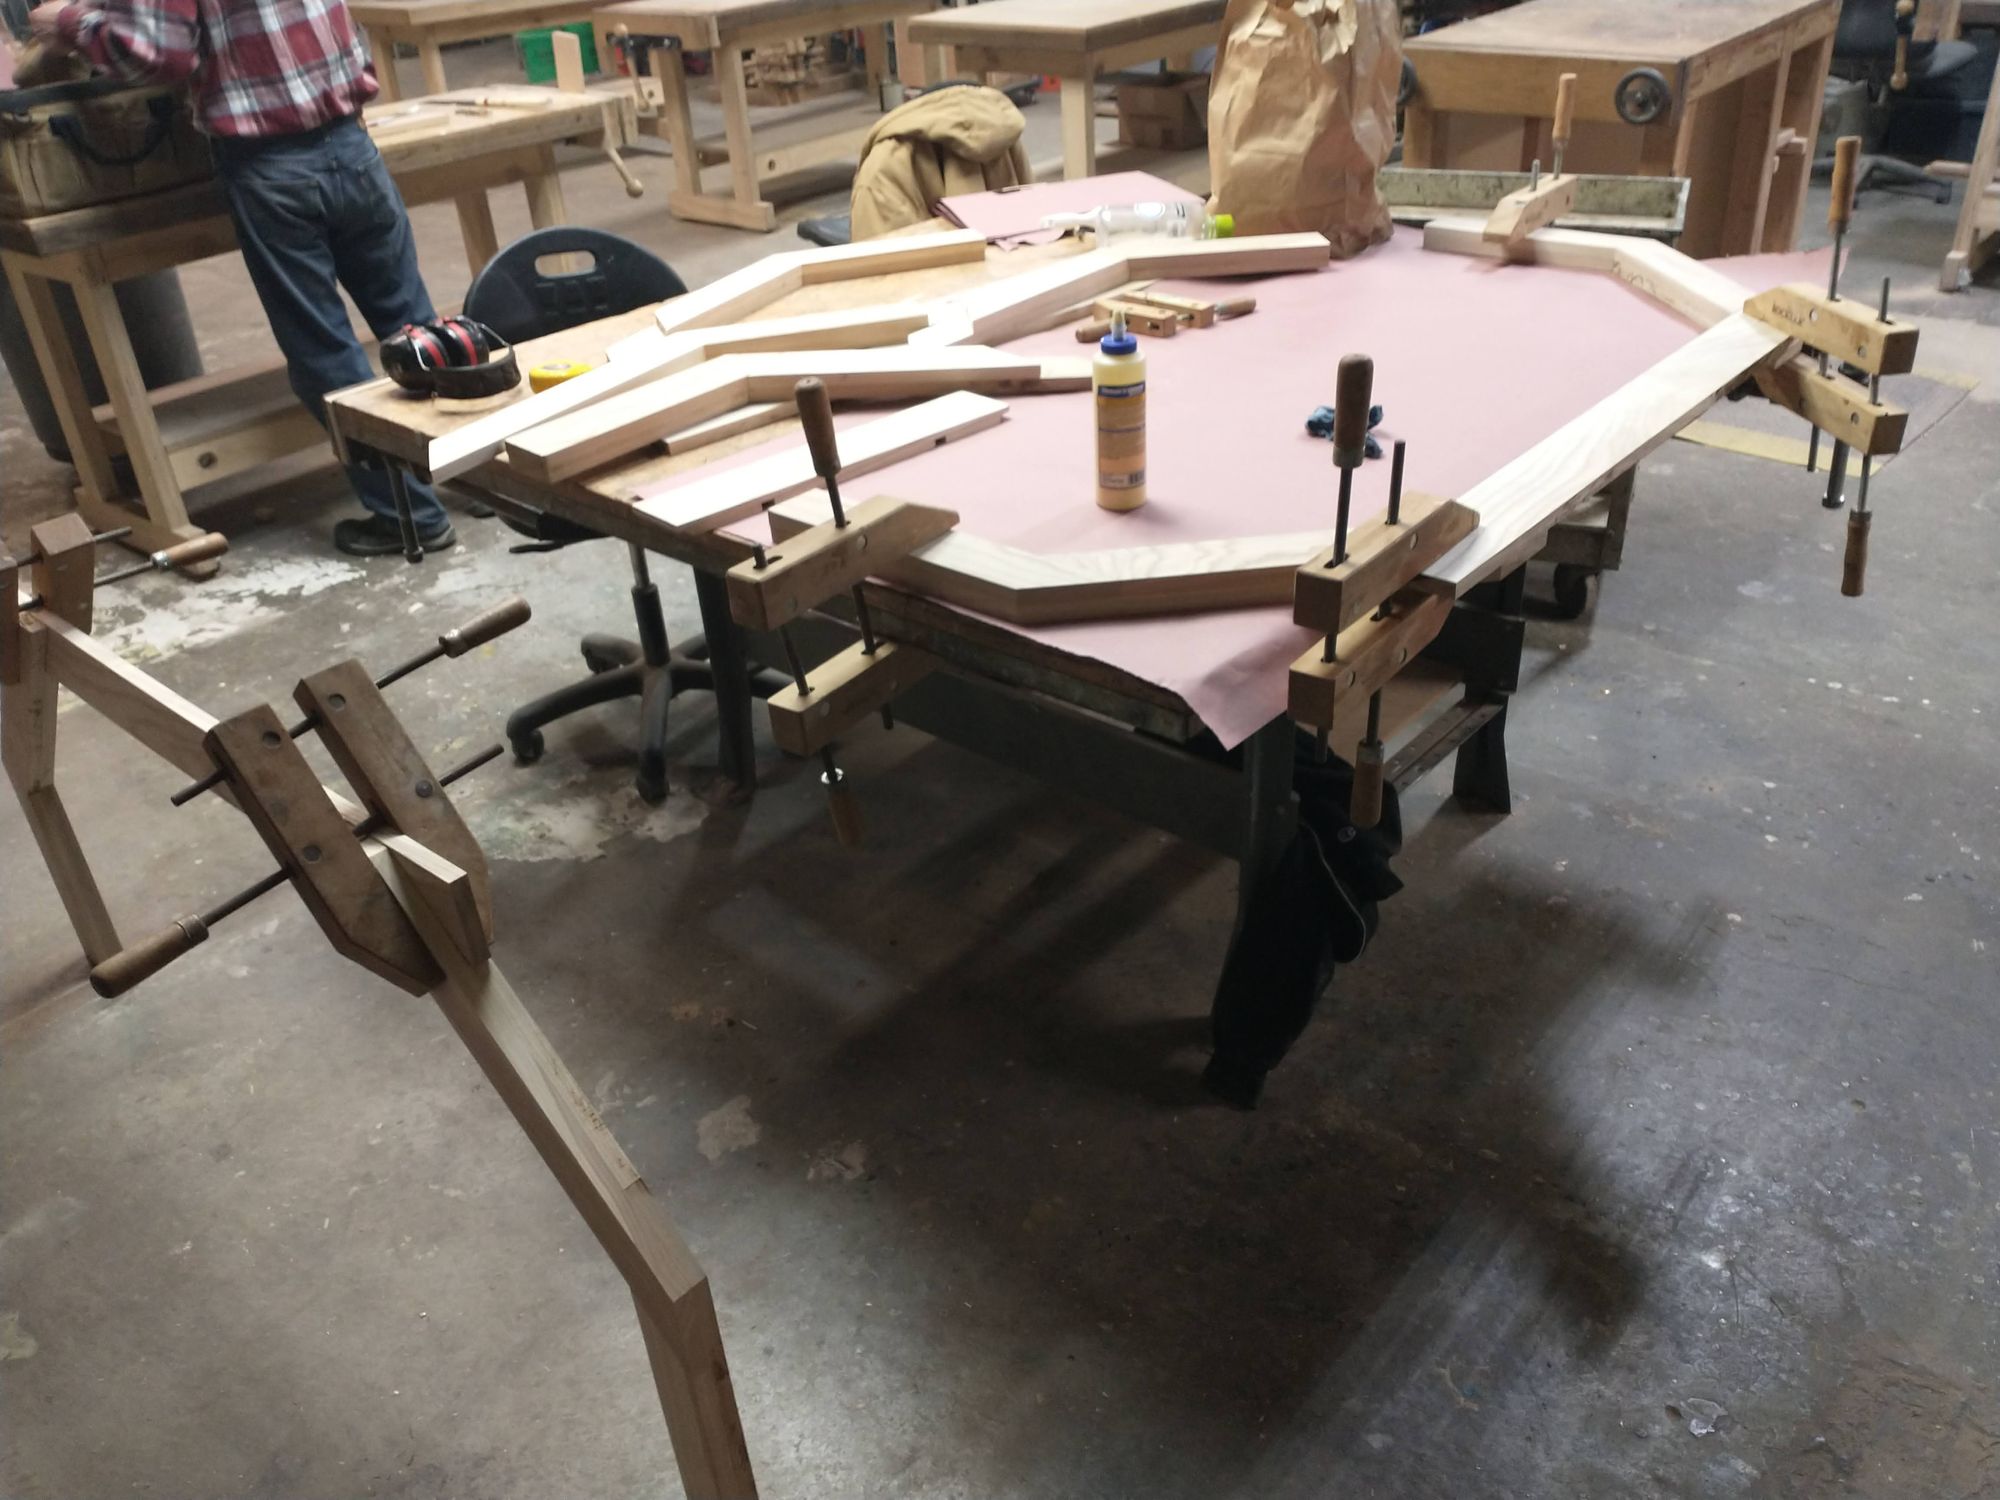
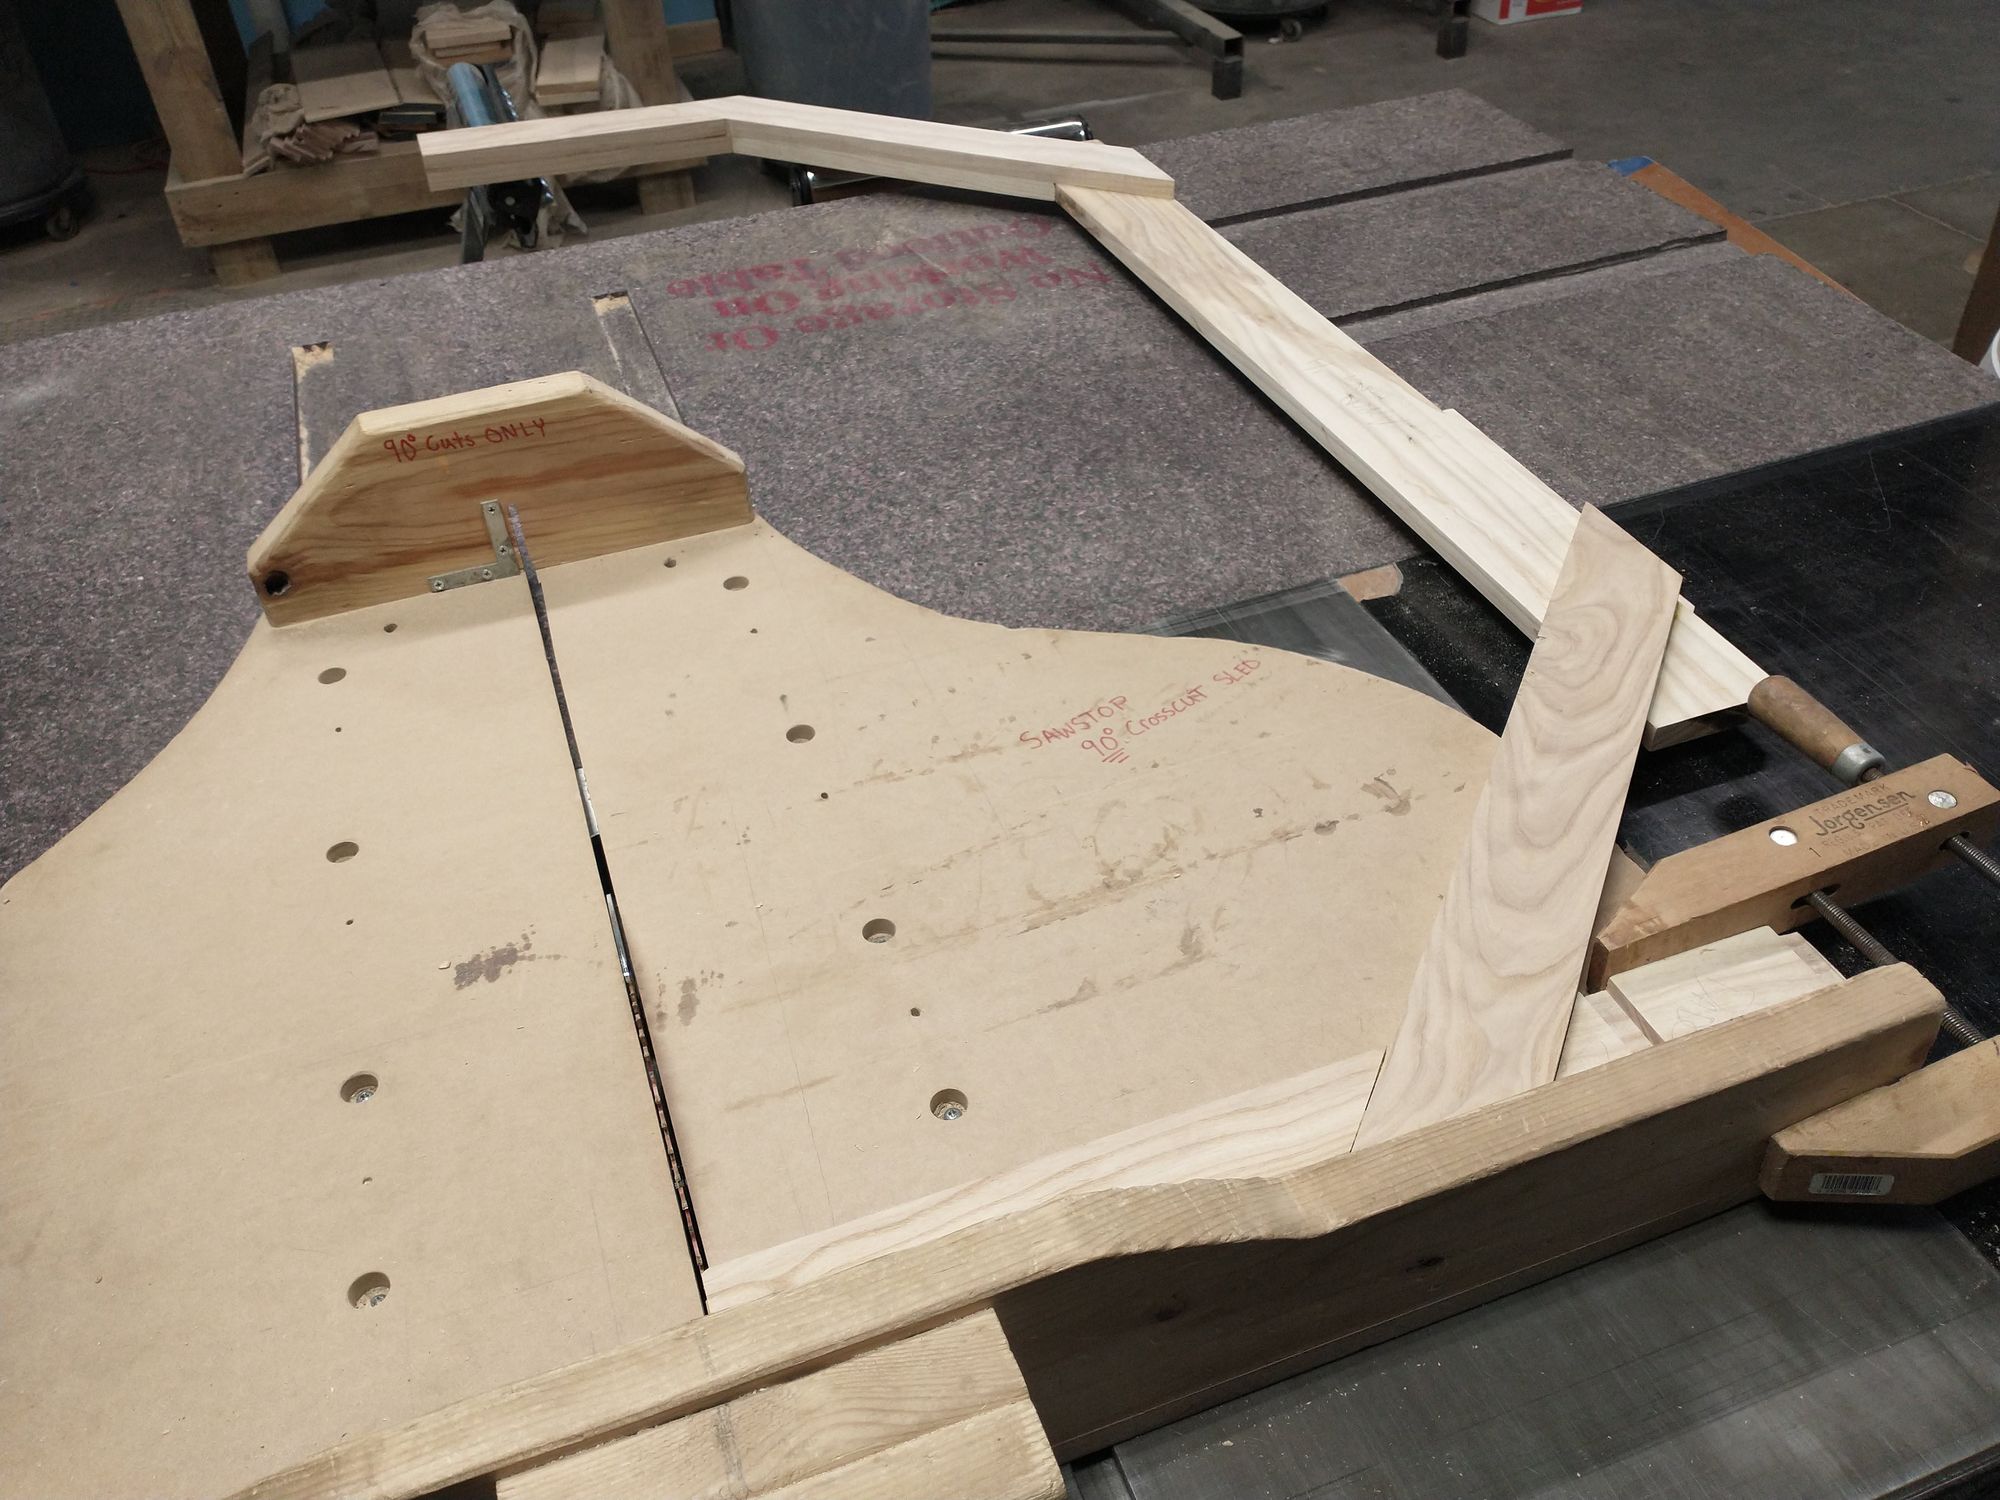
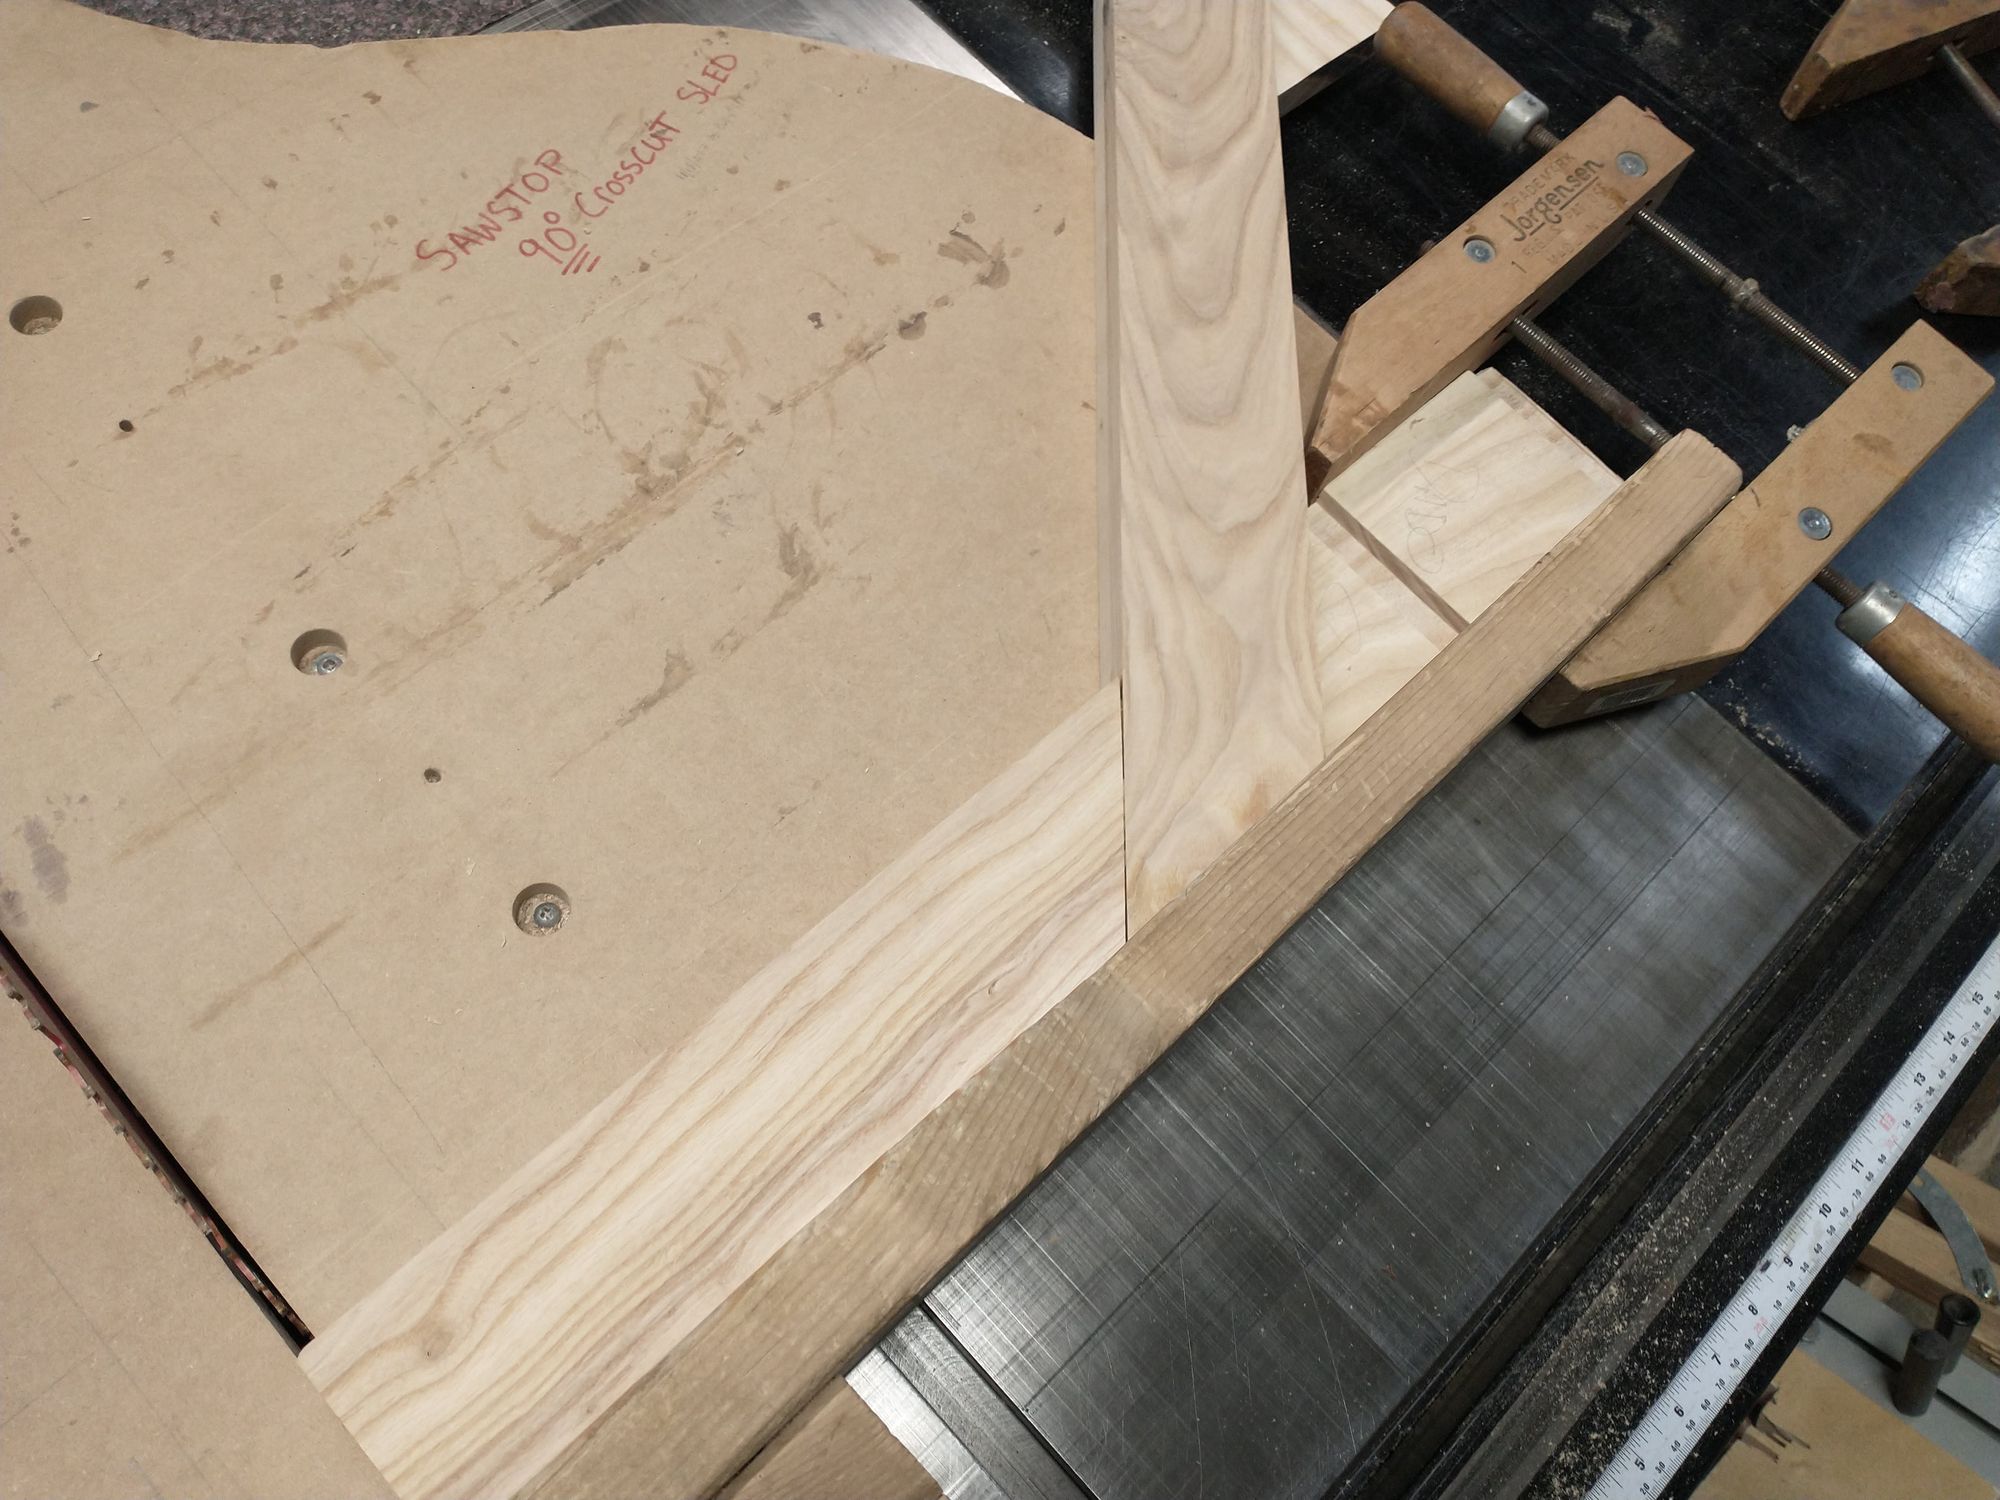
Fortunately, I'm an engineer and had planned for this! I didn't cut the legs to their final length until after I glued them on. That gave me plenty of wiggle room to make adjustments, but I later discovered that the table saw isn't quite spacious enough to fit my whole assembly:
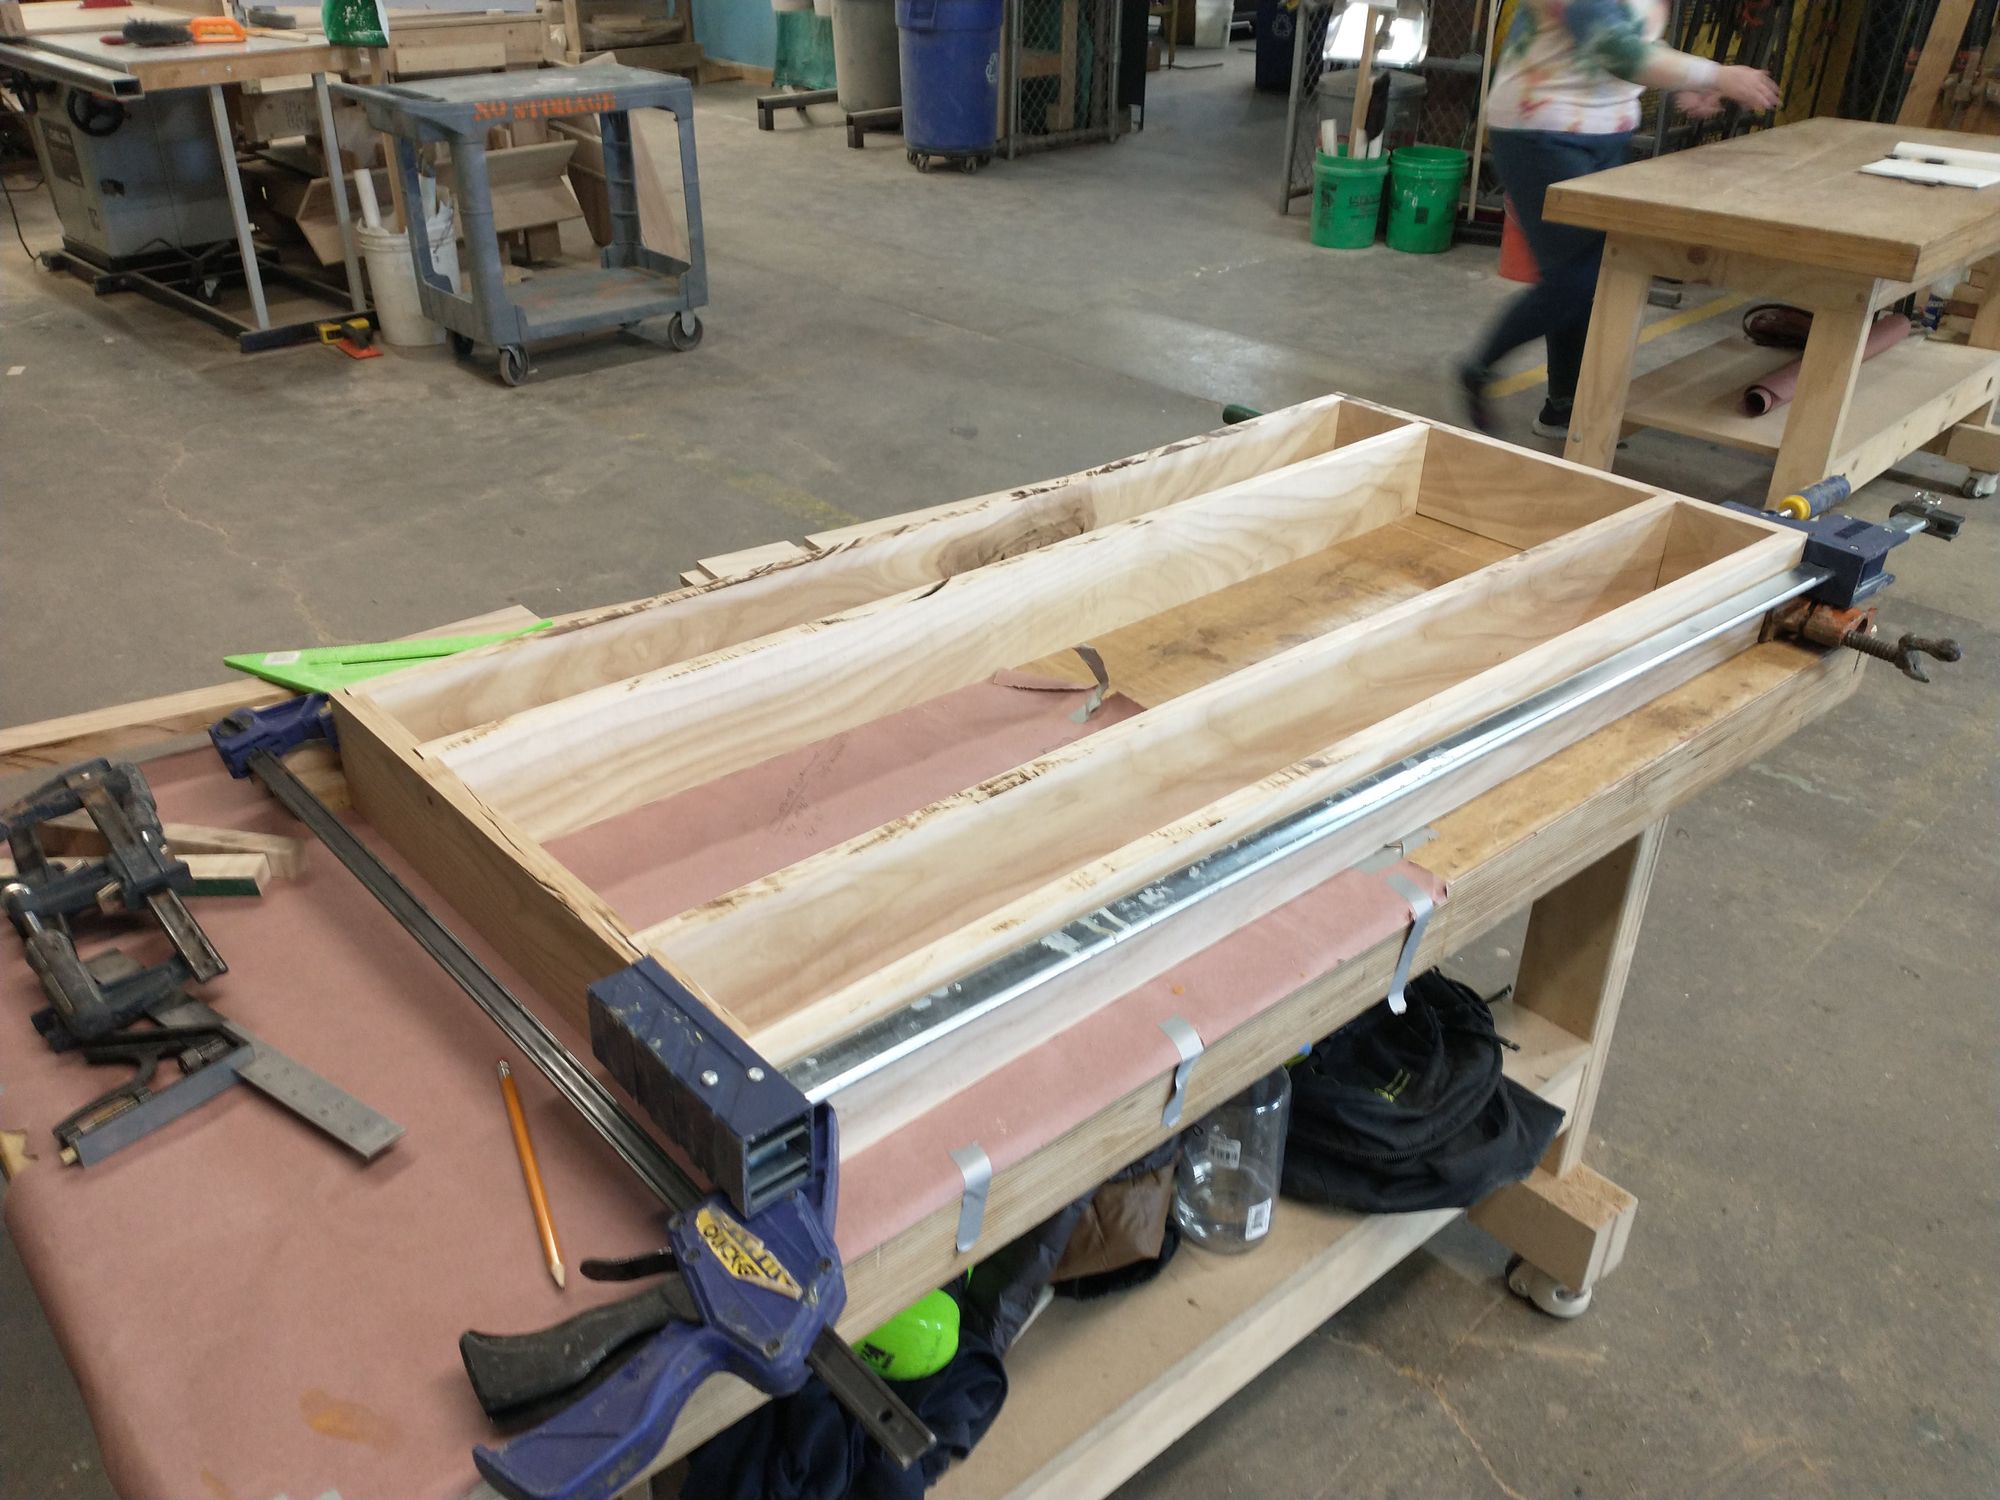
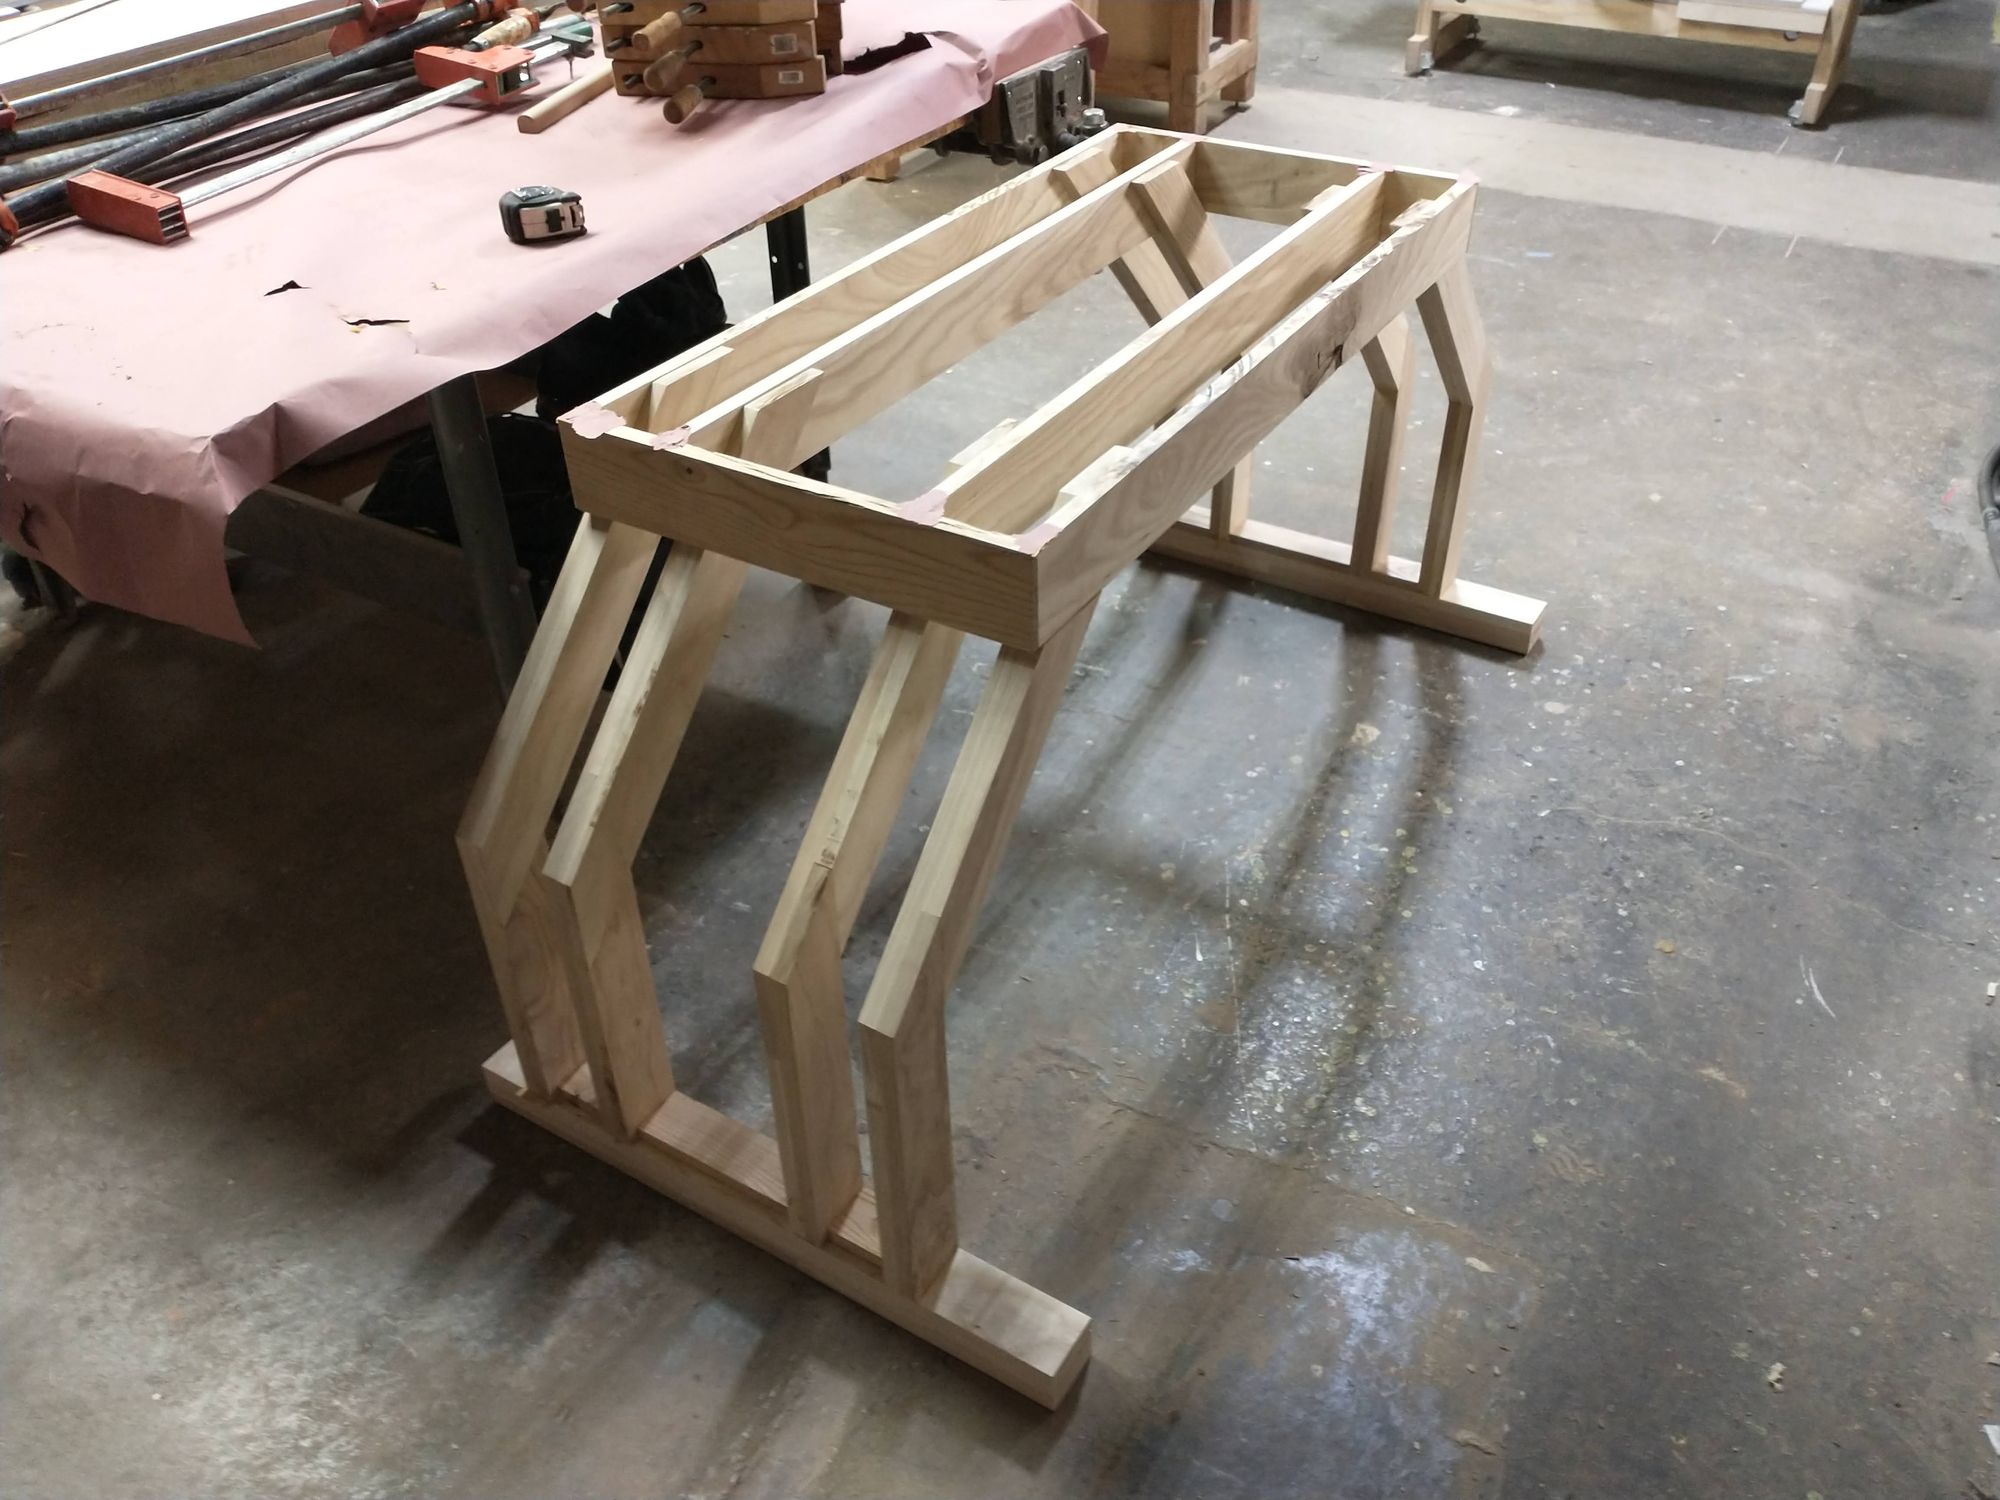
In the end though, the thing that straightened everything out was the clamps!

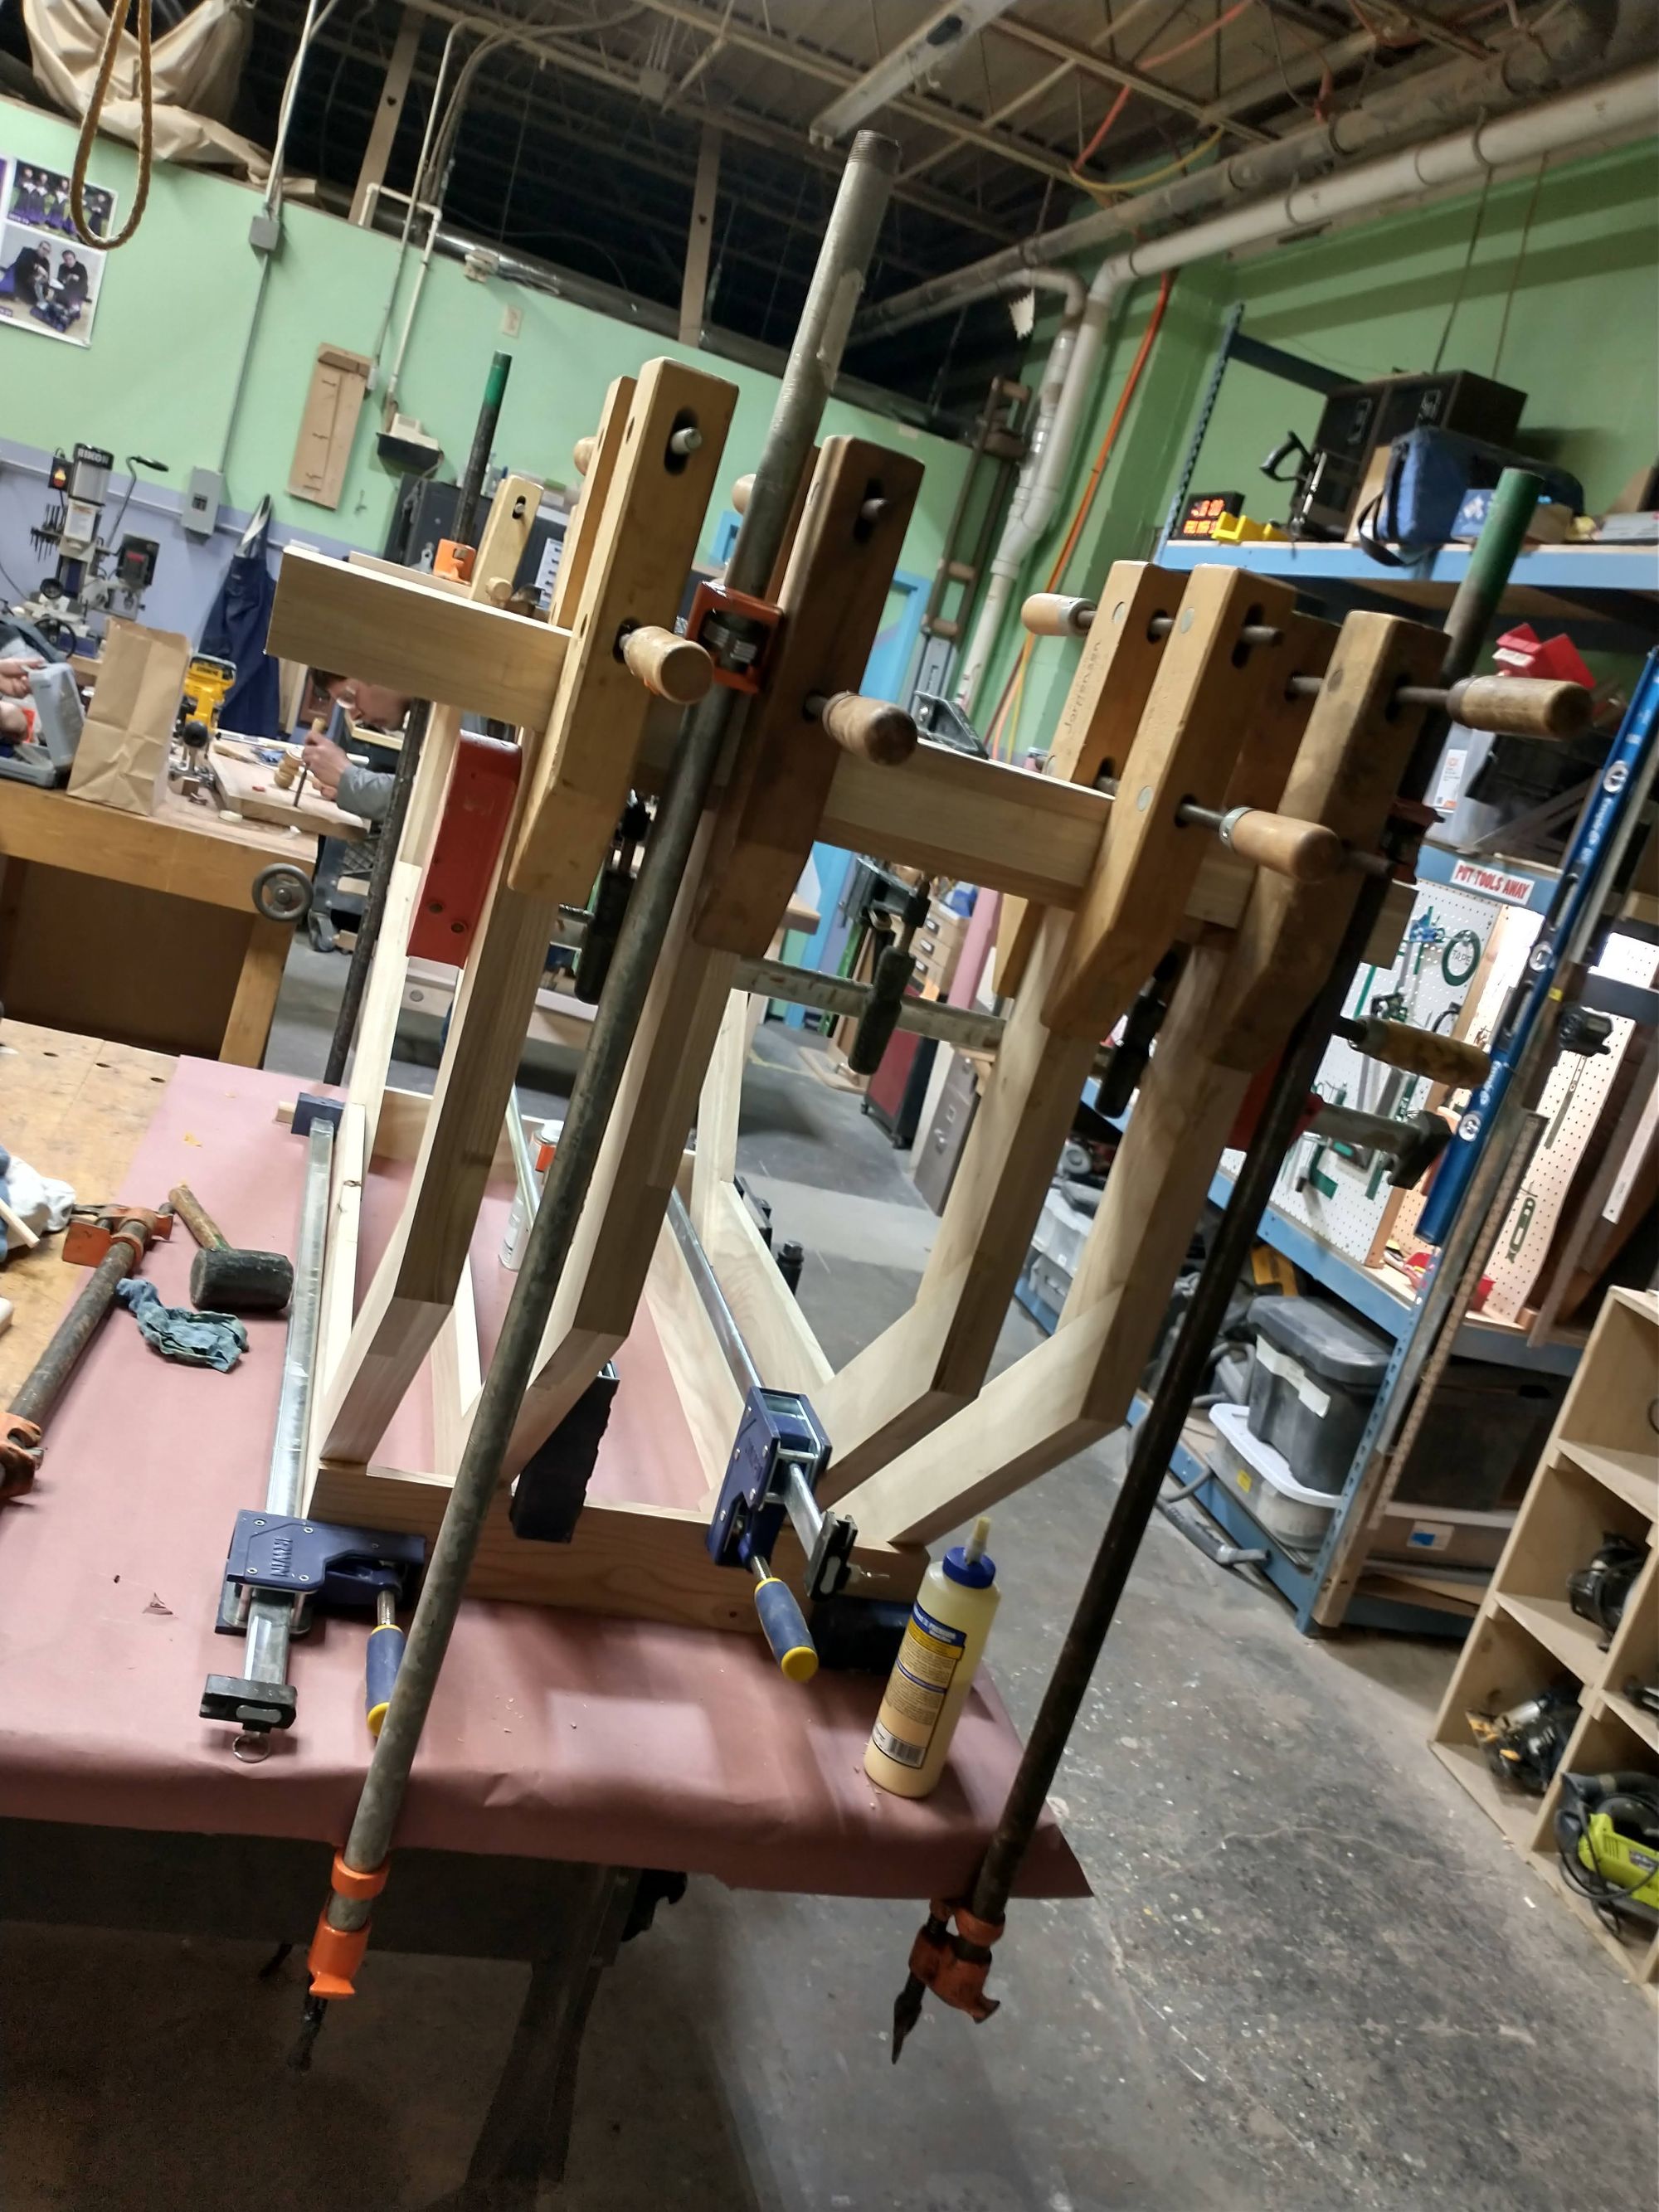
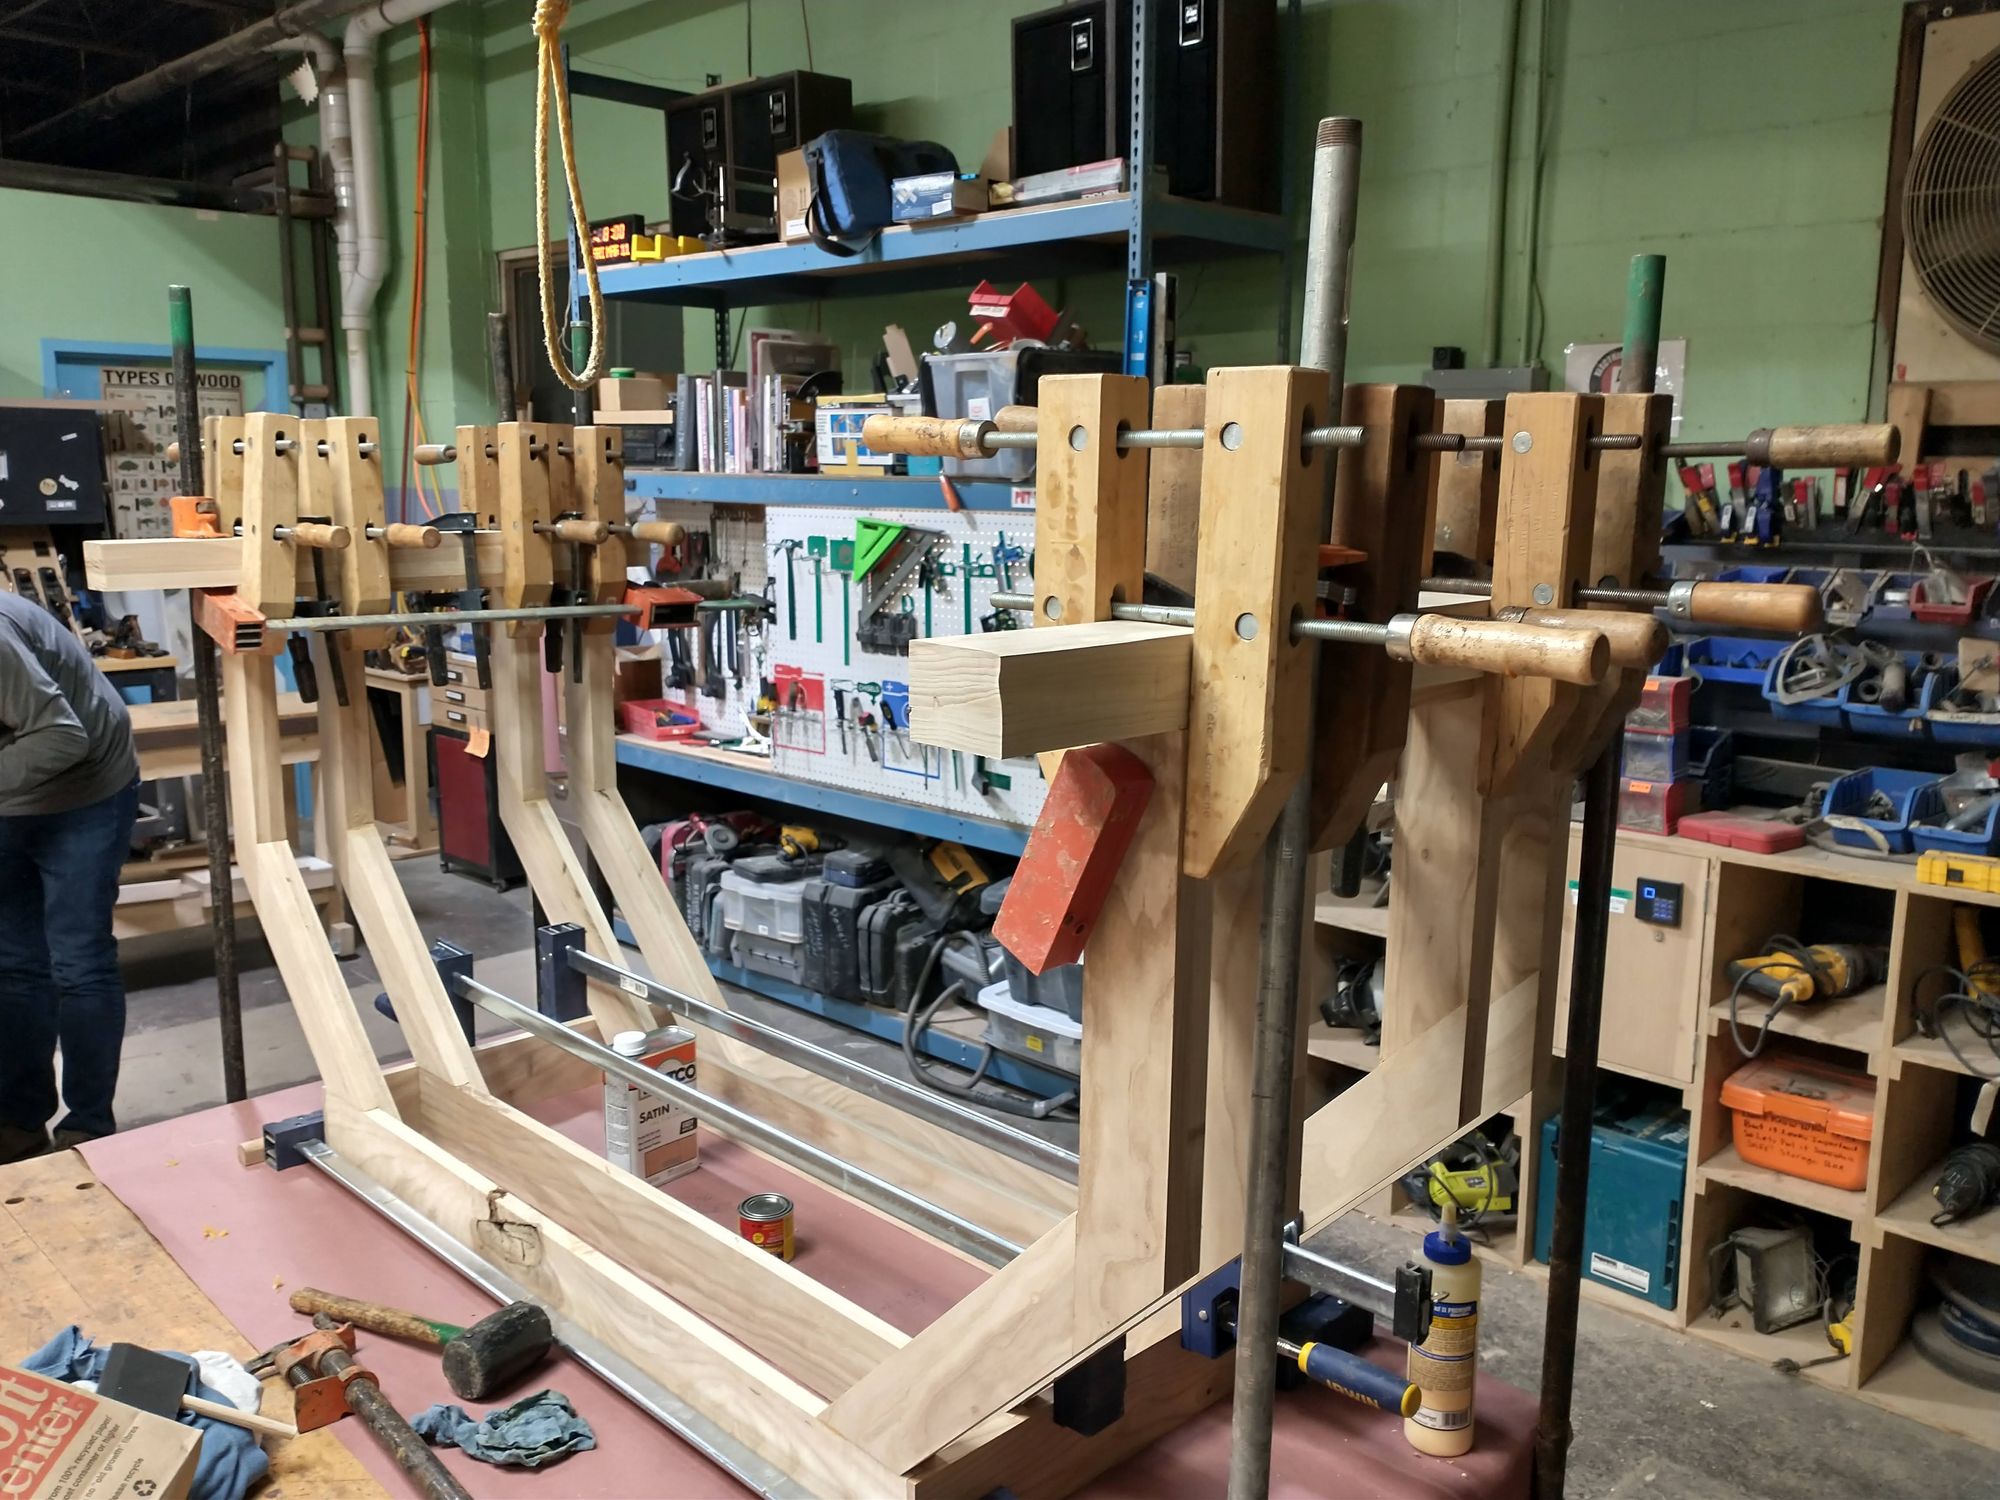
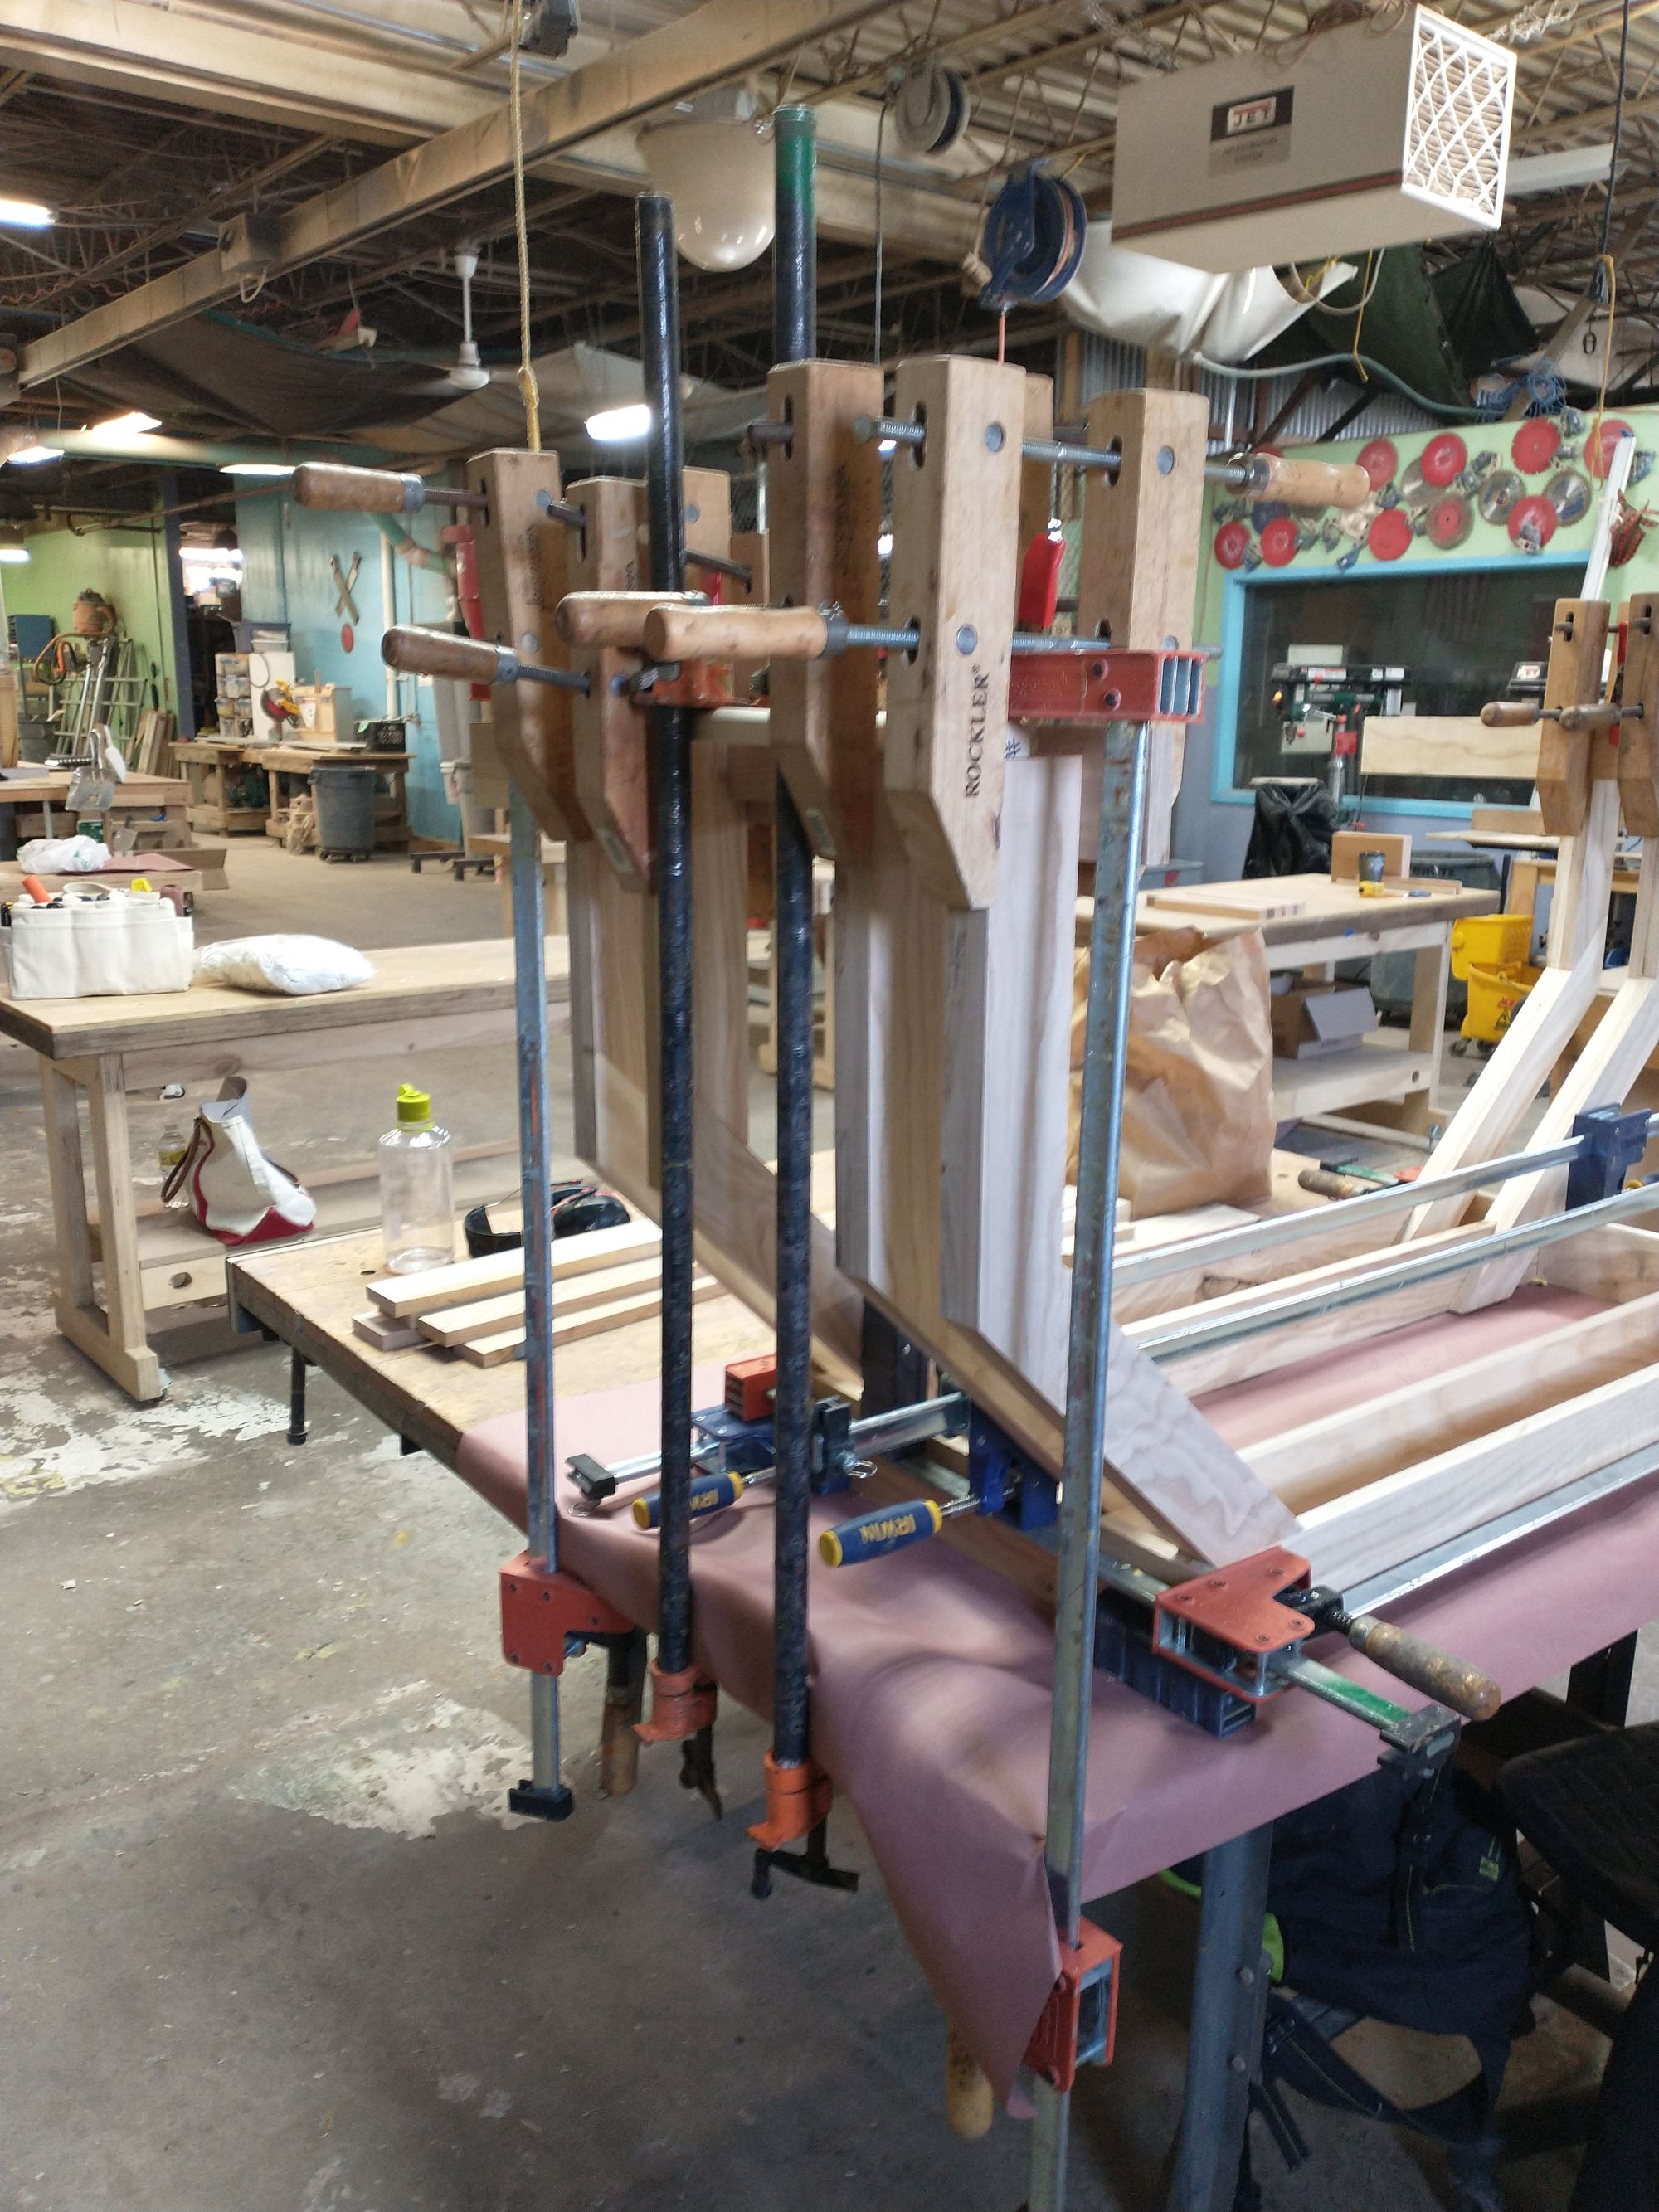
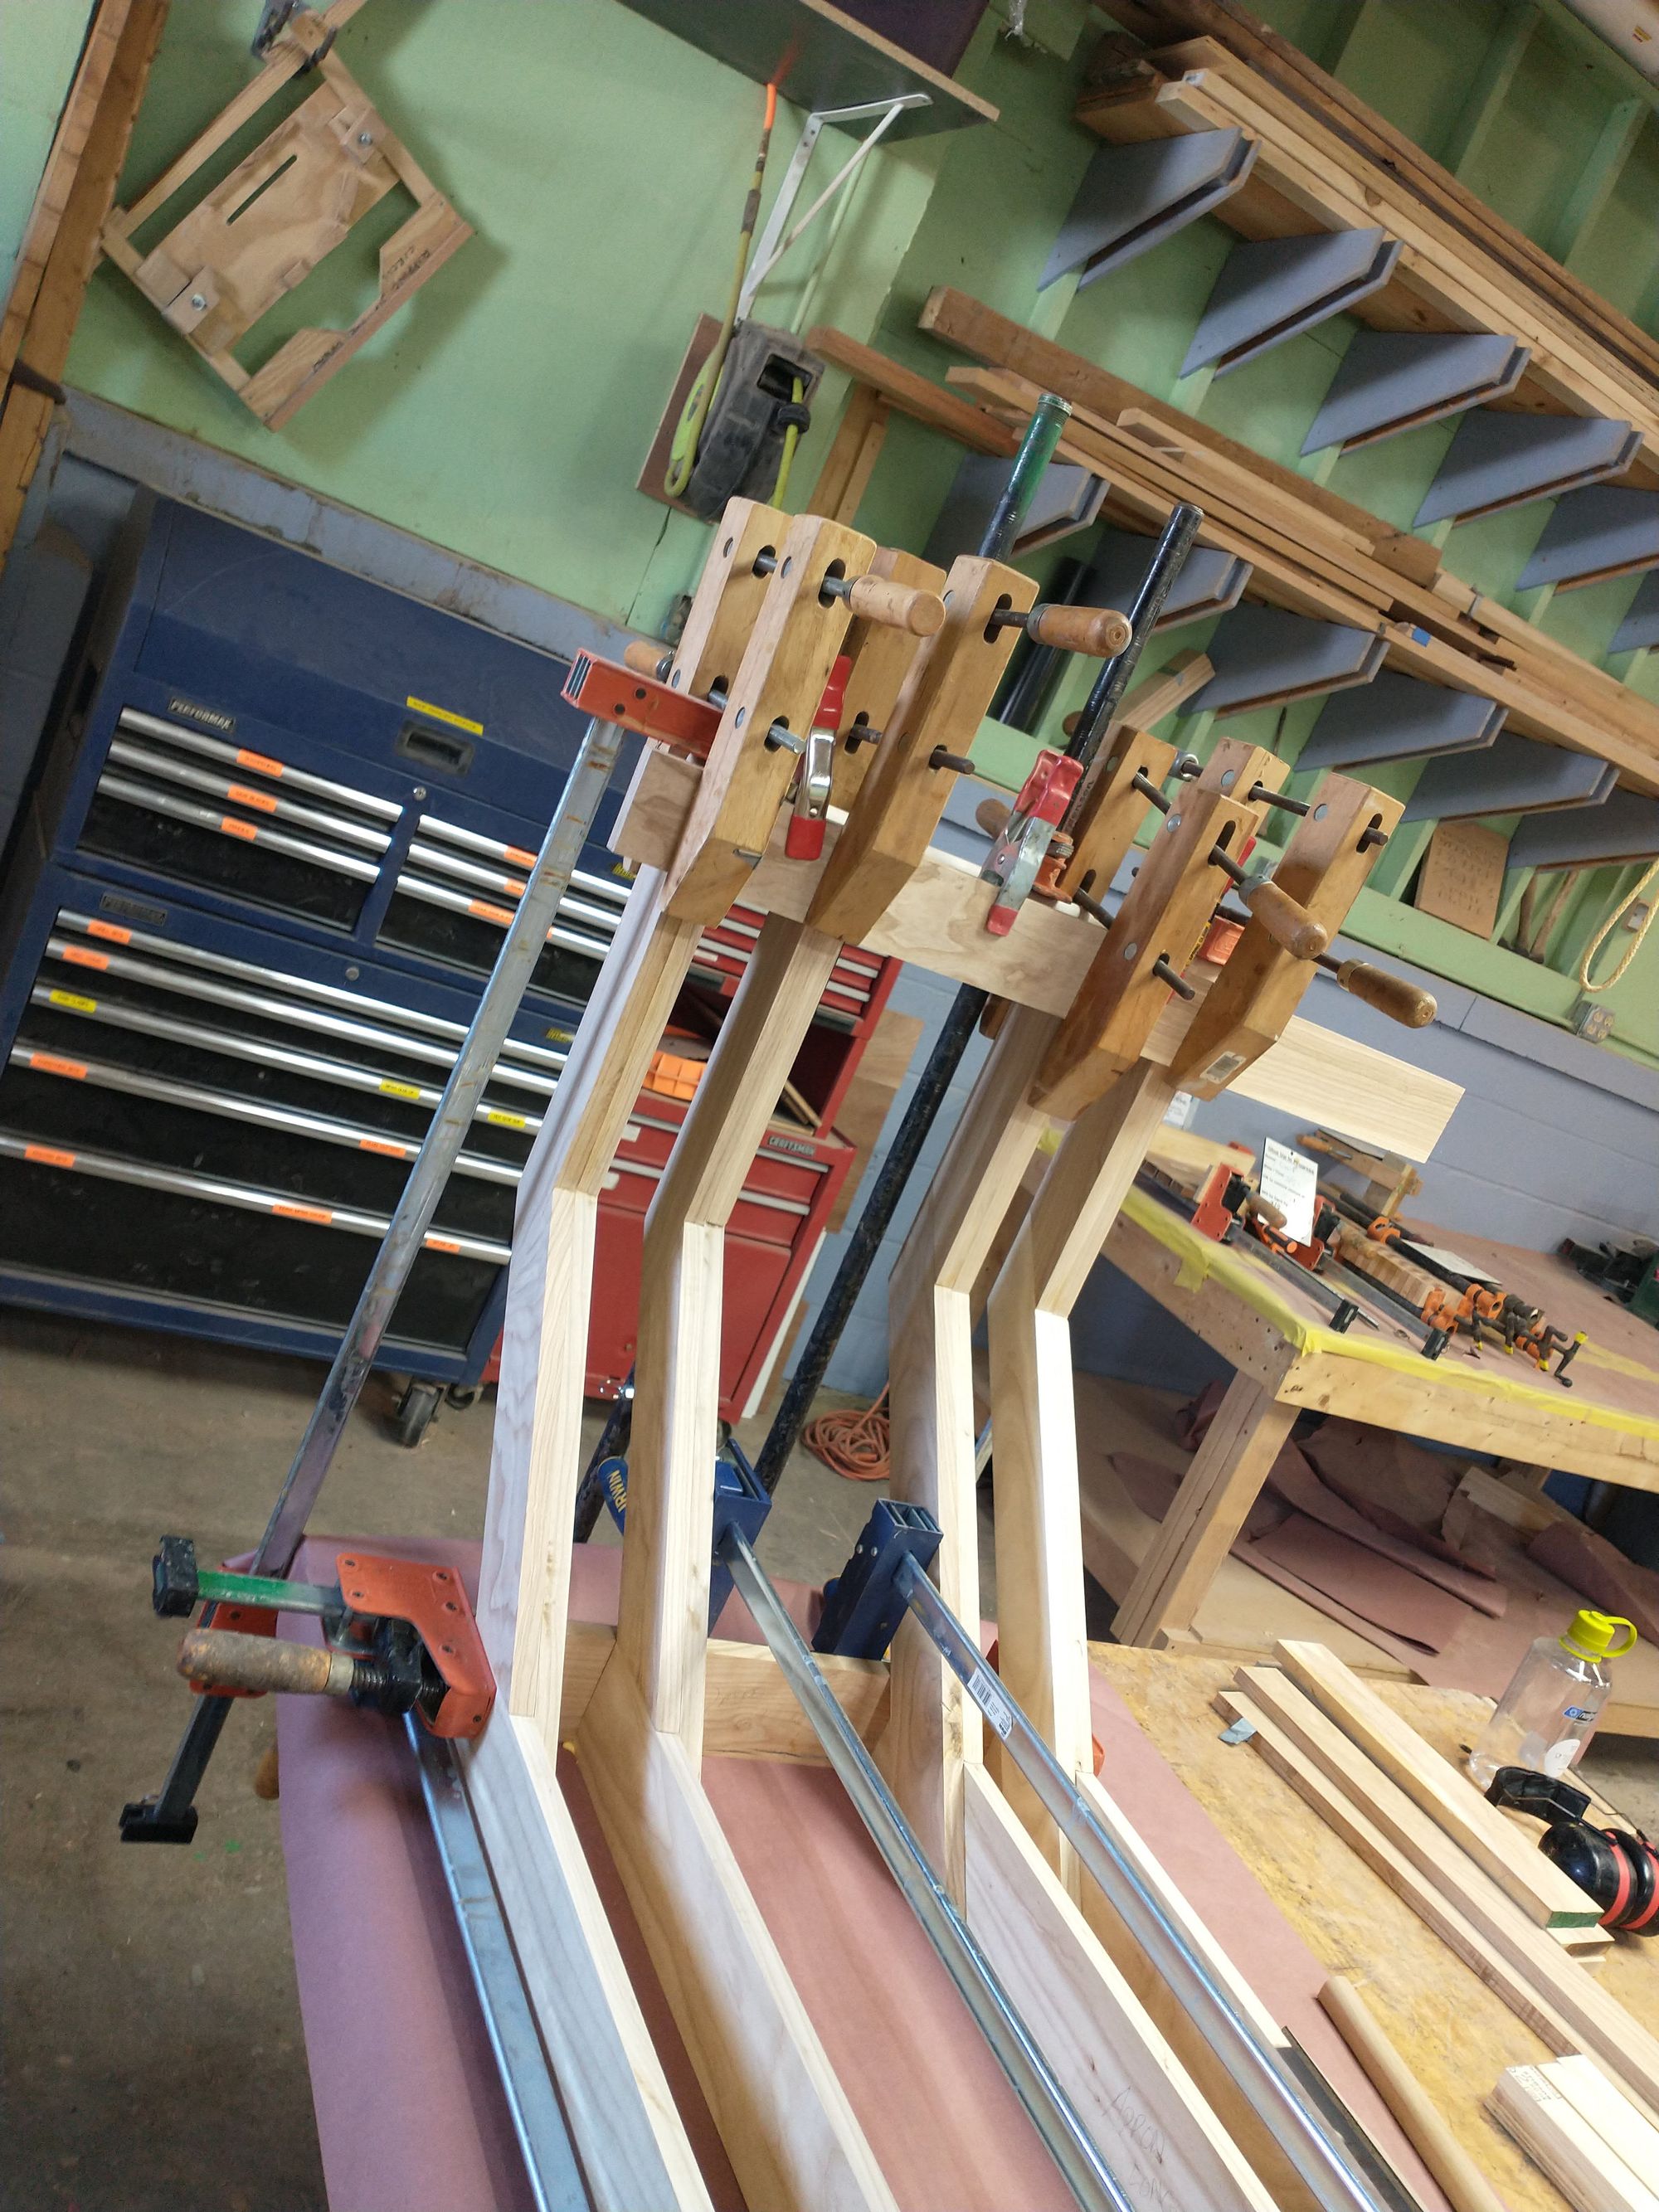
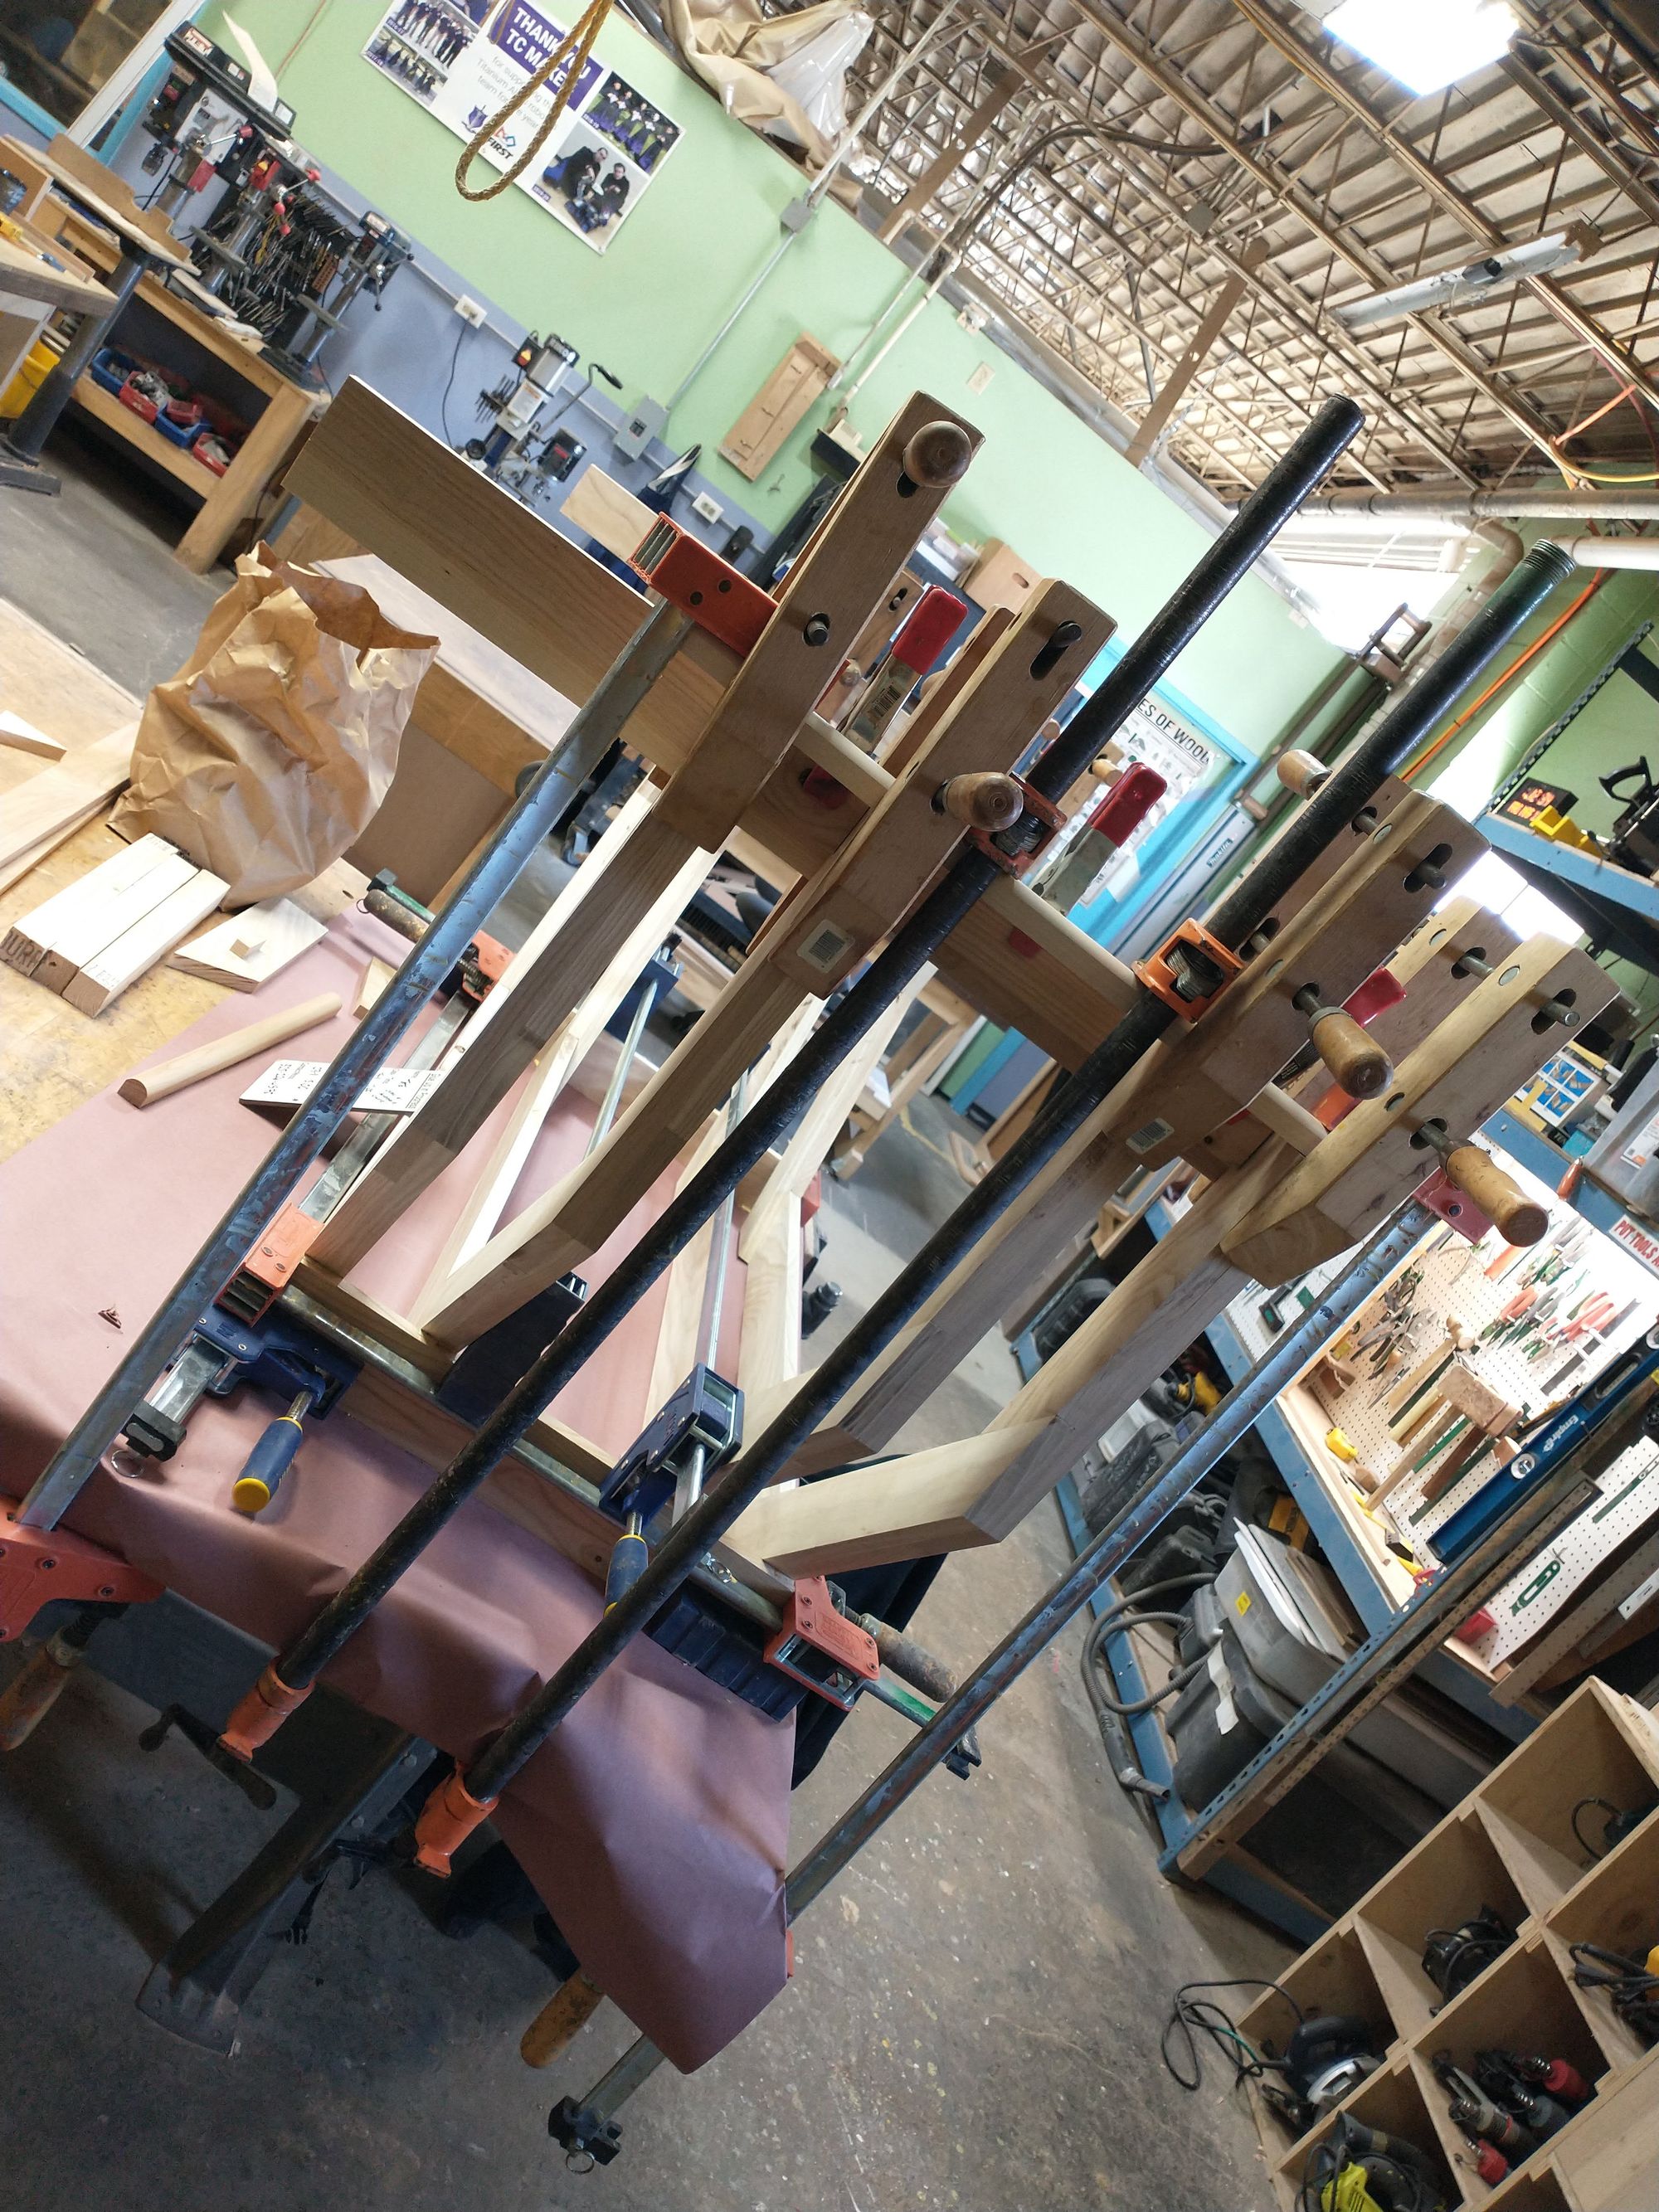
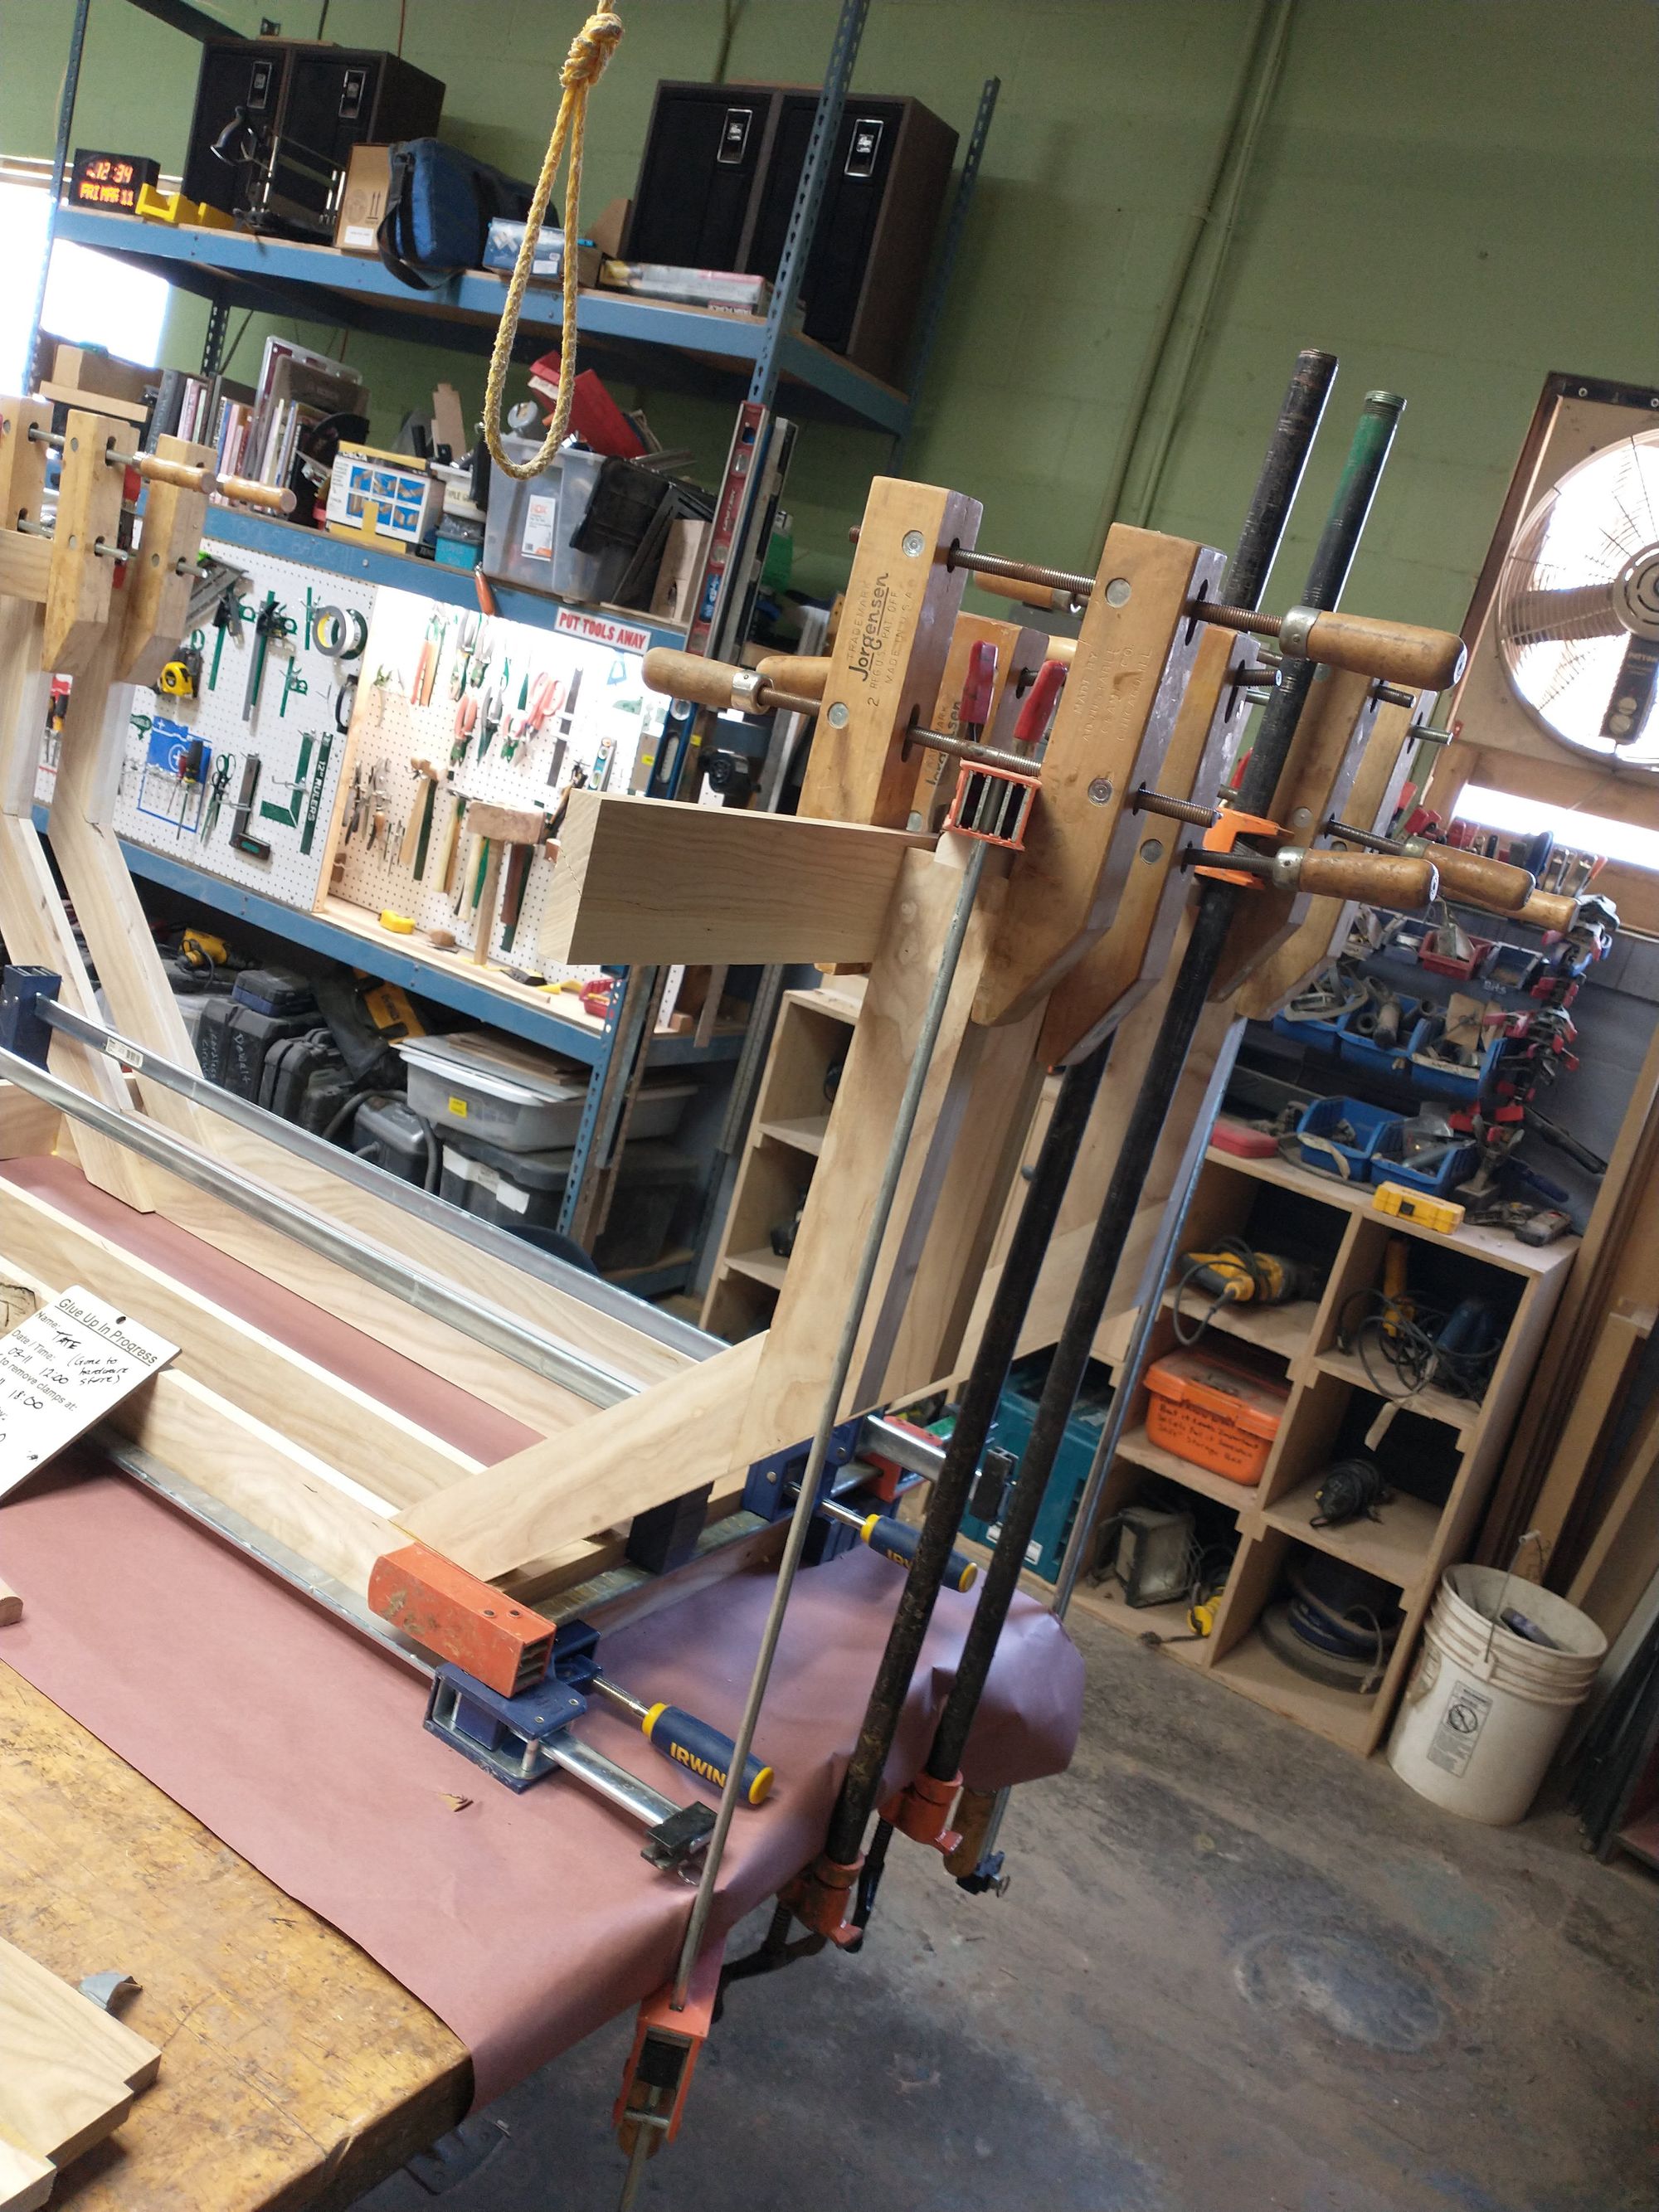
That's a lot of clamps, but it was worth it! If you look closely, you'll see that I snuck the feet onto the legs while you weren't looking!
Here's the final, unclamped table–upside down and rightside up!
Now, I need a place to set the keyboards! Here's a sneak peek into my next post!
subscribe to get email updates and support my work
Click the link below or the subscribe button at the bottom of the page to support my work and get an email every time I make a new post!