how to make (almost) perfect joints for beginners
Read the previous post in this series here:
 Tate Shannon
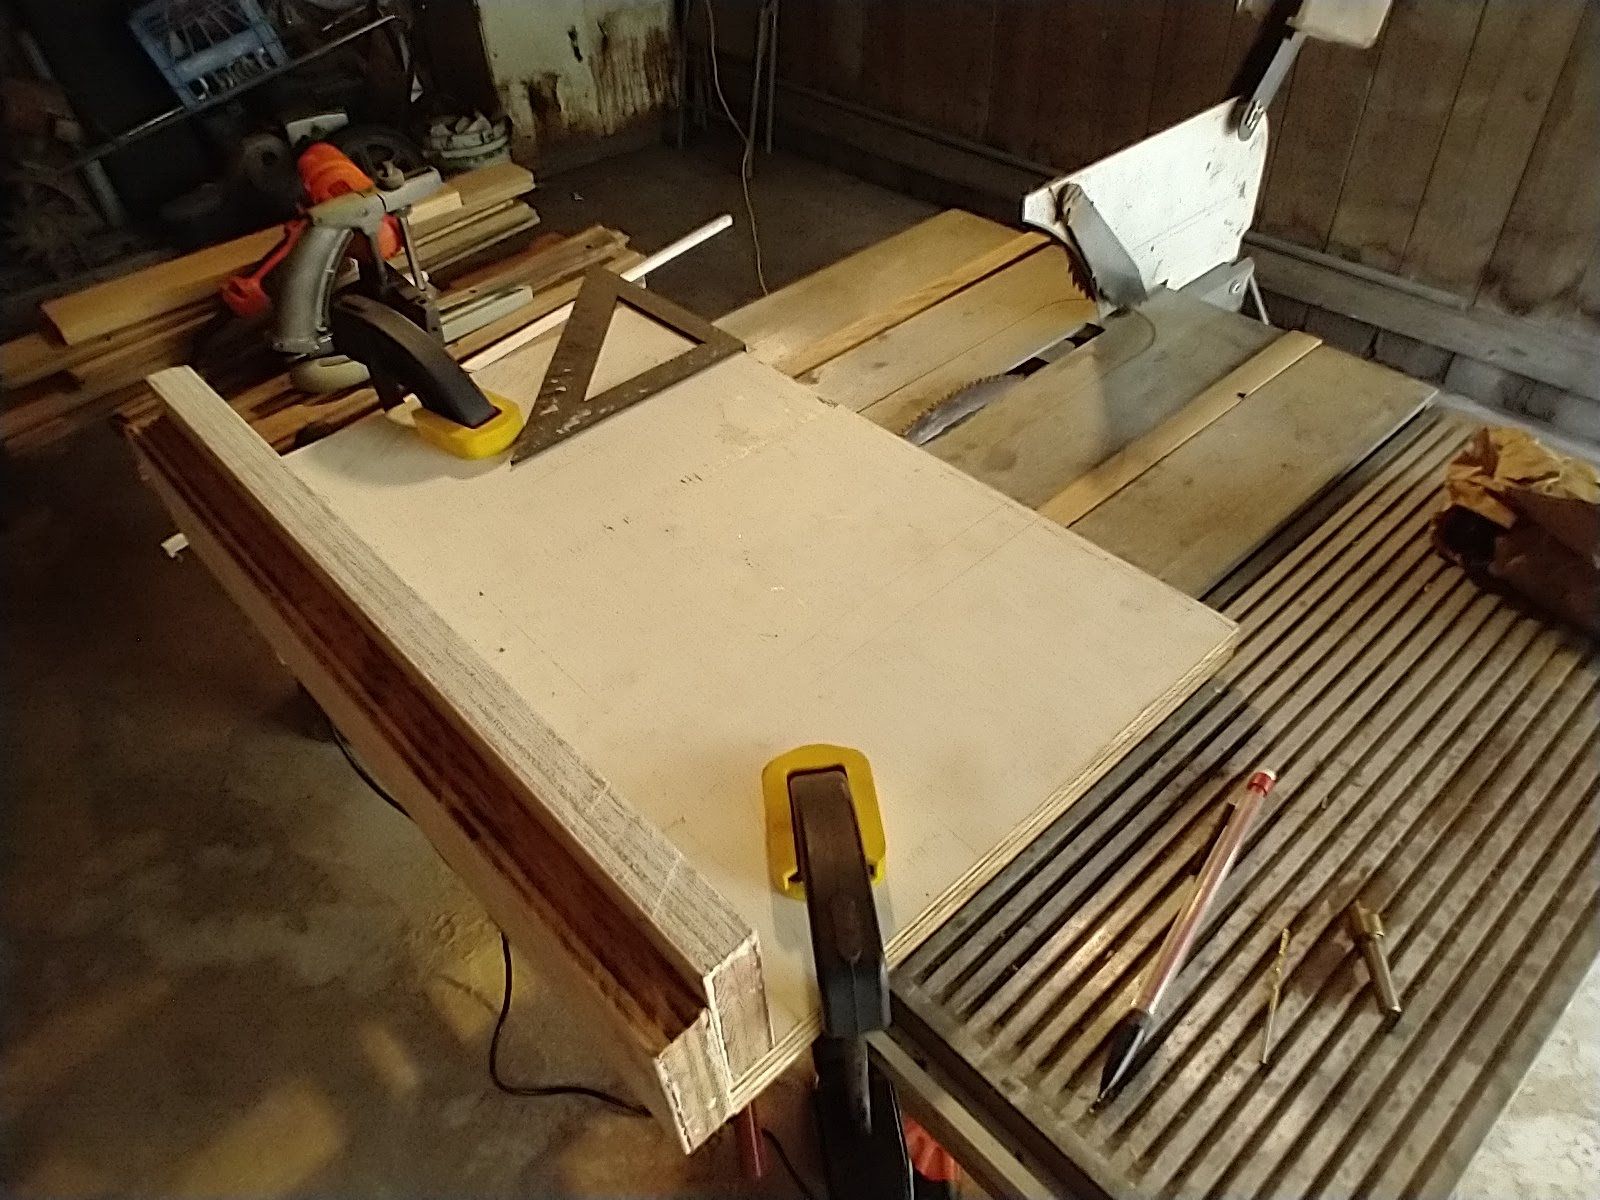
how to (sort of) use a chop saw
After my last post, my hope of using the table saw to make my desk flew out the window. I guess since even the best laid plans can fail, I shouldn't be surprised that not planning at all will also lead to failure.
But fear not! My dad has another tool!
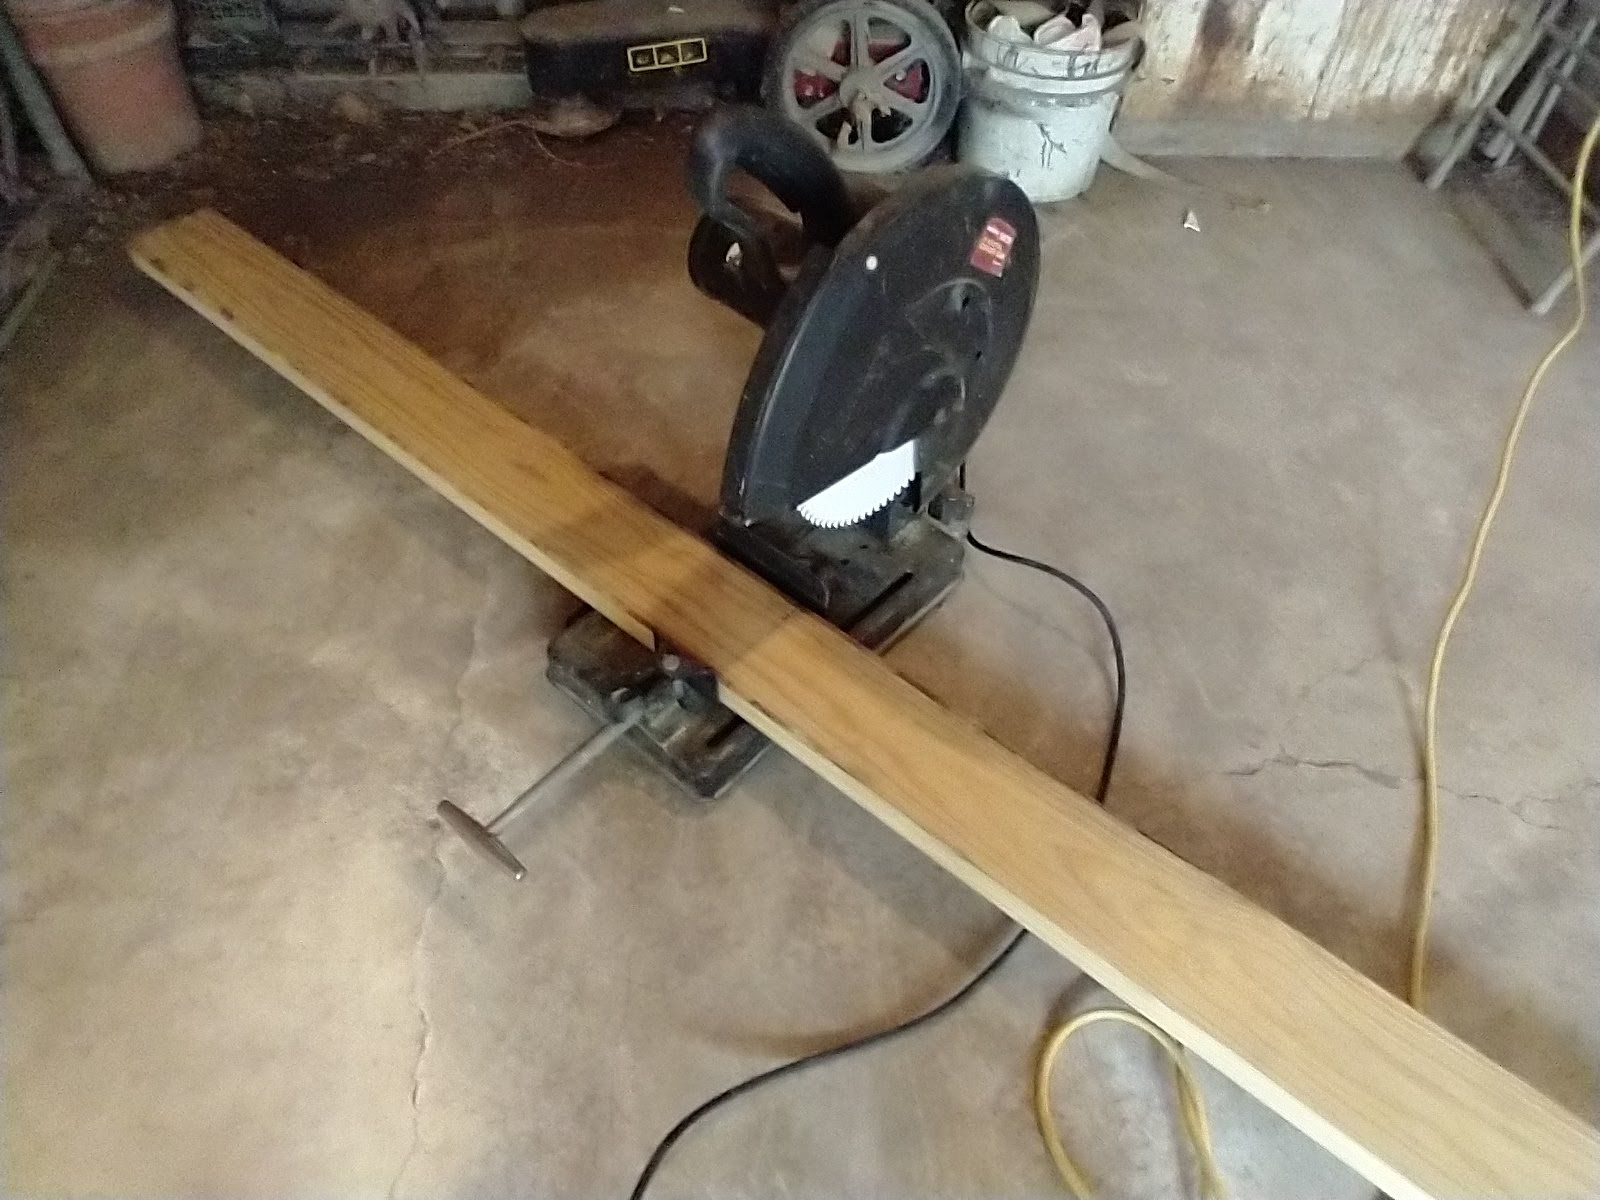
This chop saw is much better suited for what I need to do anyway! However, it needs a few modifications before I can do what I need to do.
I need the saw to cut through exactly half the width of my boards, like so:

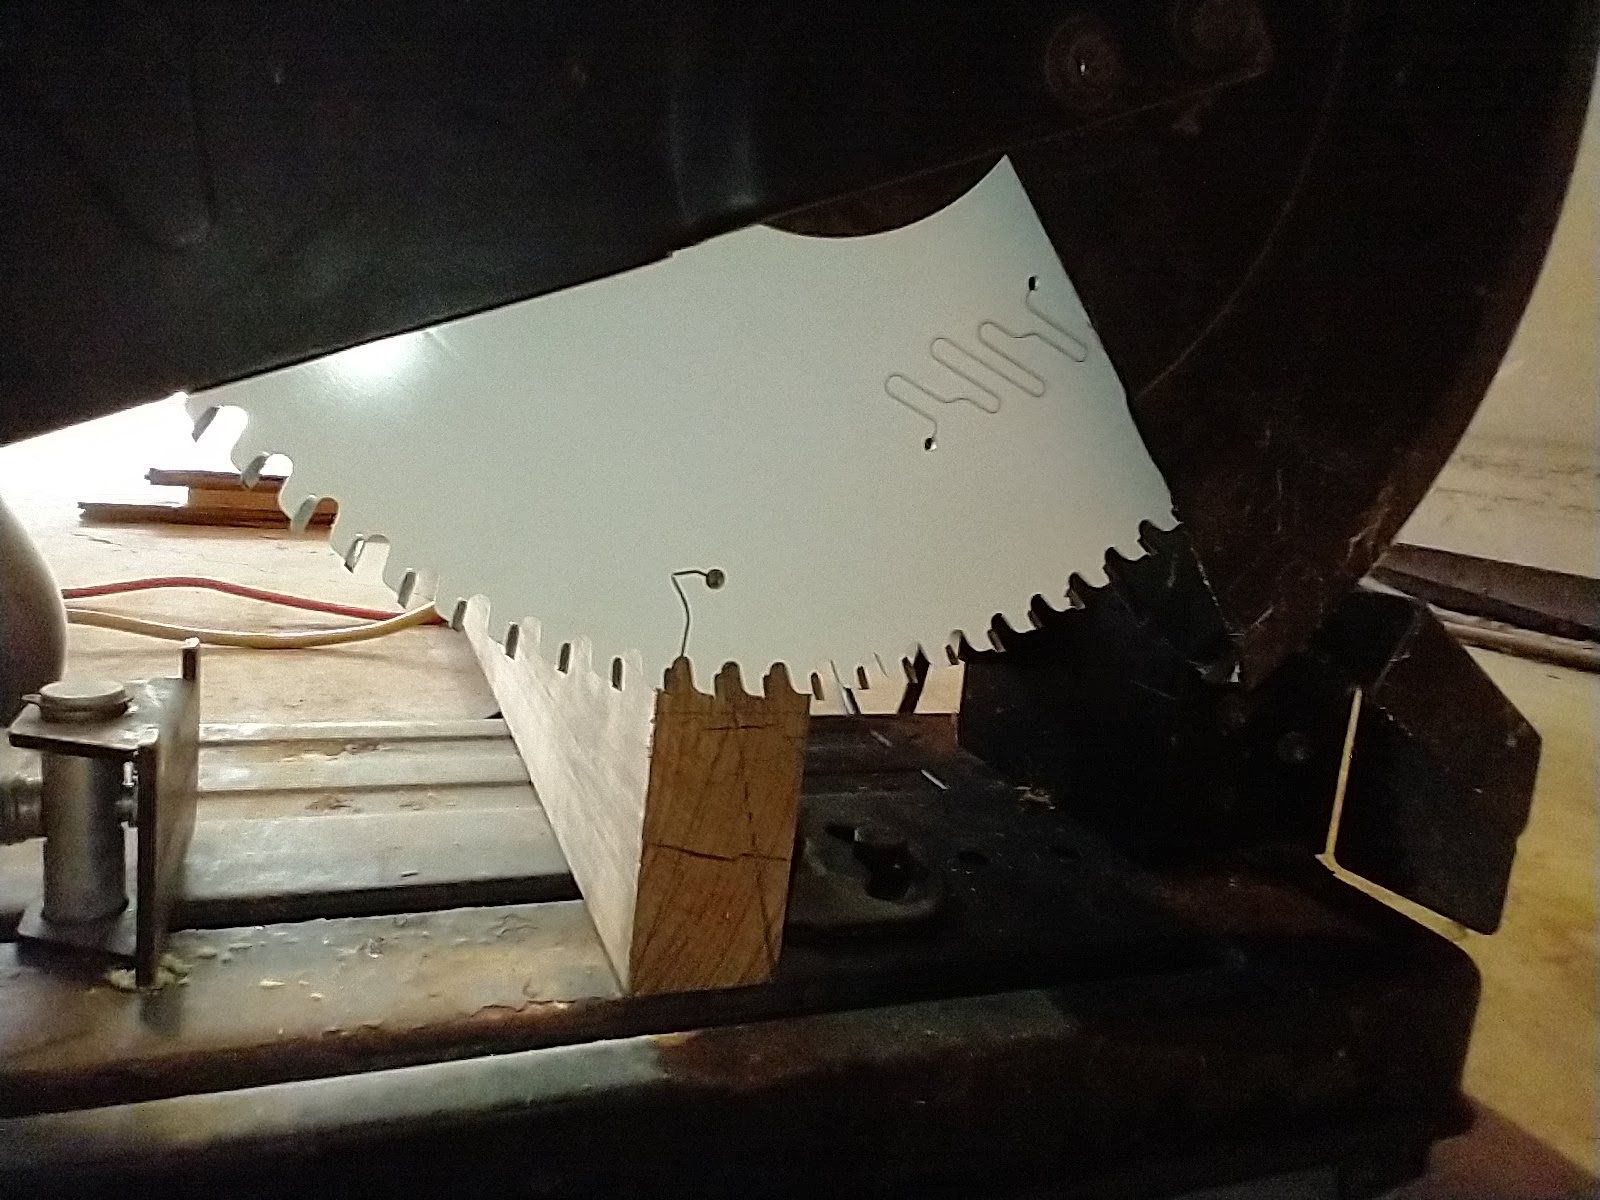
Unfortunately, the bolt that controls the cutting depth of the saw wasn't long enough for that. Two trips to the hardware store later, I got it to work!


Today I learned that metric hardware is much more expensive than customary.
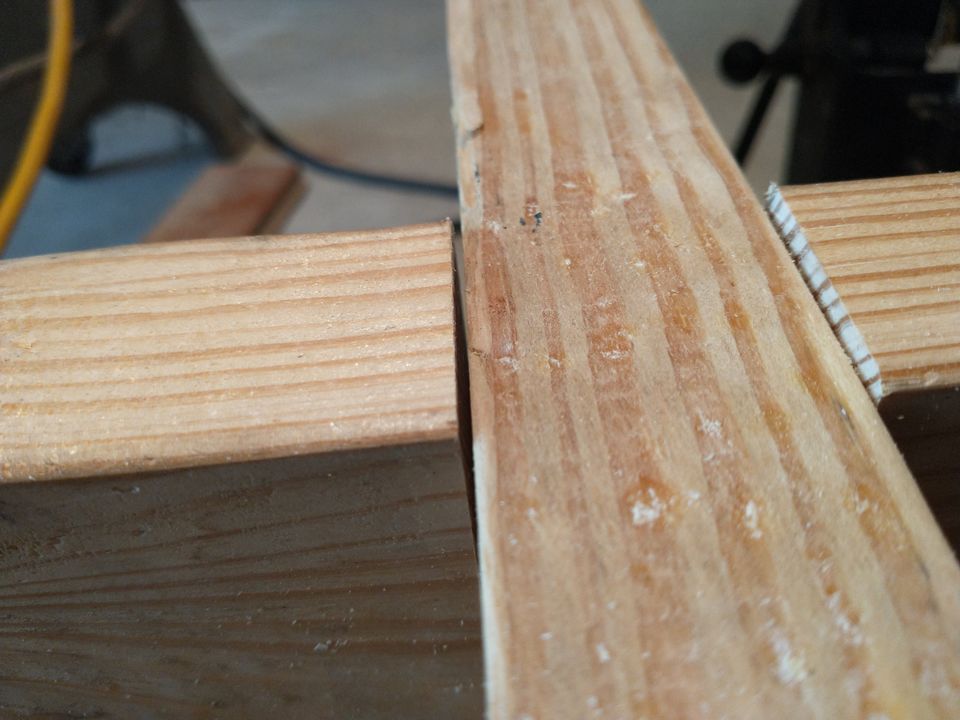
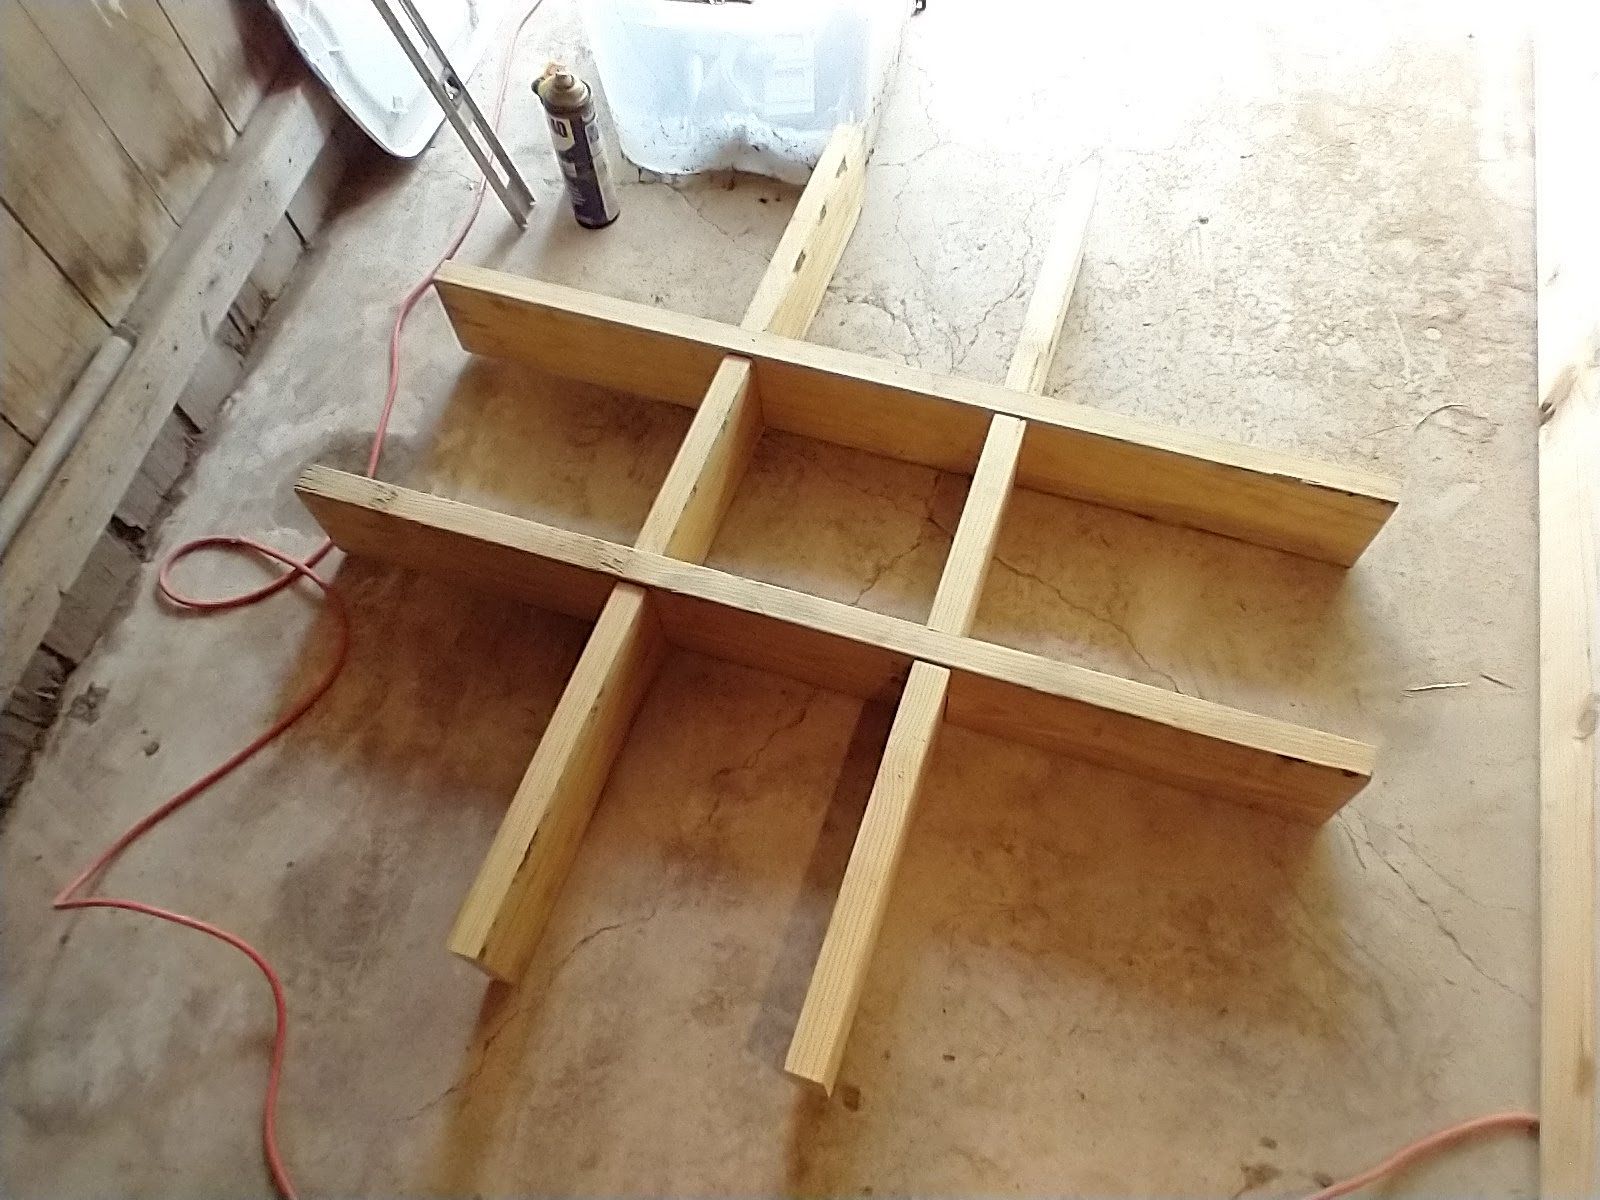
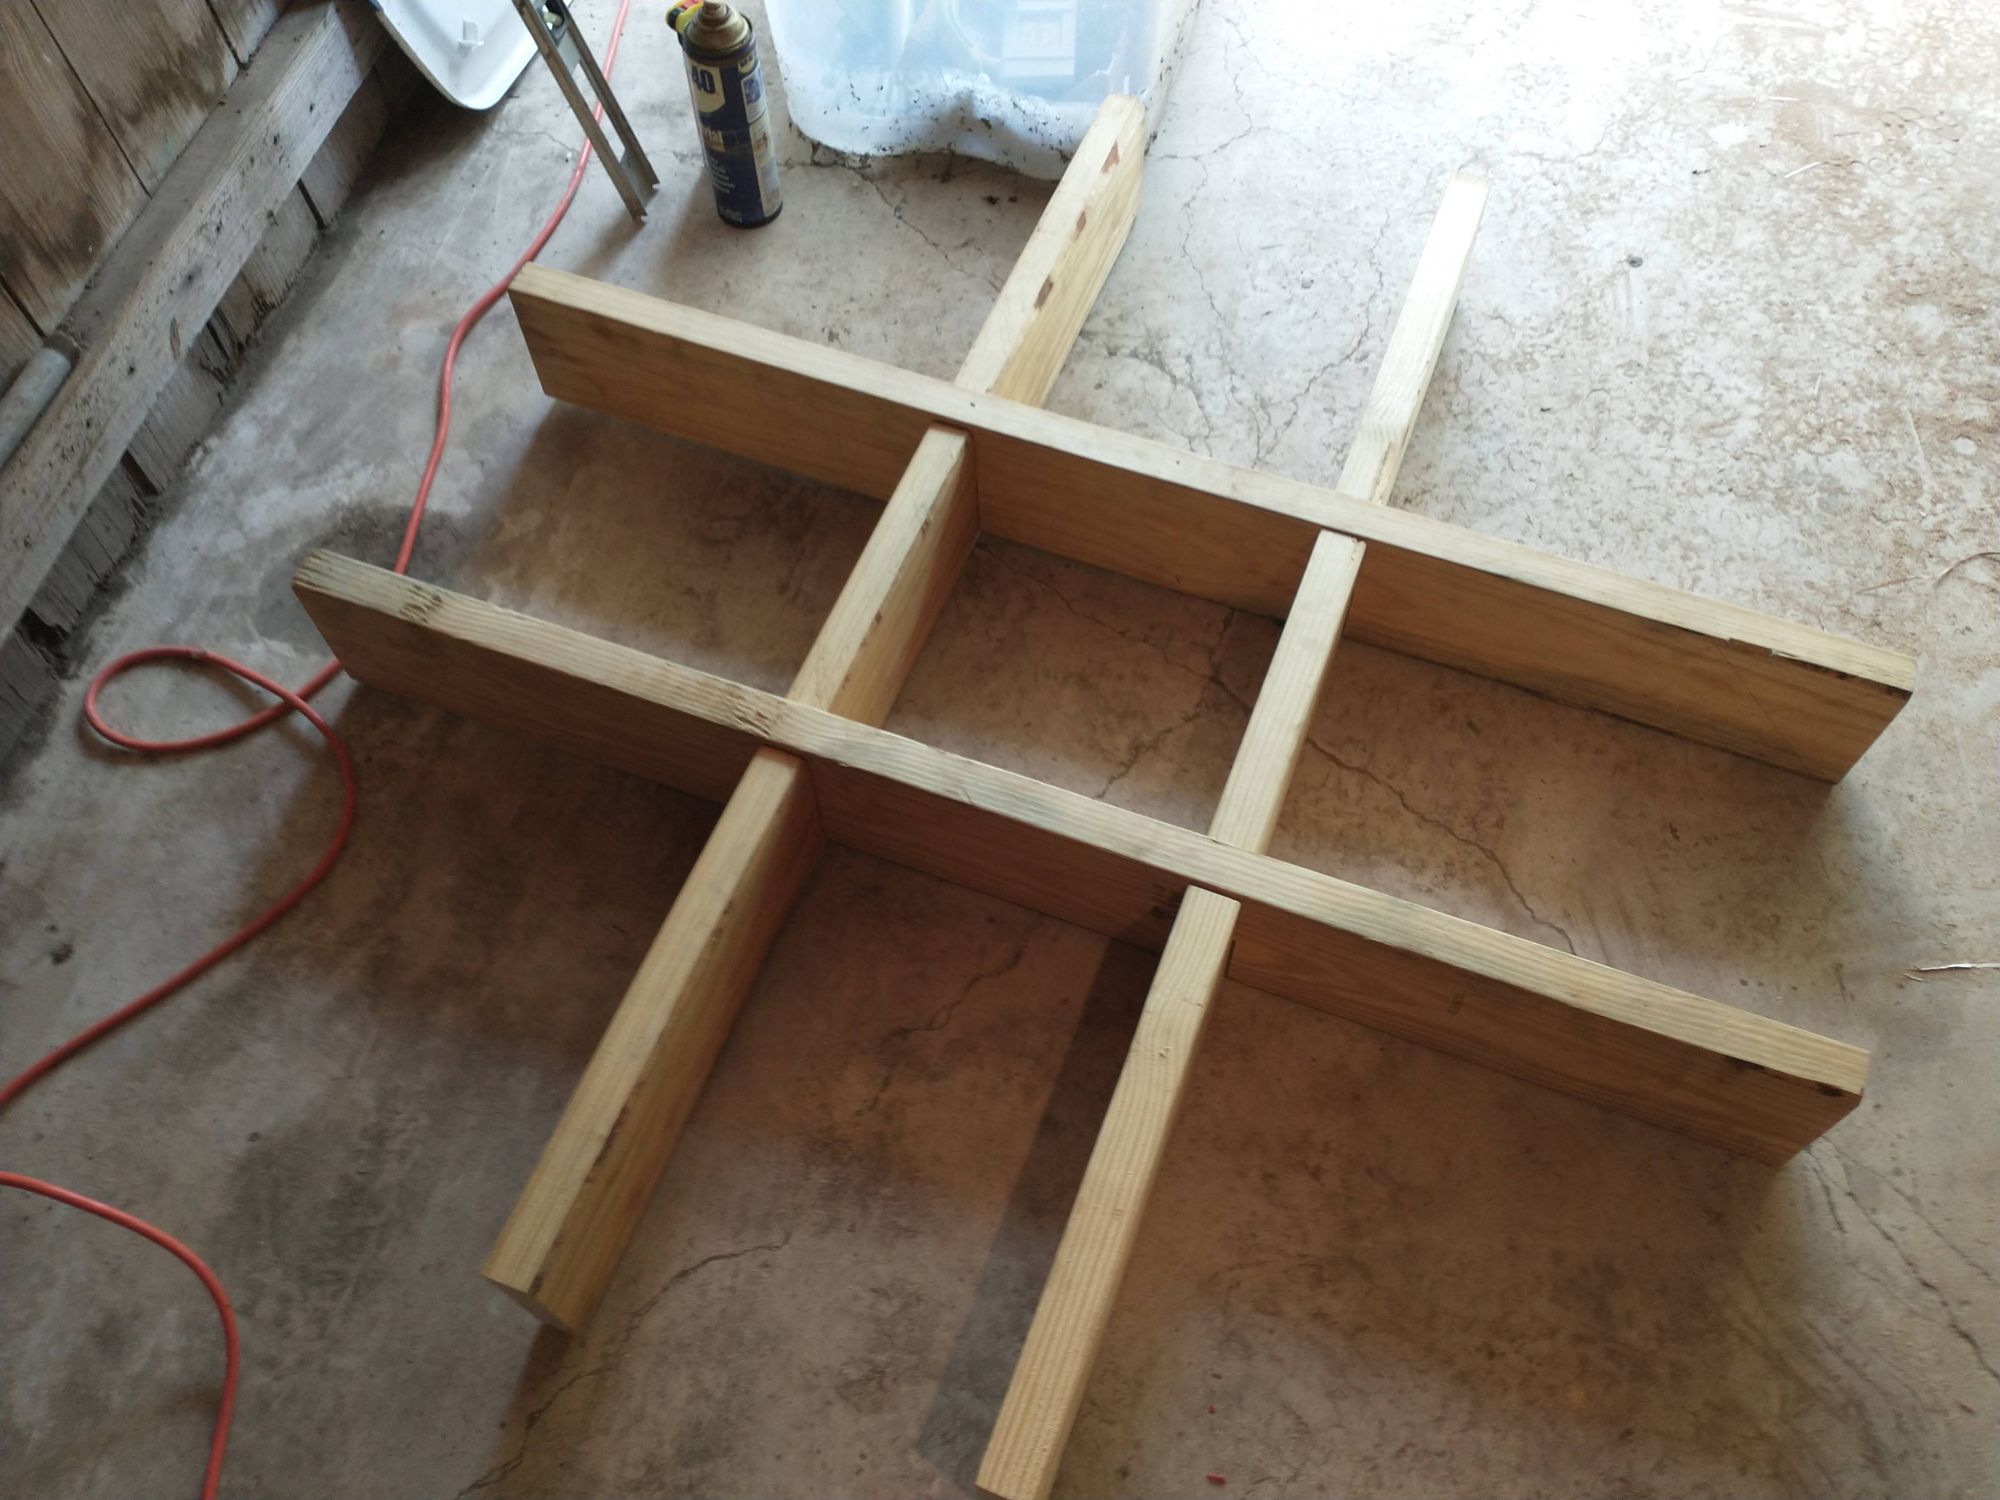
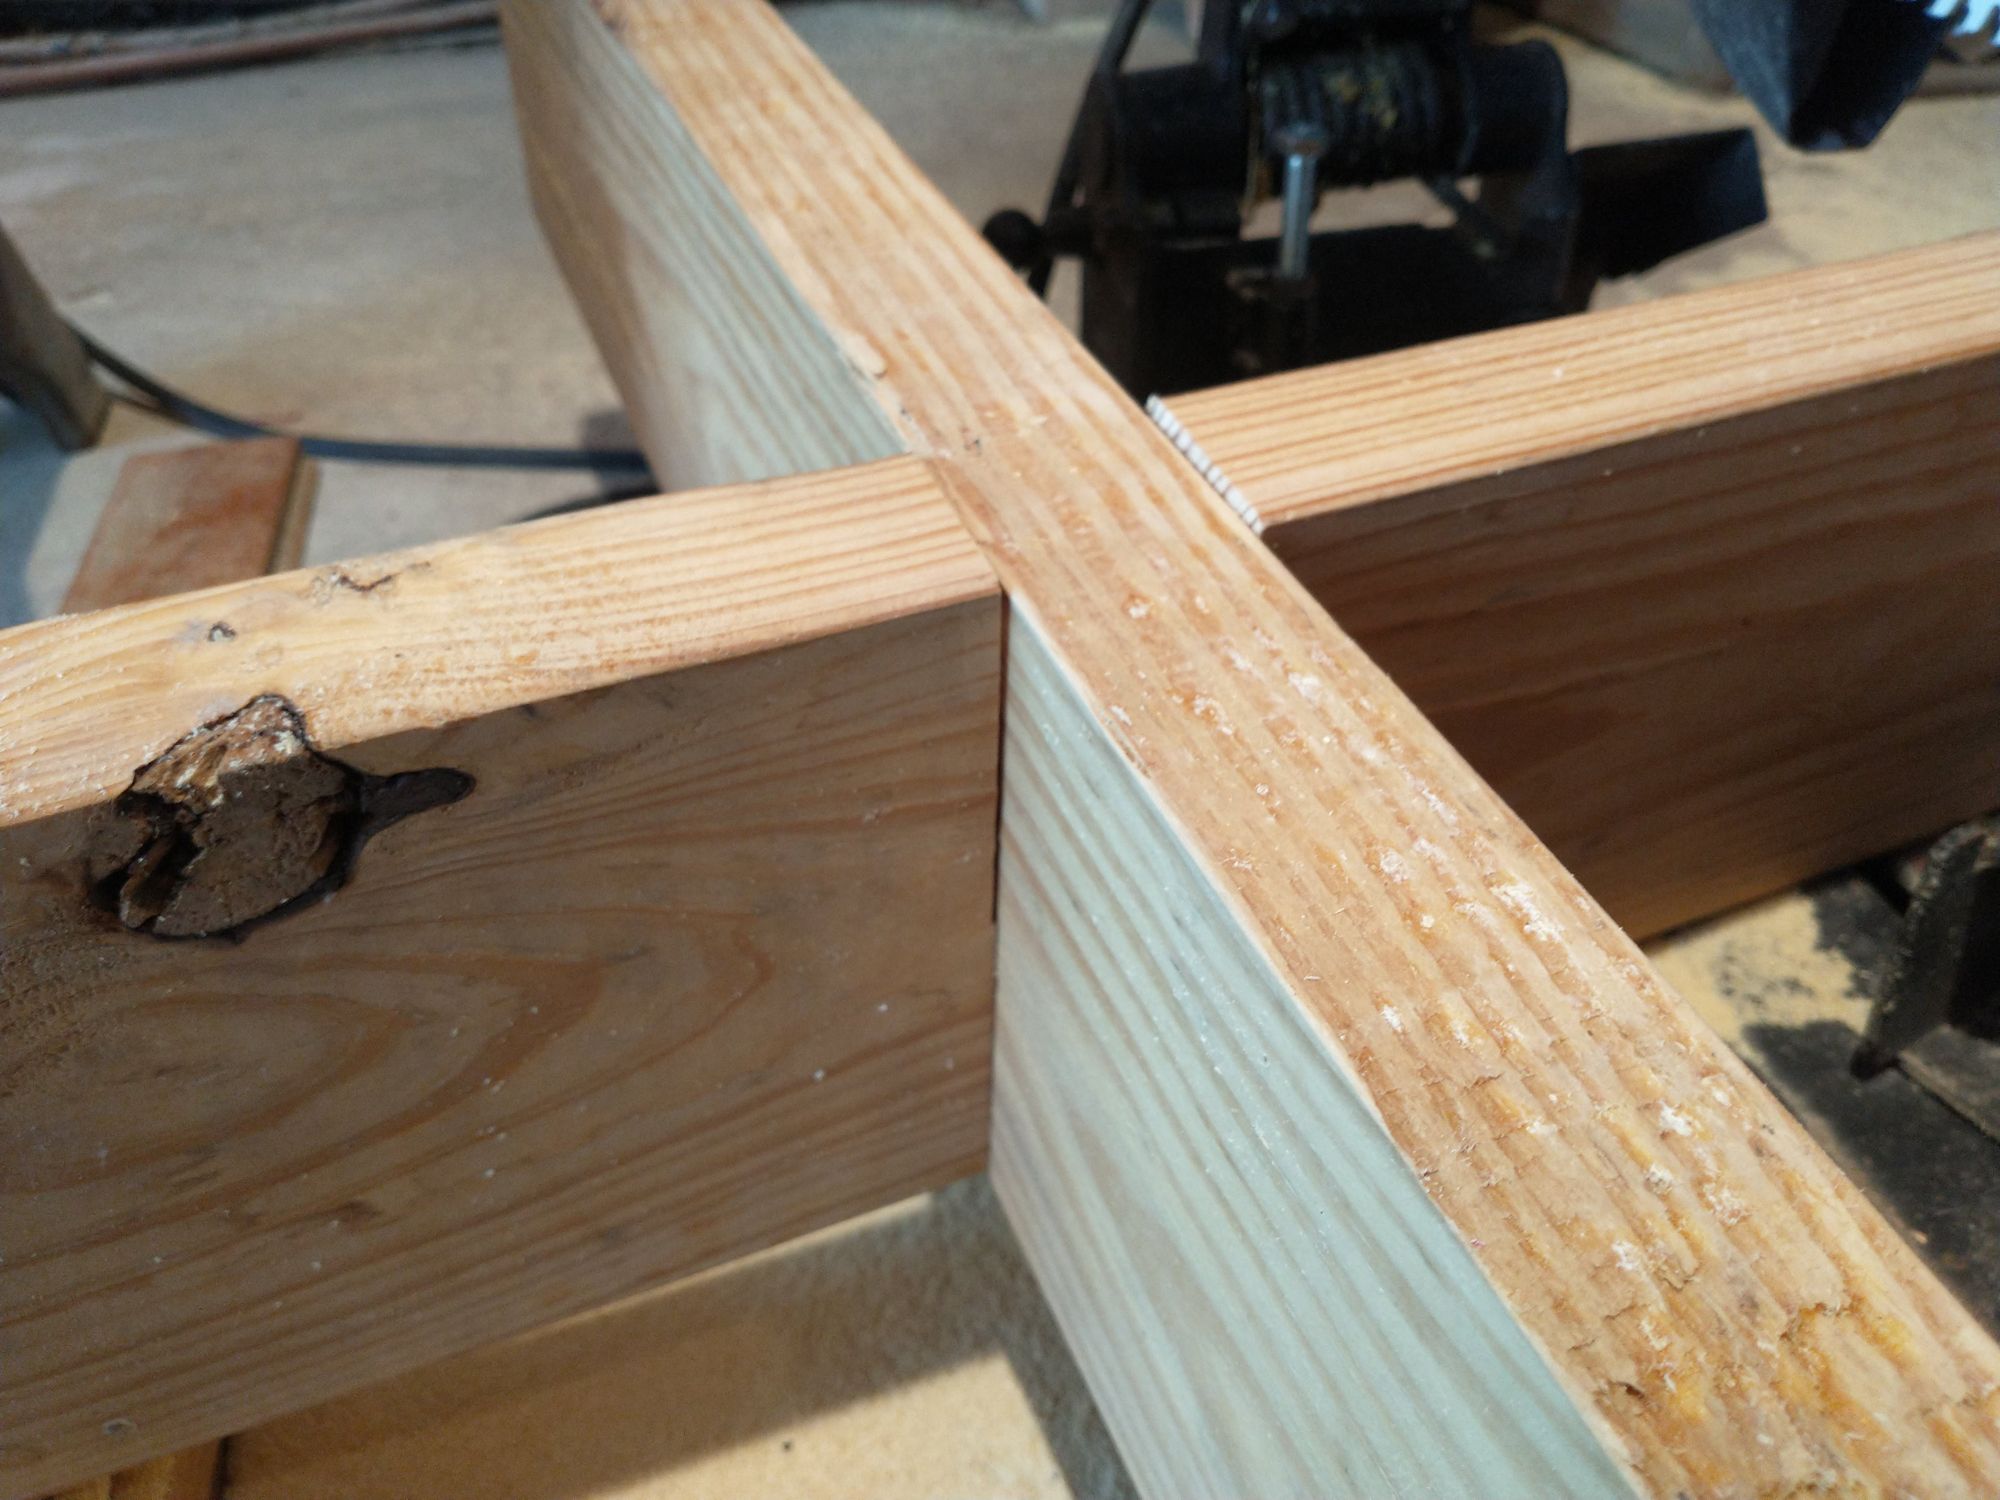
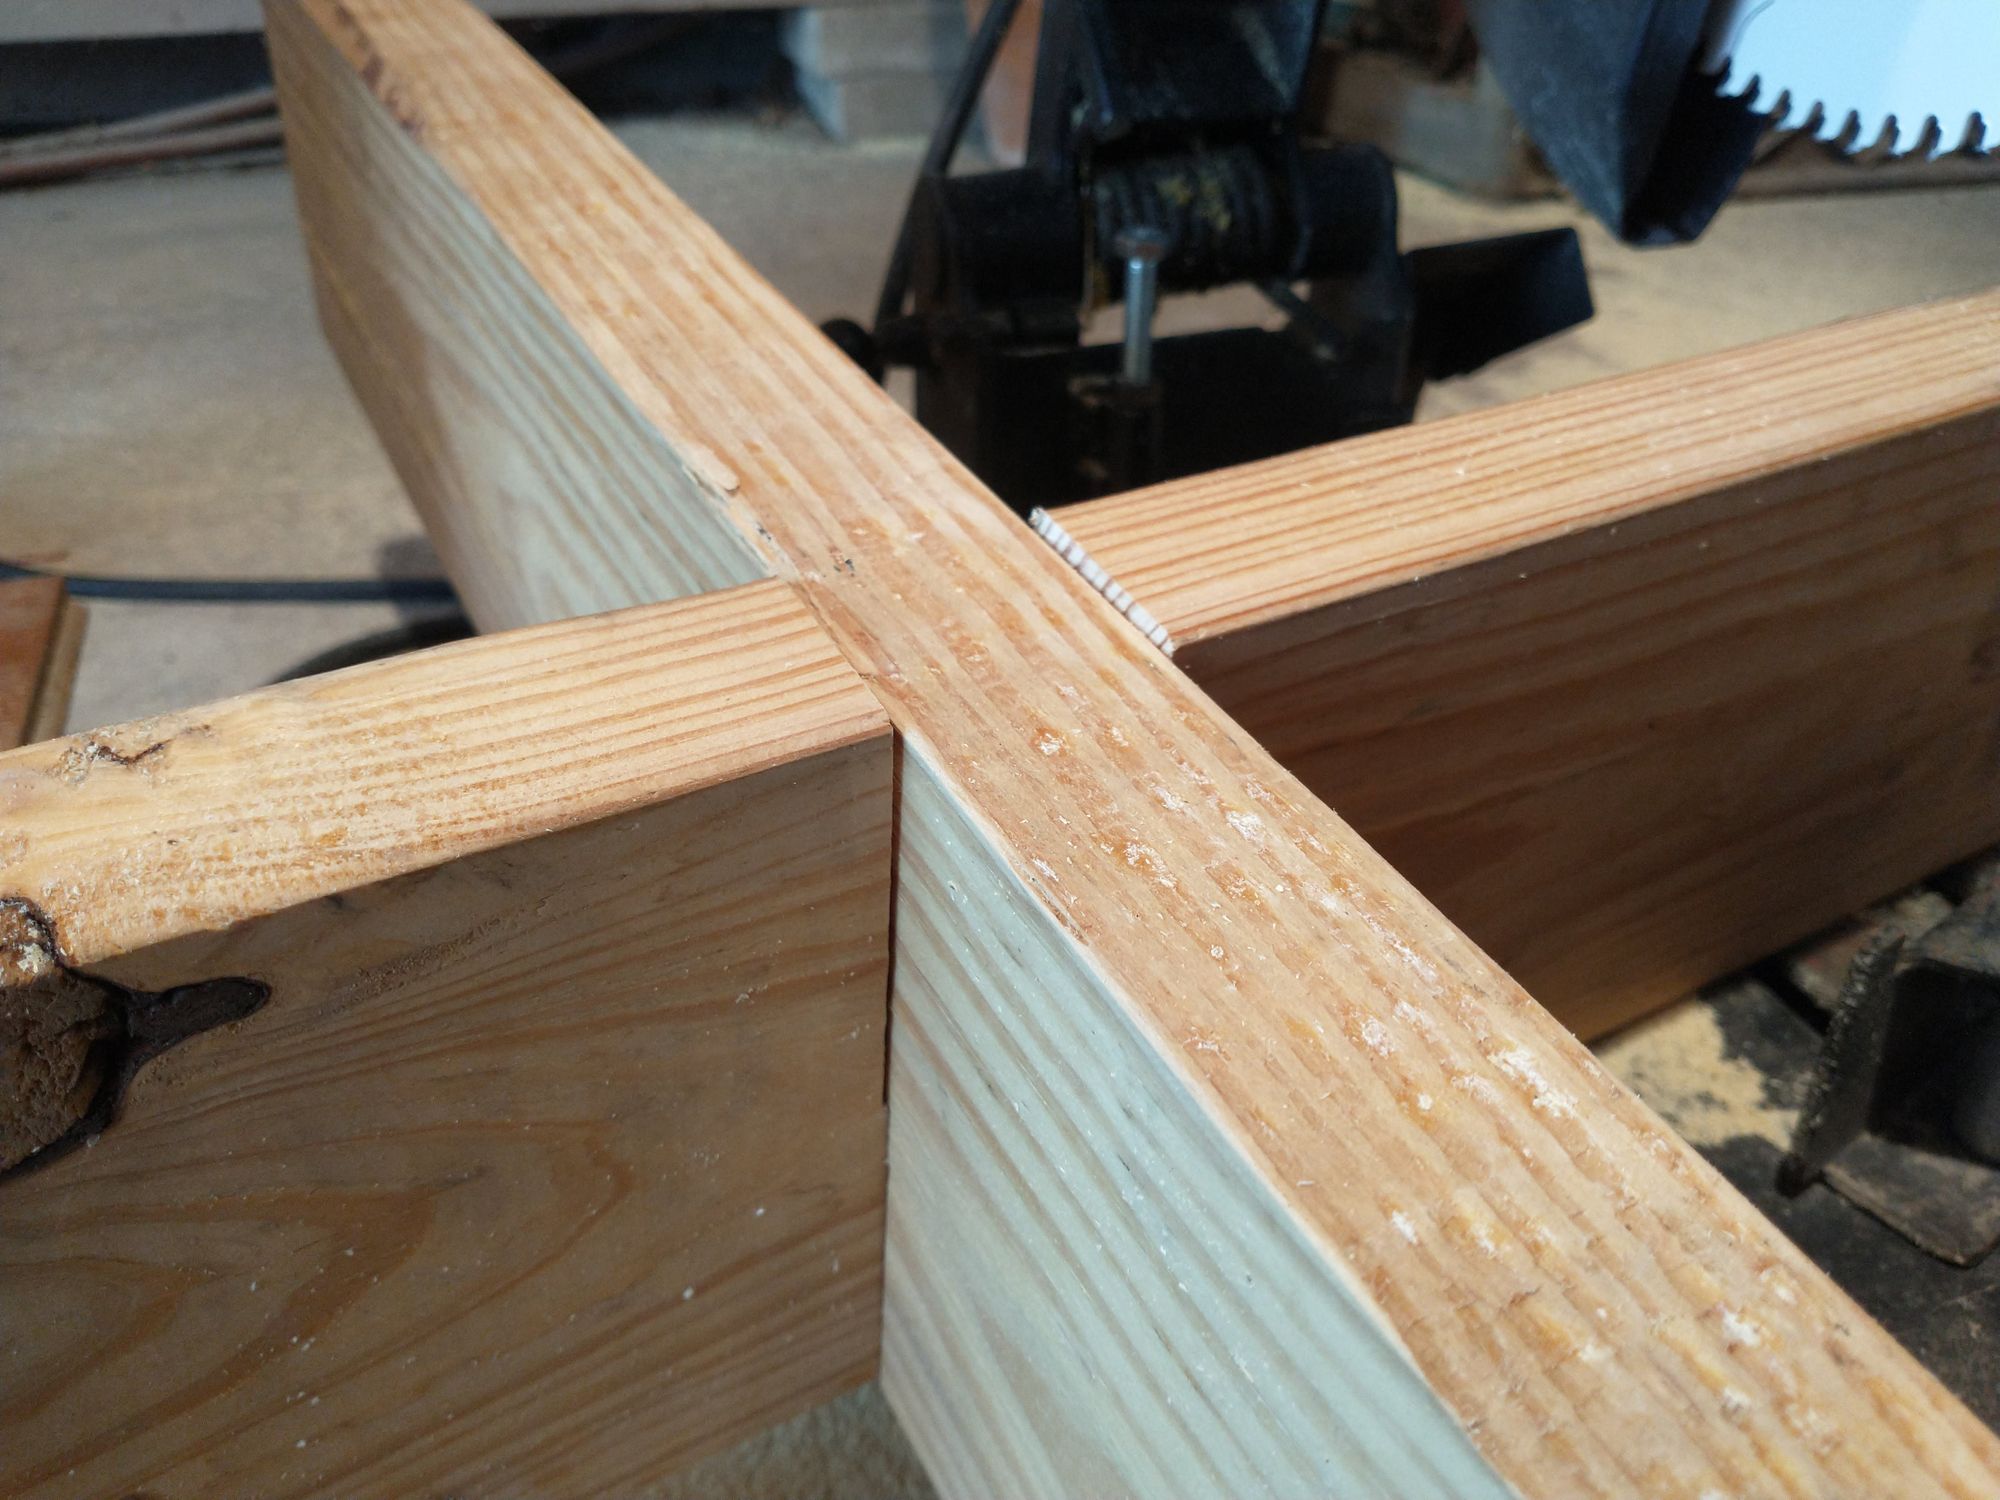
Now, my goal is to make an internal support skeleton for my desk. I need the lumber to be attached together like this:
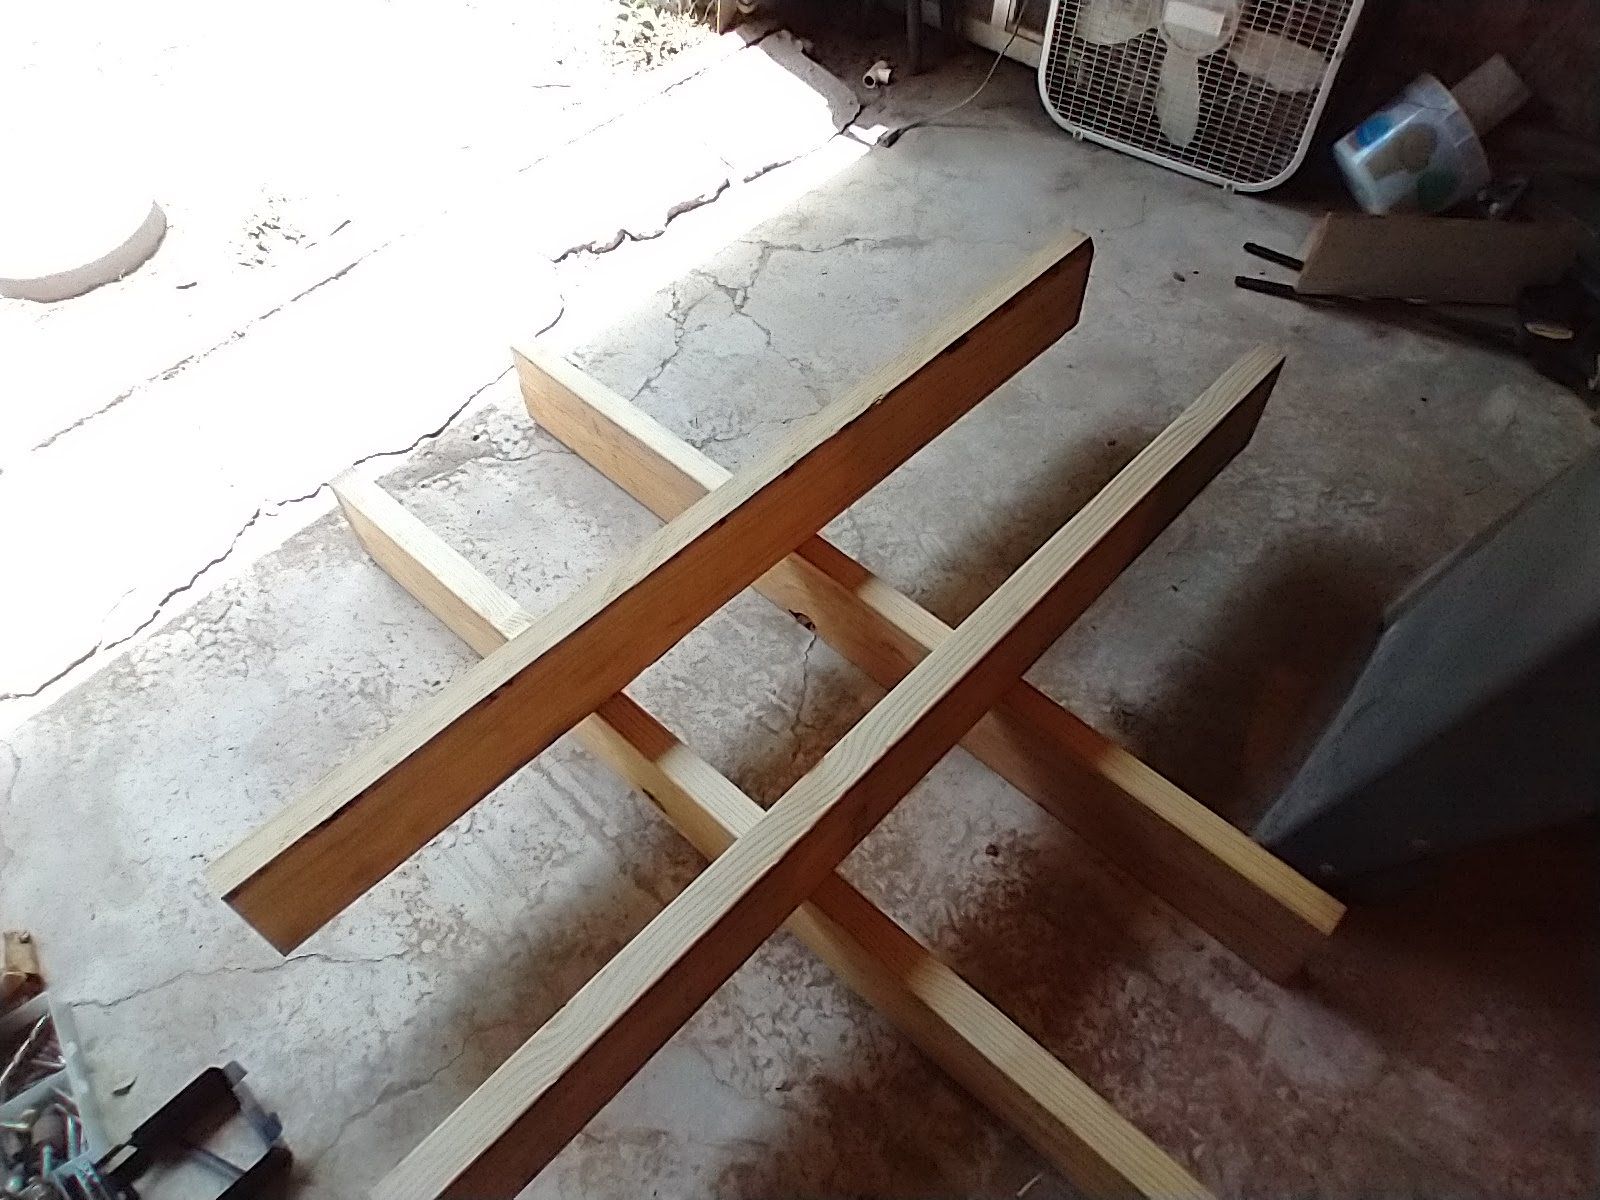
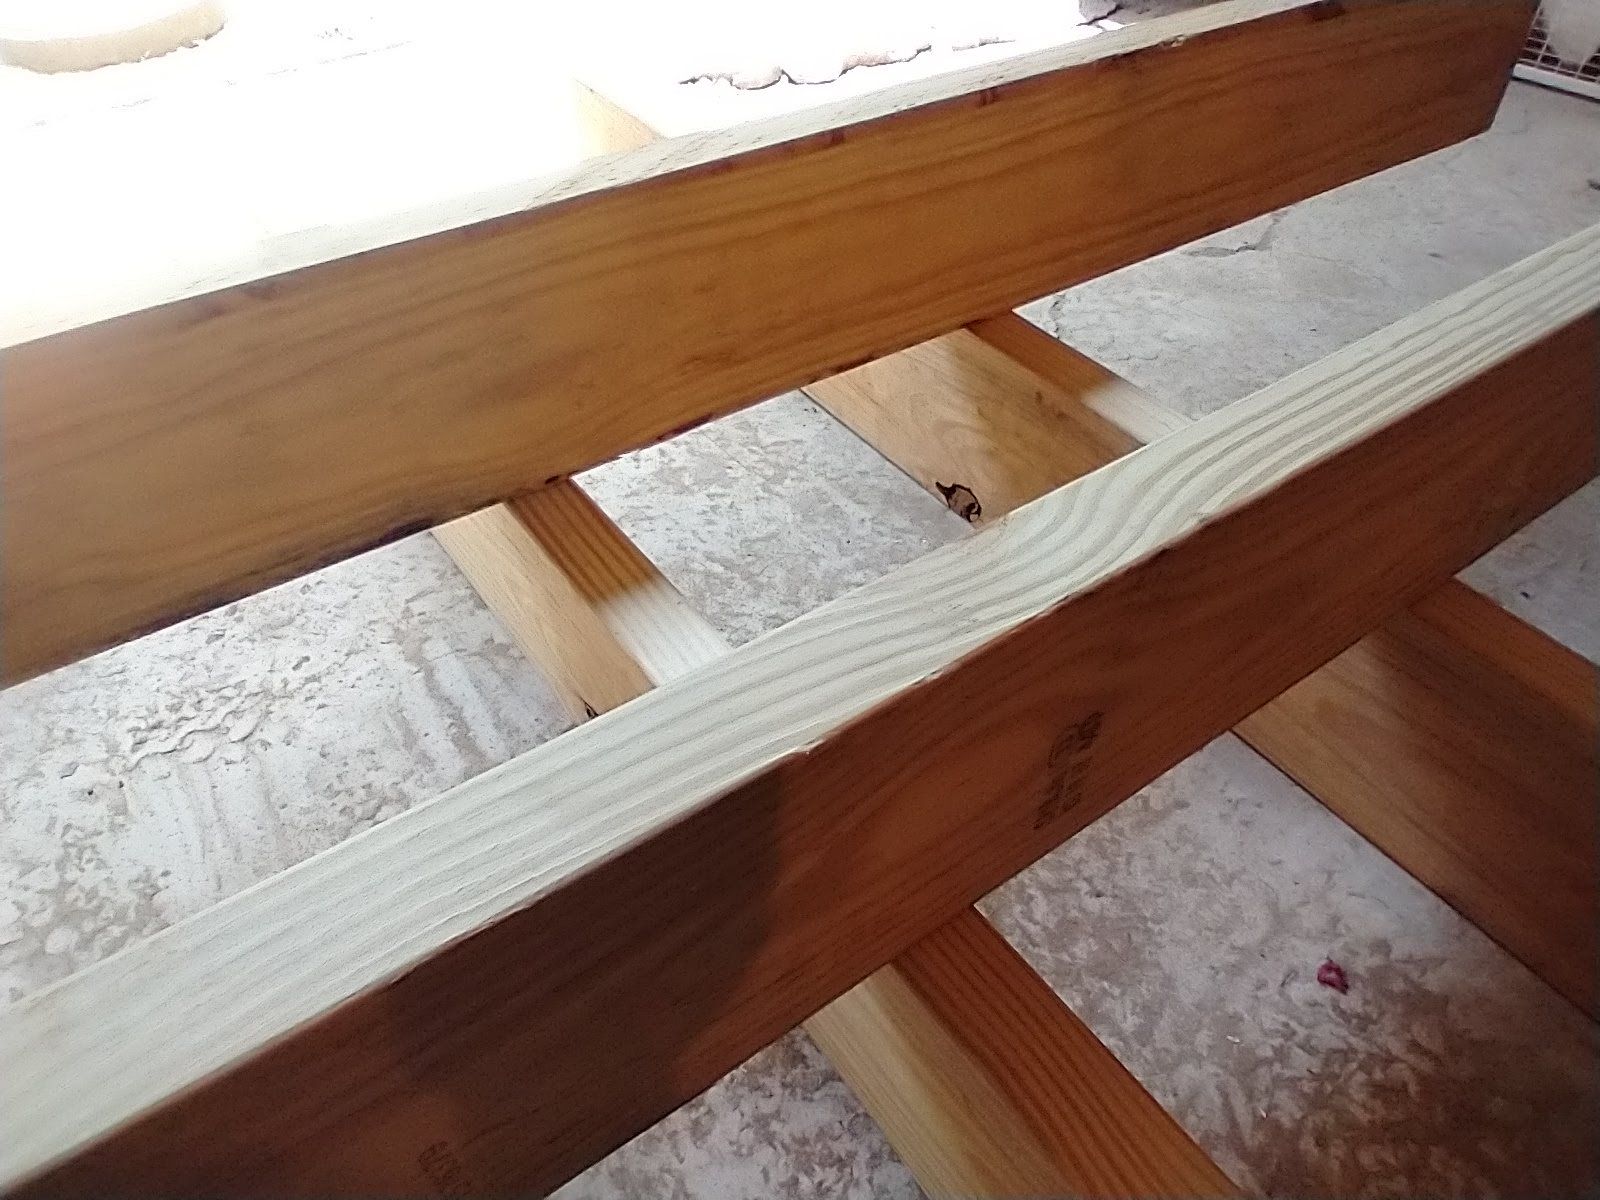
Except, I want the boards attached together, not just sitting on top of each other.
To accomplish this, I need to make some cuts, but I've never done anything like this before, so you'll get to watch me learn in this spectacularly made video!
The end result was quite satisfying! Almost perfect.

subscribe to get email updates and support my work
In the next post in this series, I'll discover that I need a little outside help. Luckily, I the help I needed. That's what friends are for!
Also, keep an eye on your email for how I design and make things on my 3D printer!
You can click the following link or the subscribe button at the bottom of the page to support my work and get an email every time I make a new post!