i finished my desk! (it was a roller coaster!)
In my last post, I discovered that I bit off a little more than I could chew:
 Tate Shannon
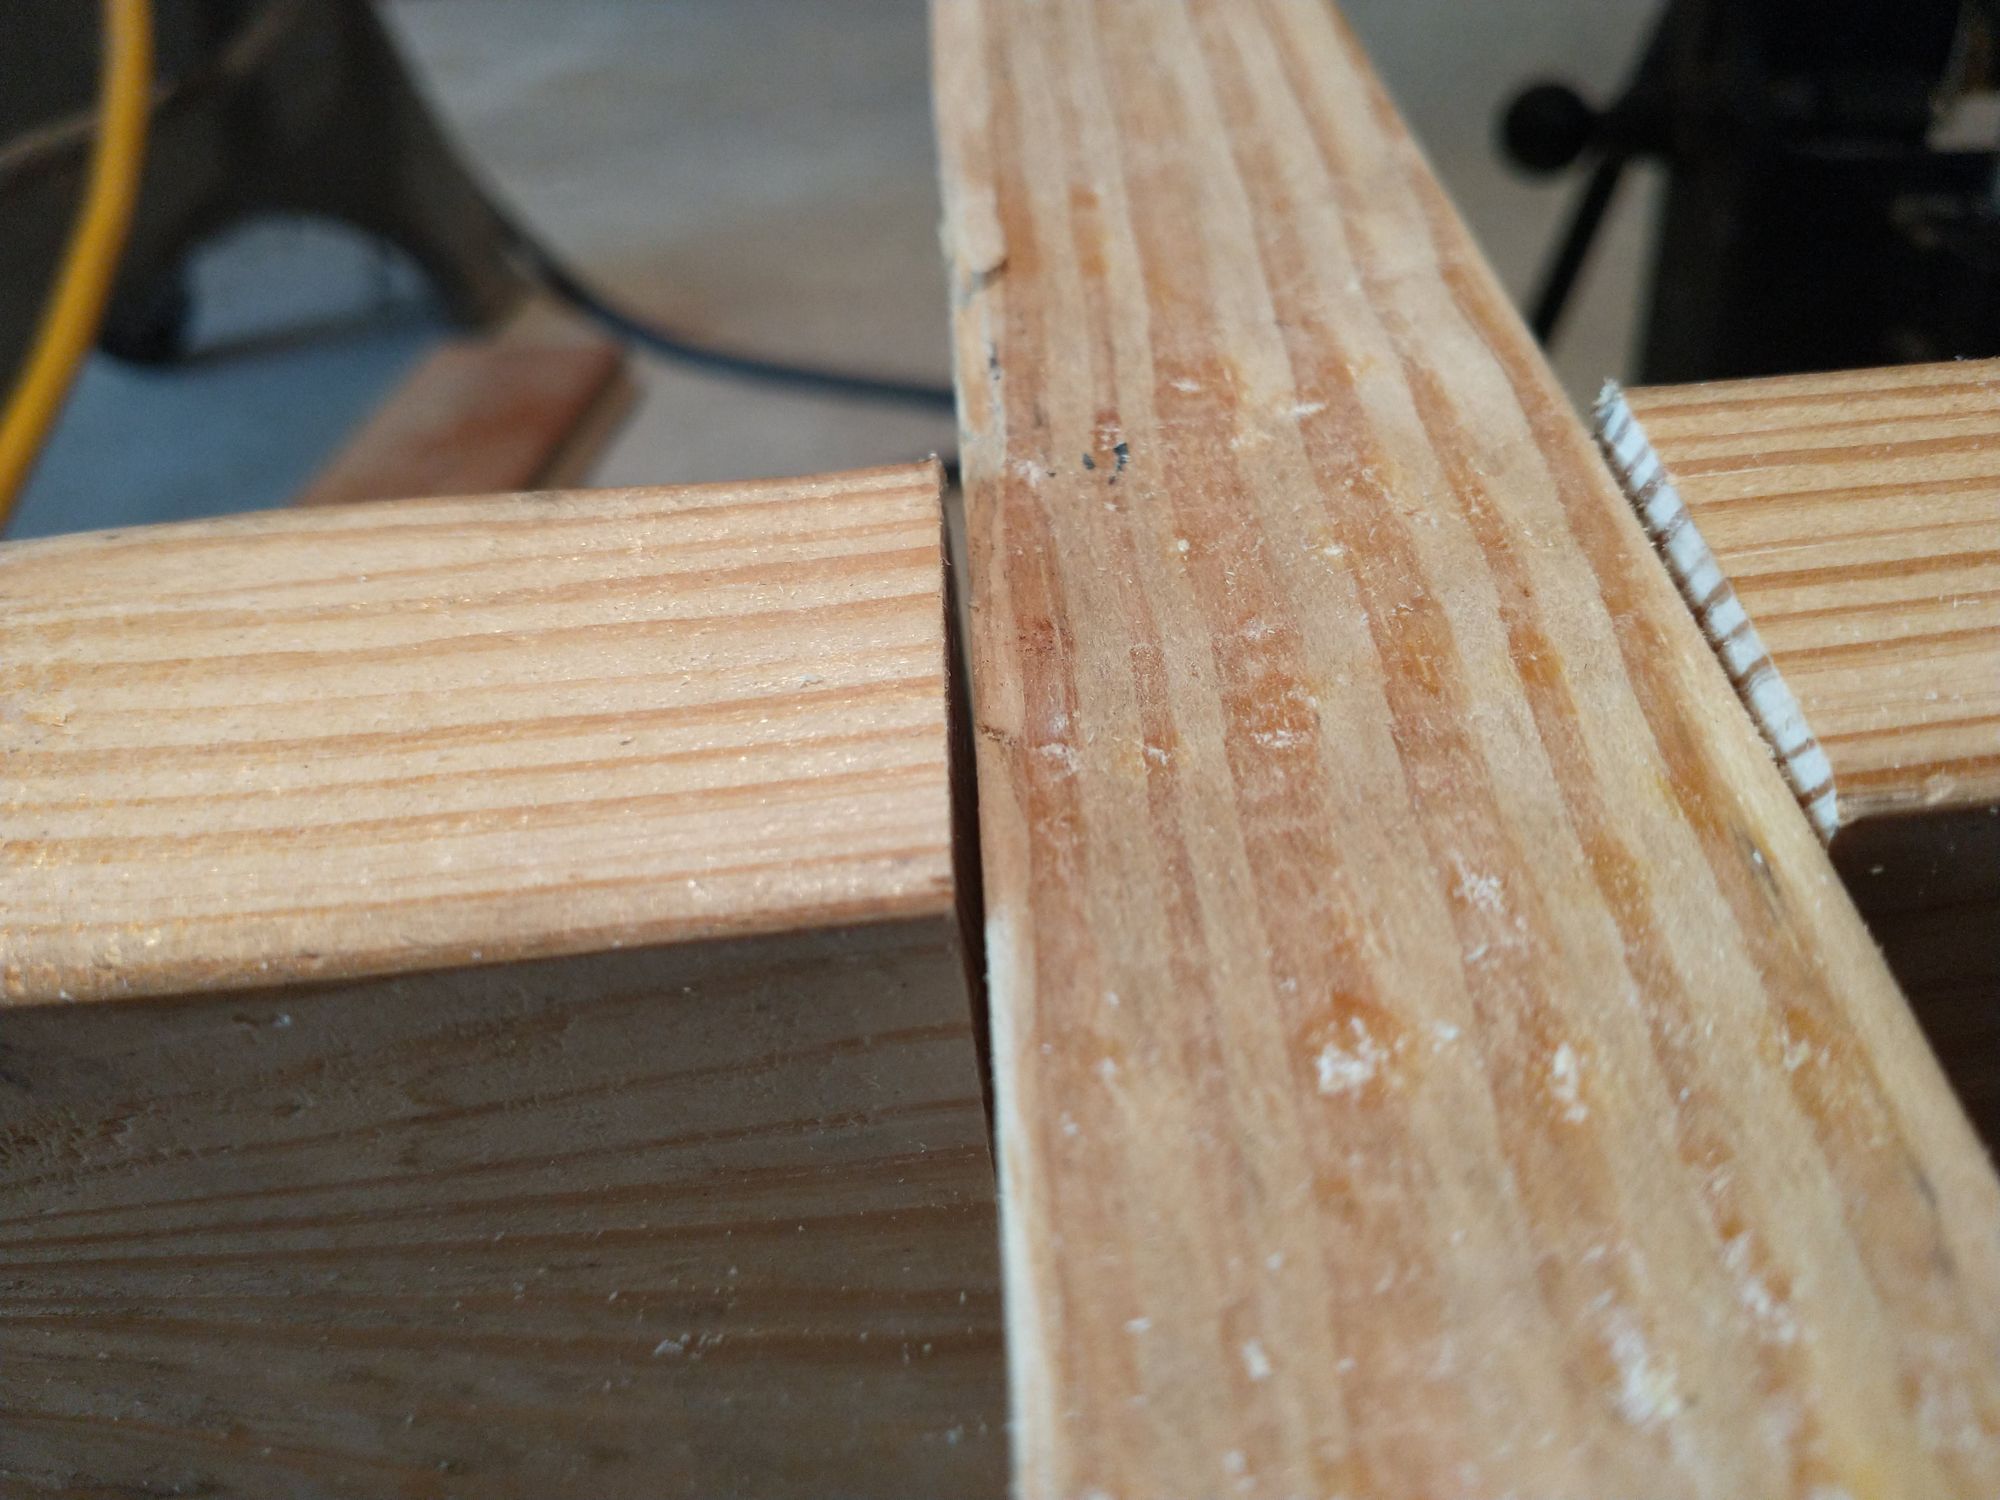
it's great to have friends
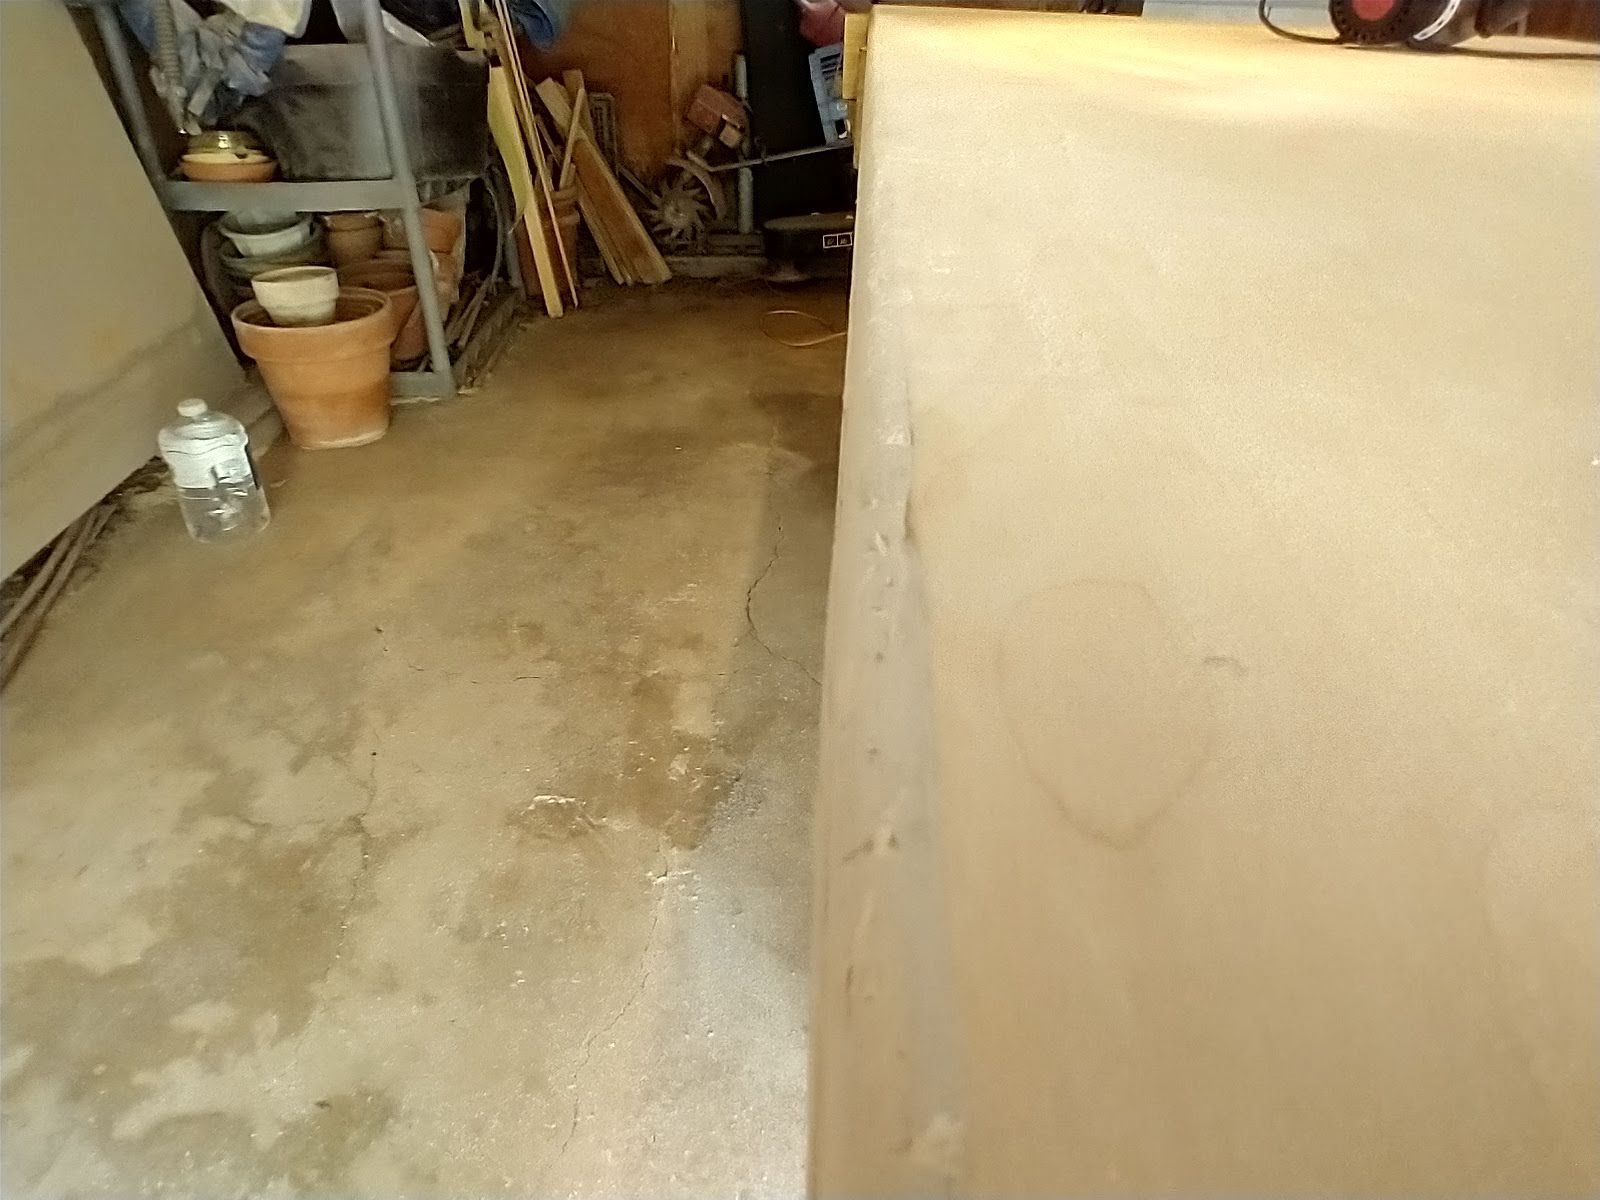
In the blurry image below, it seems to me that my boards are bowed beyond my abilities to fix, so I phoned a friend (a friend who's a really good carpenter)!

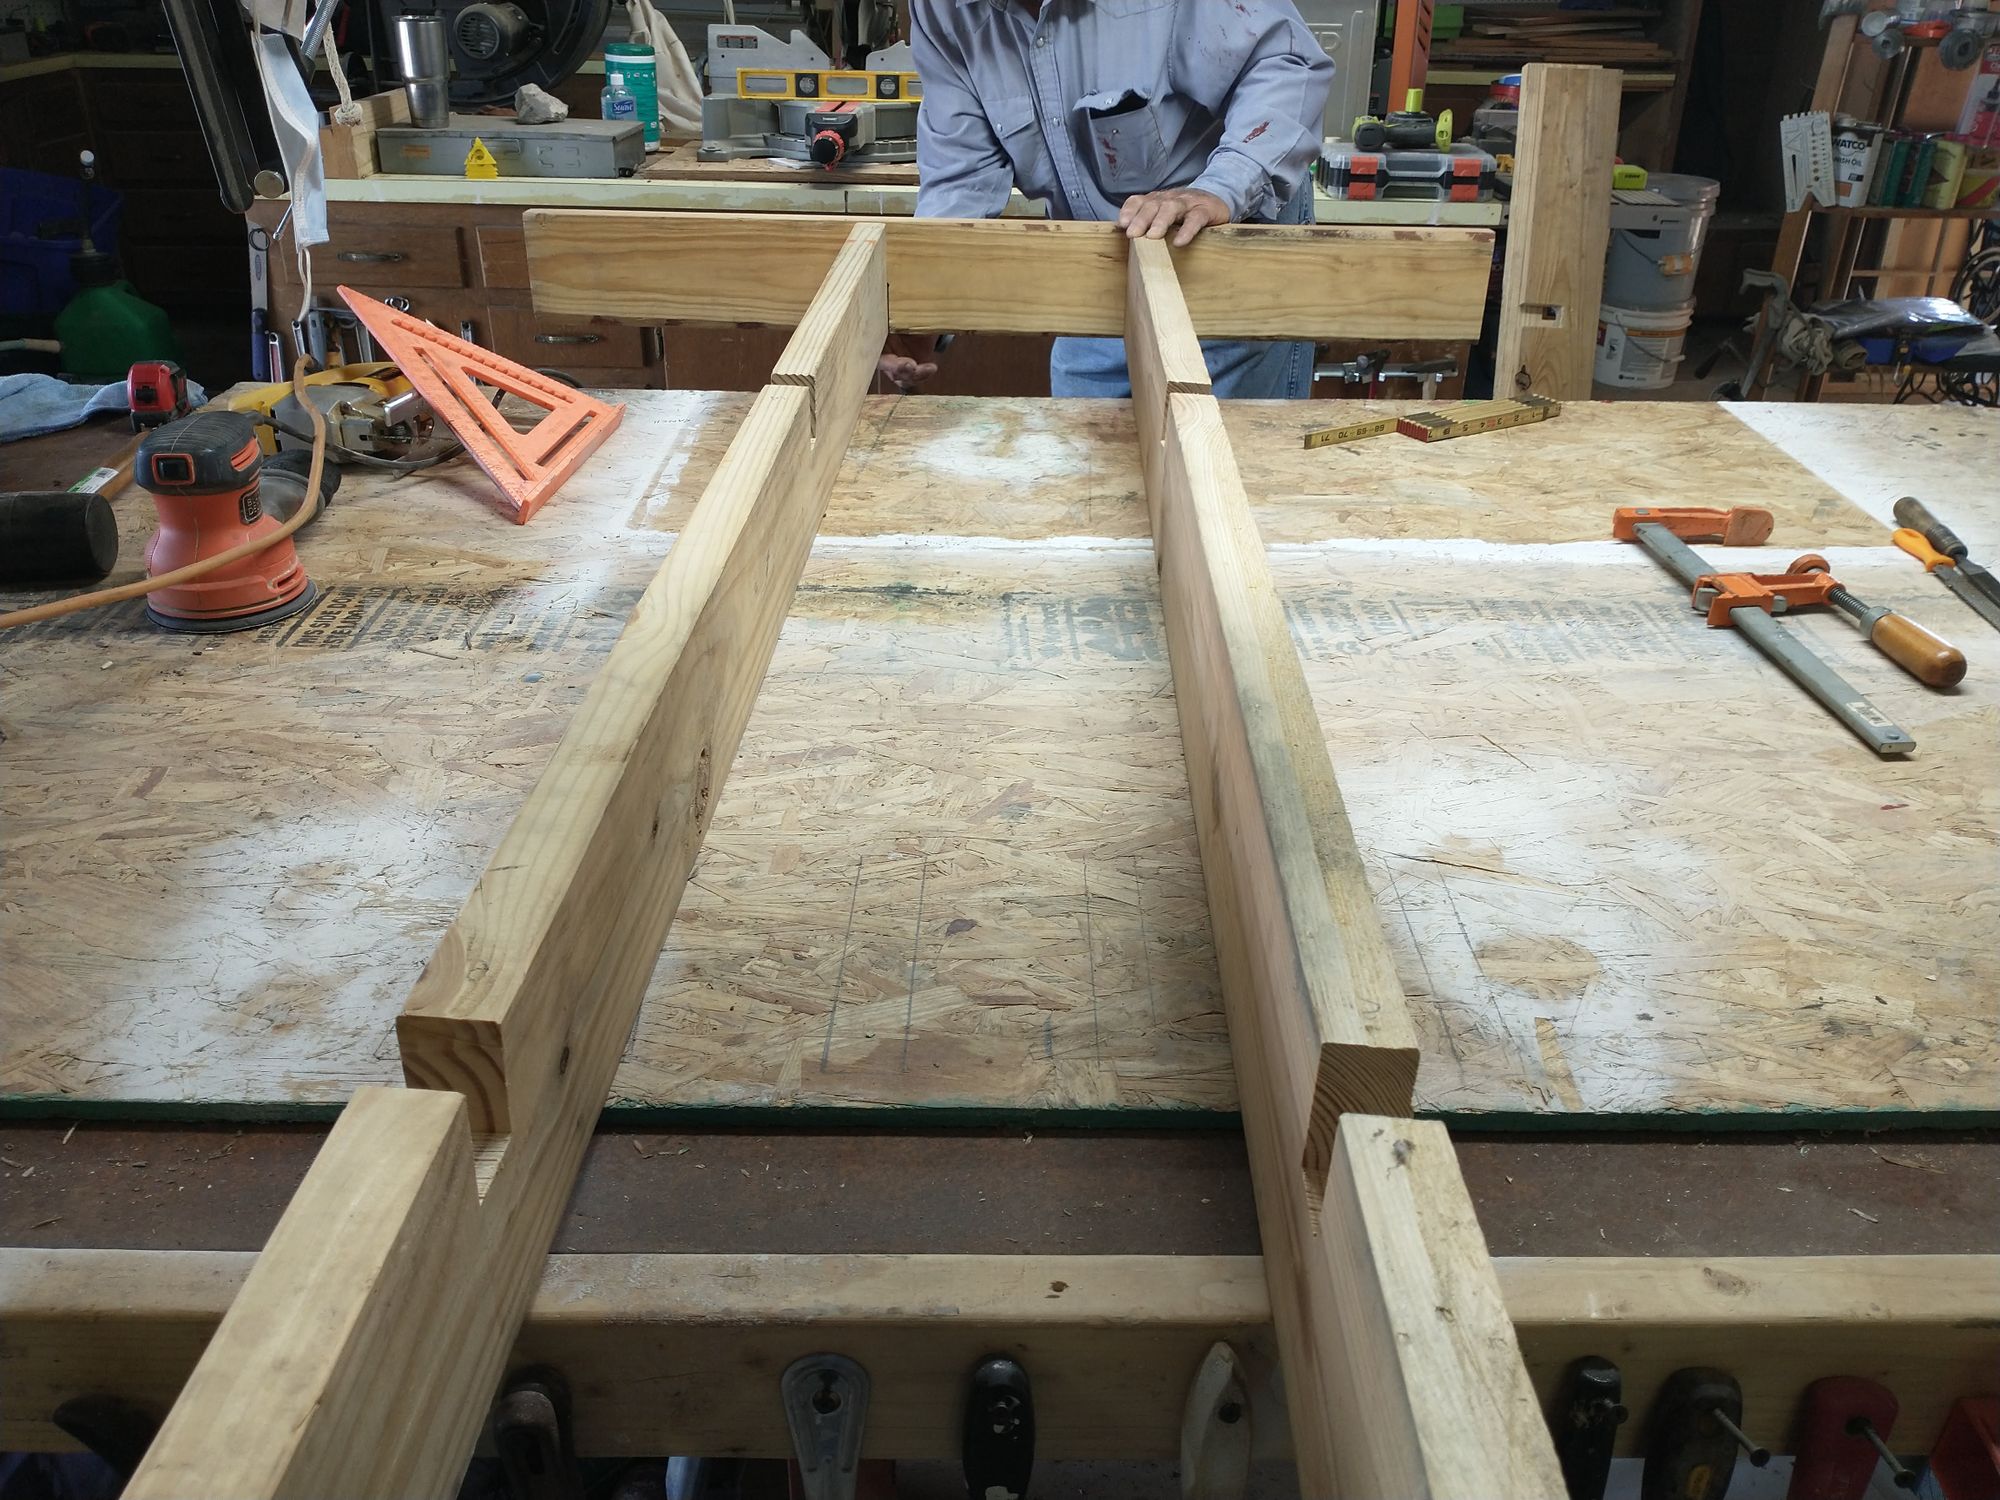
However, when we put my boards on his level table we discovered that they aren't warped at all: the floor of my garage was the problem!
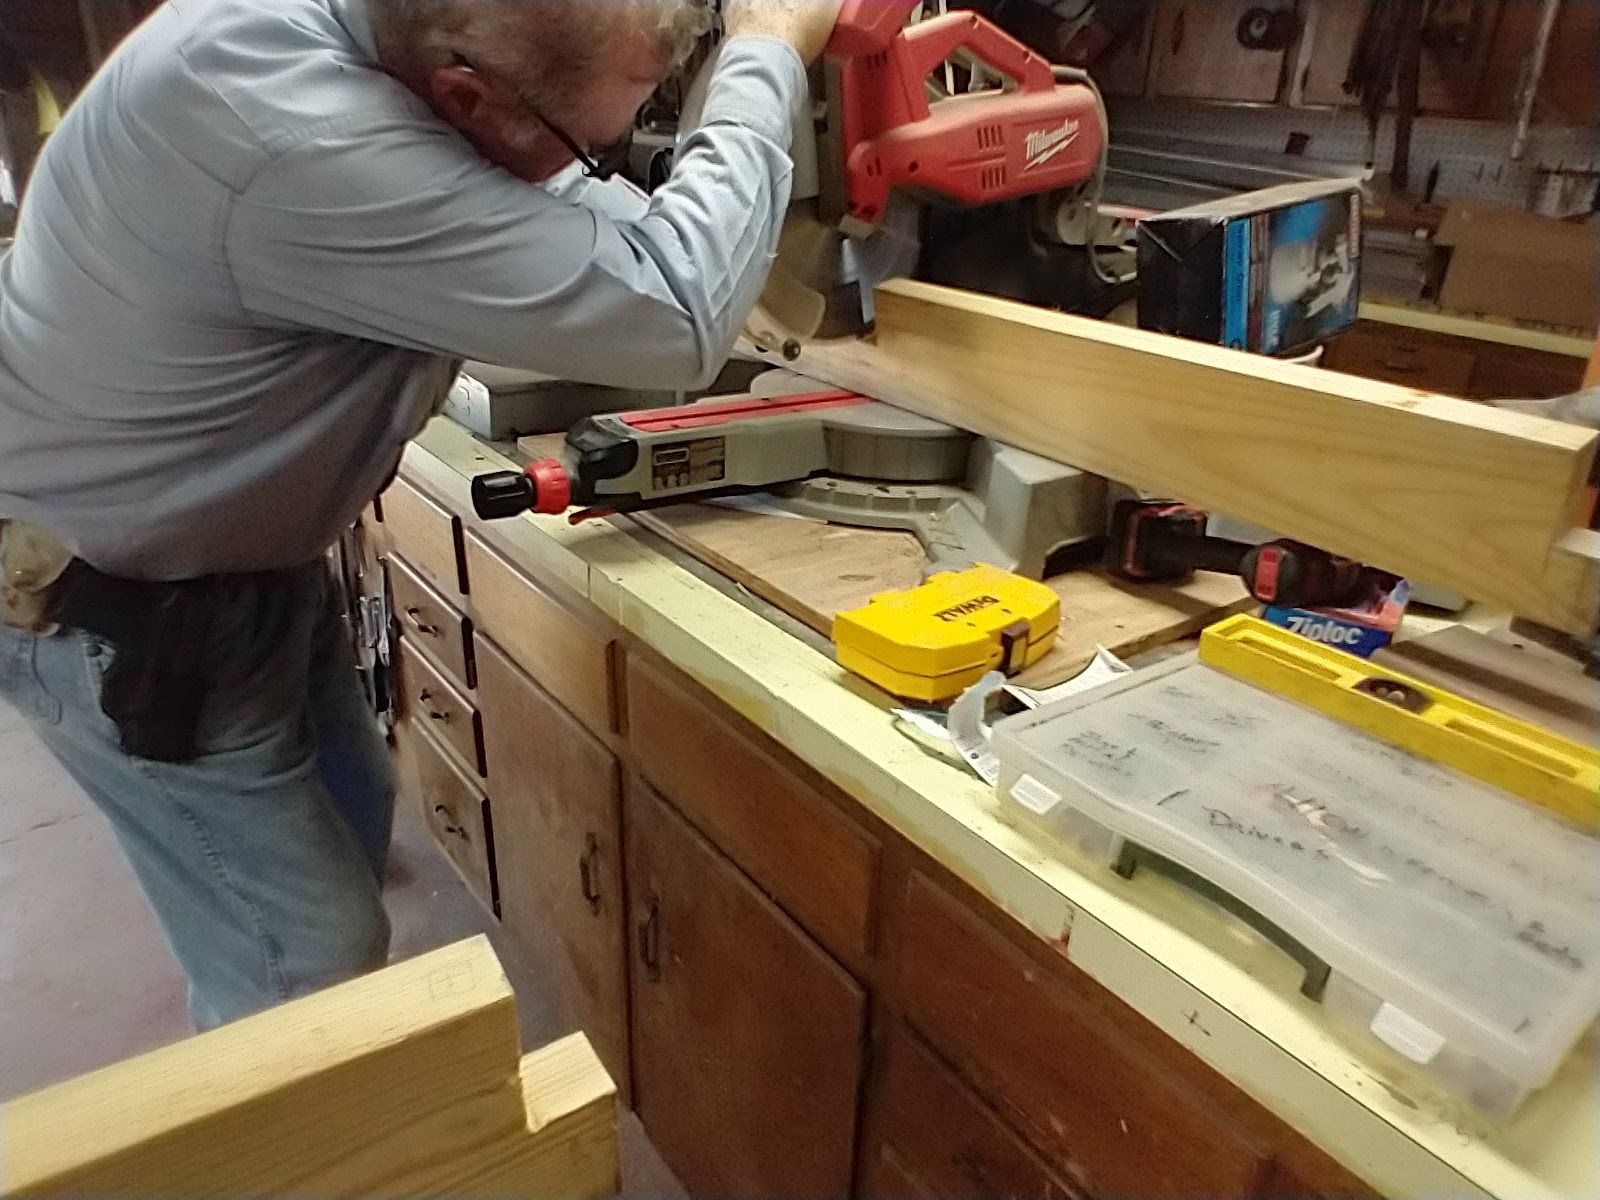
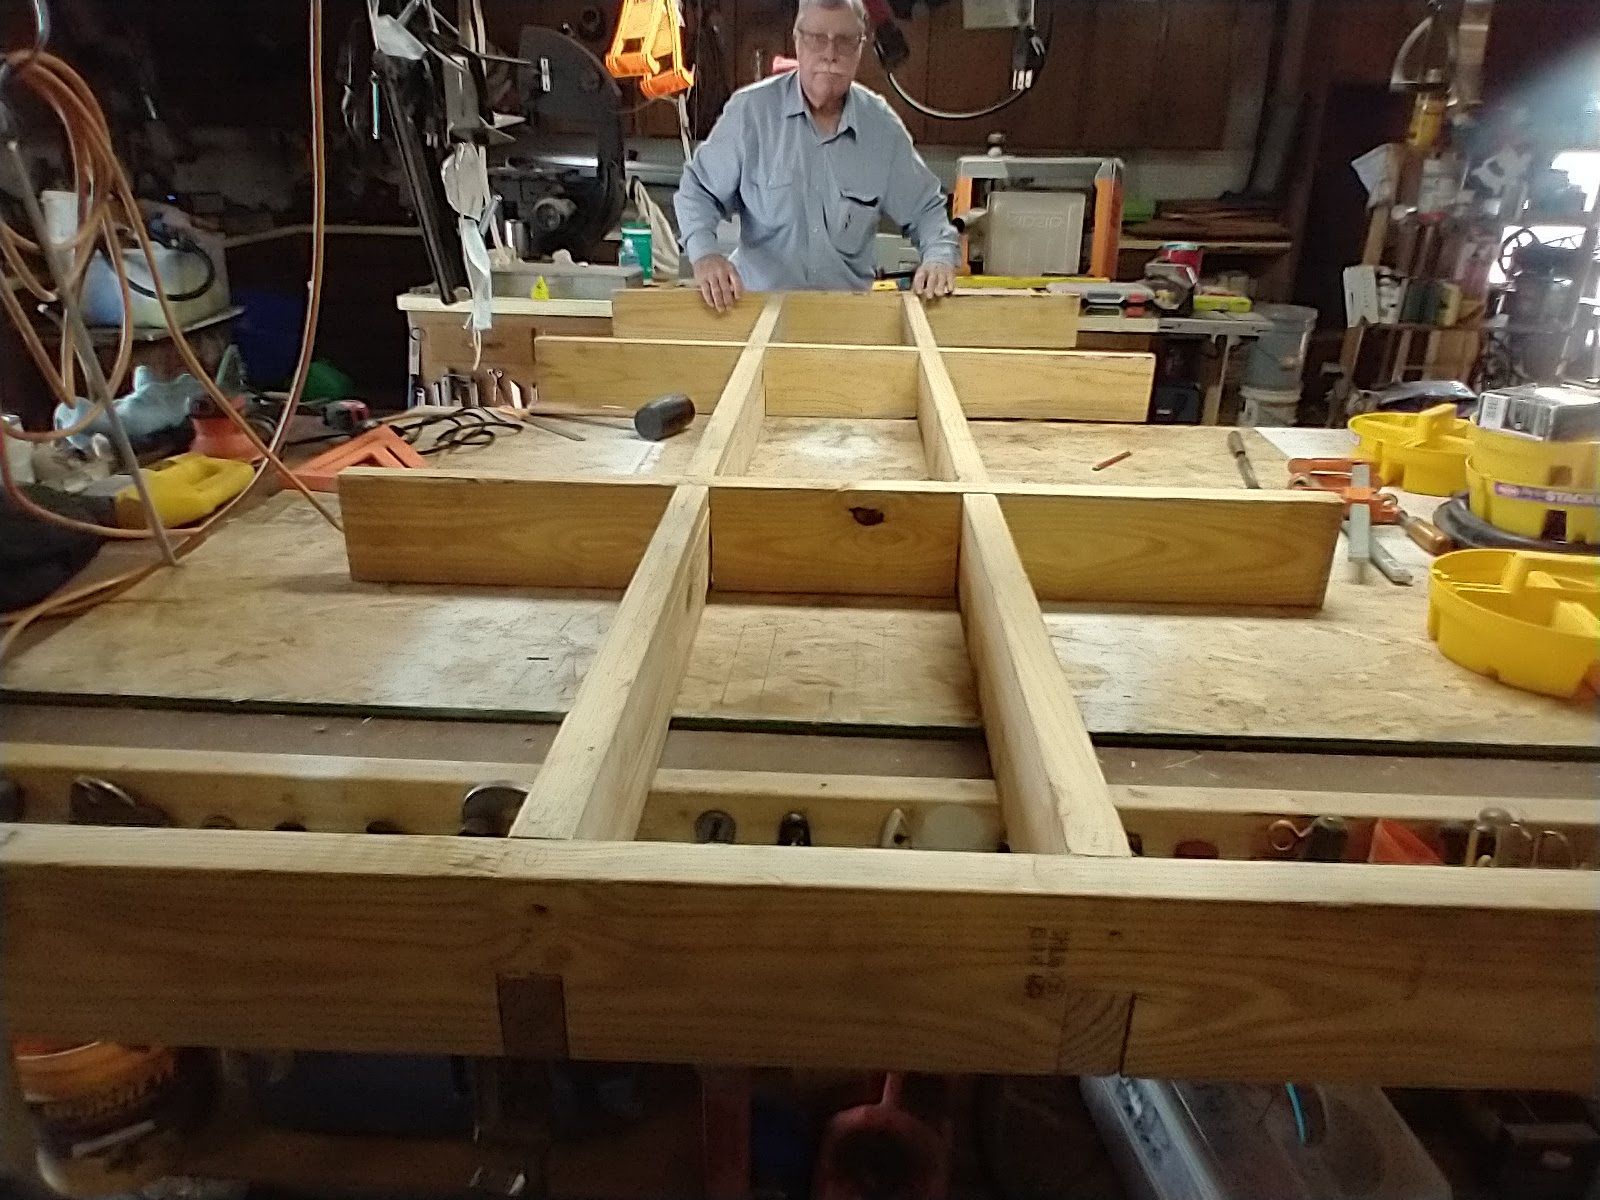
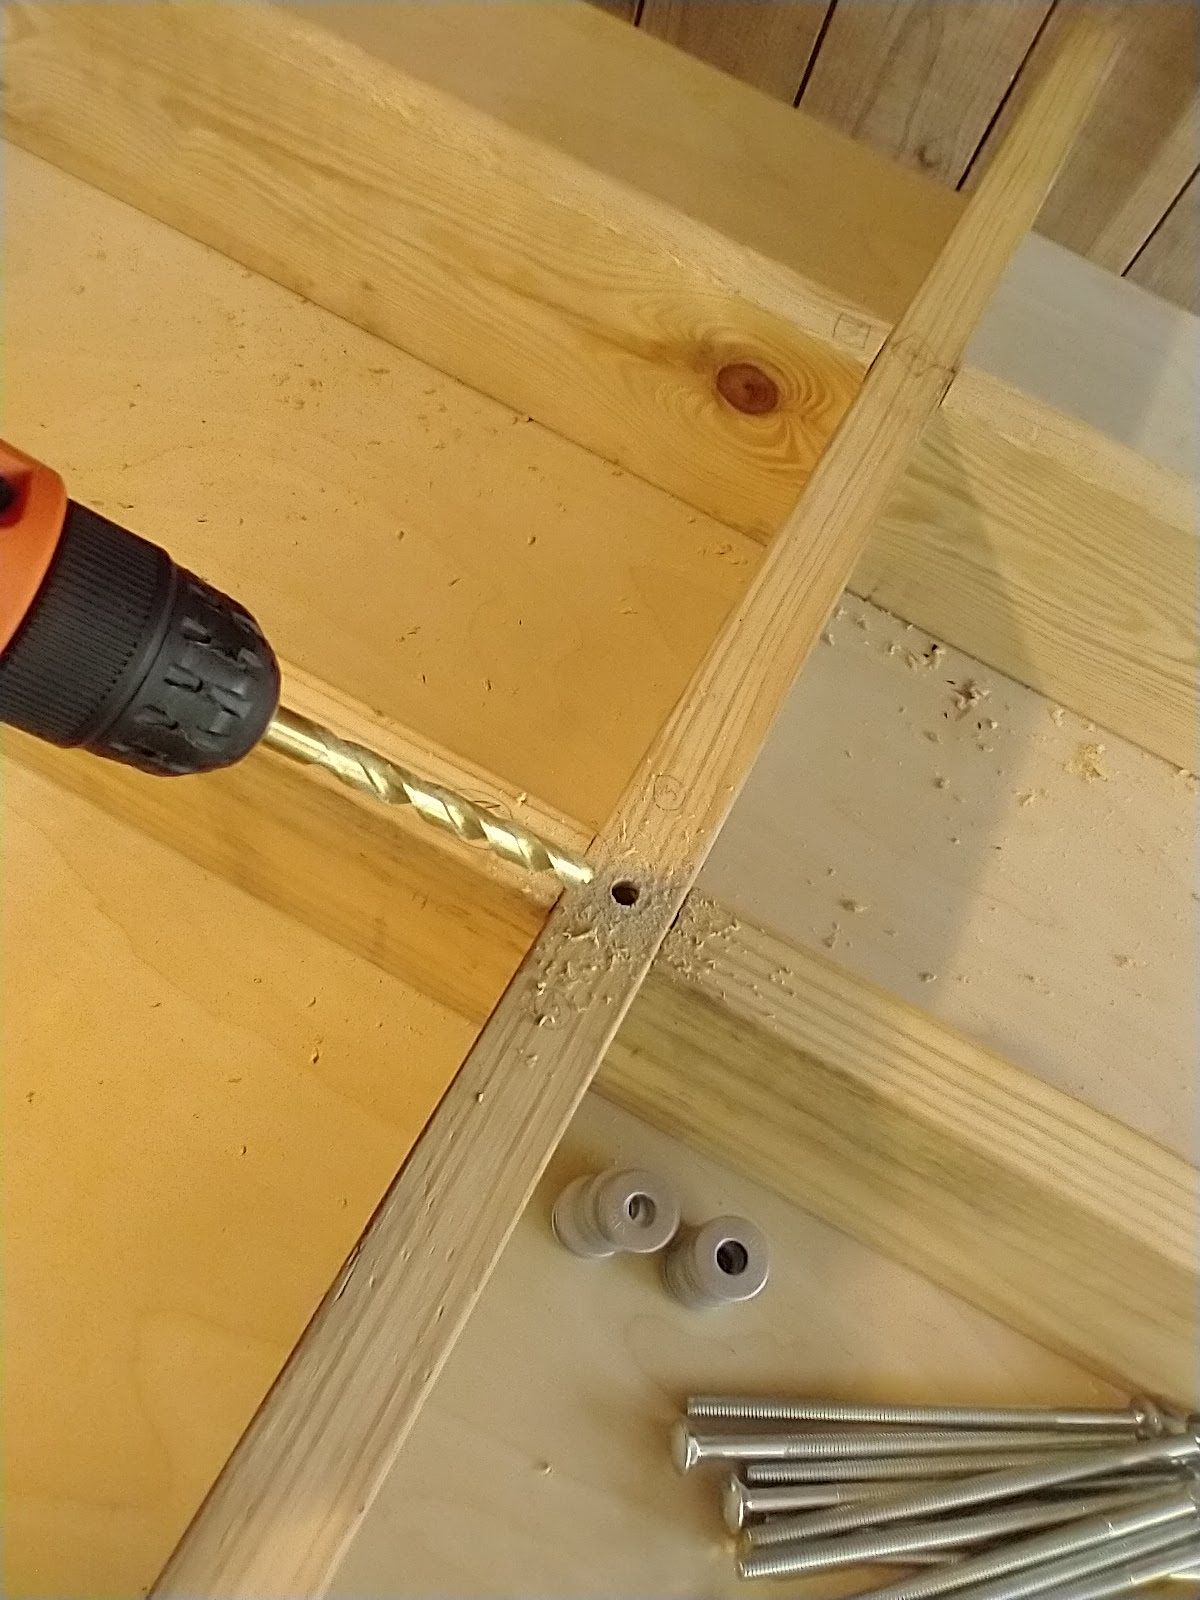
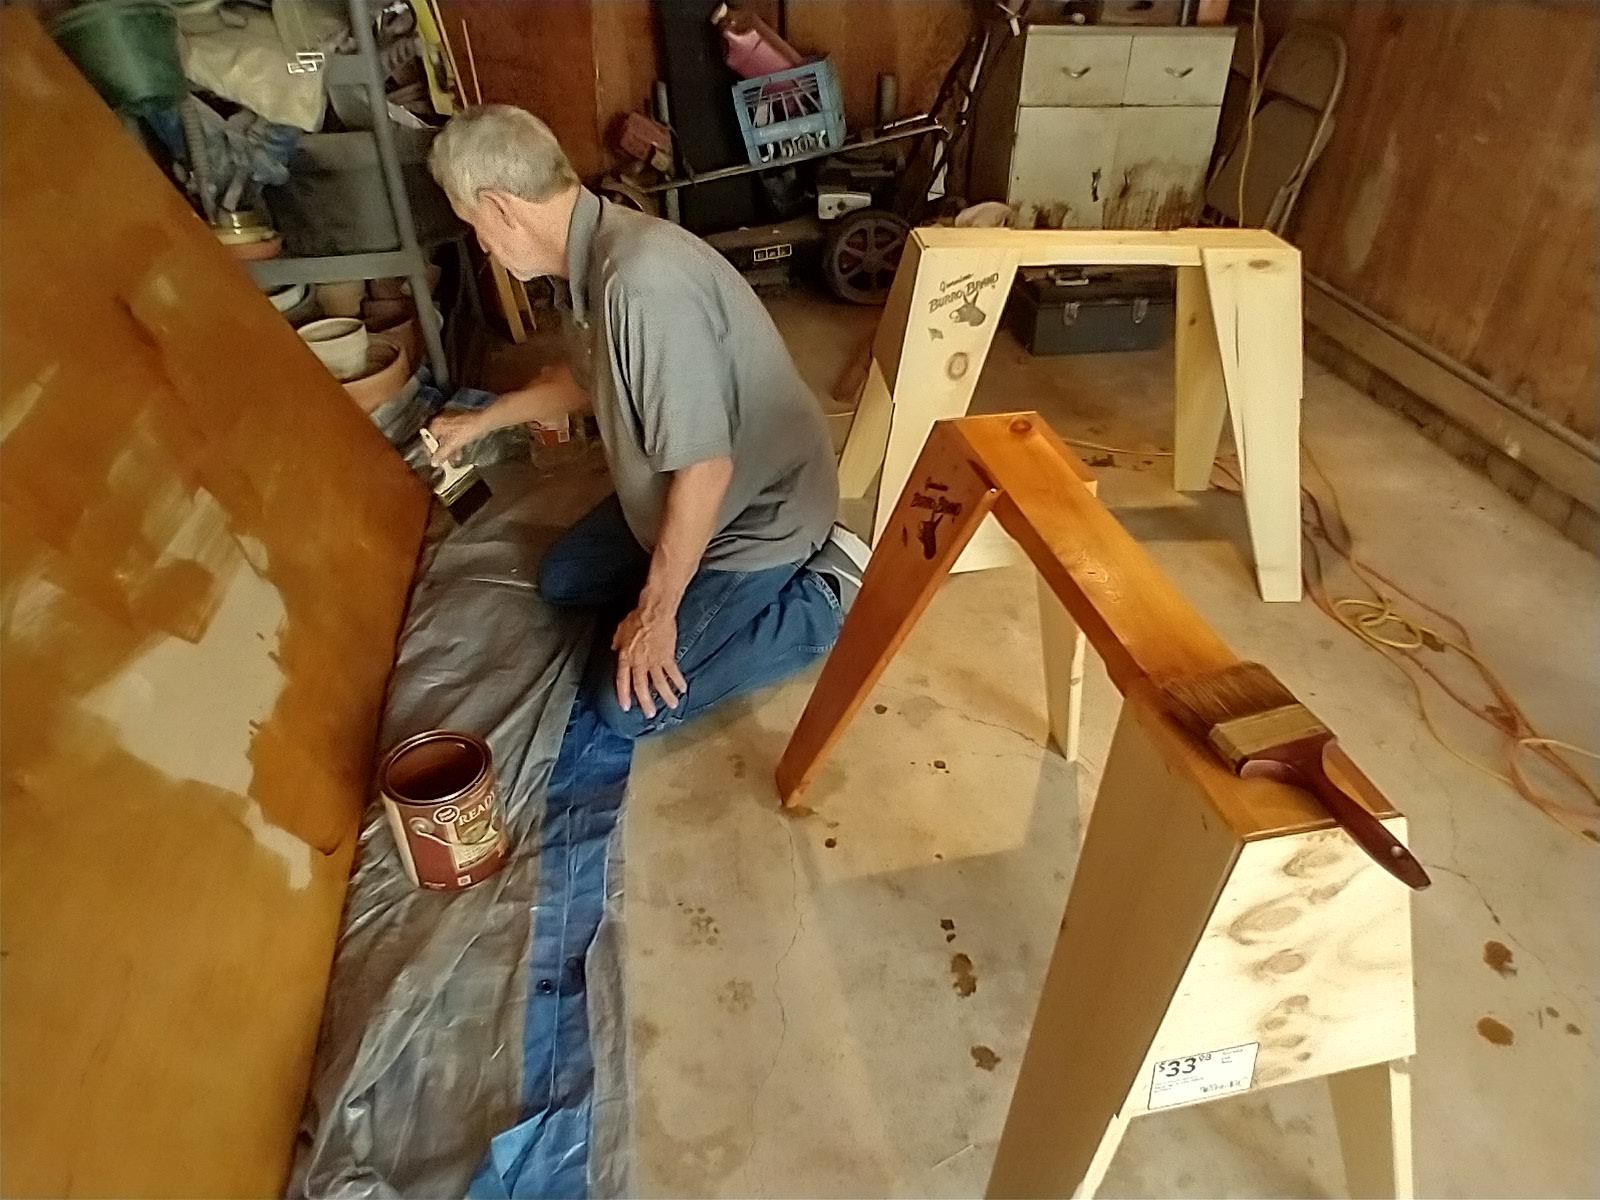
These next pictures, show my friend Tony and me working on the table frame:
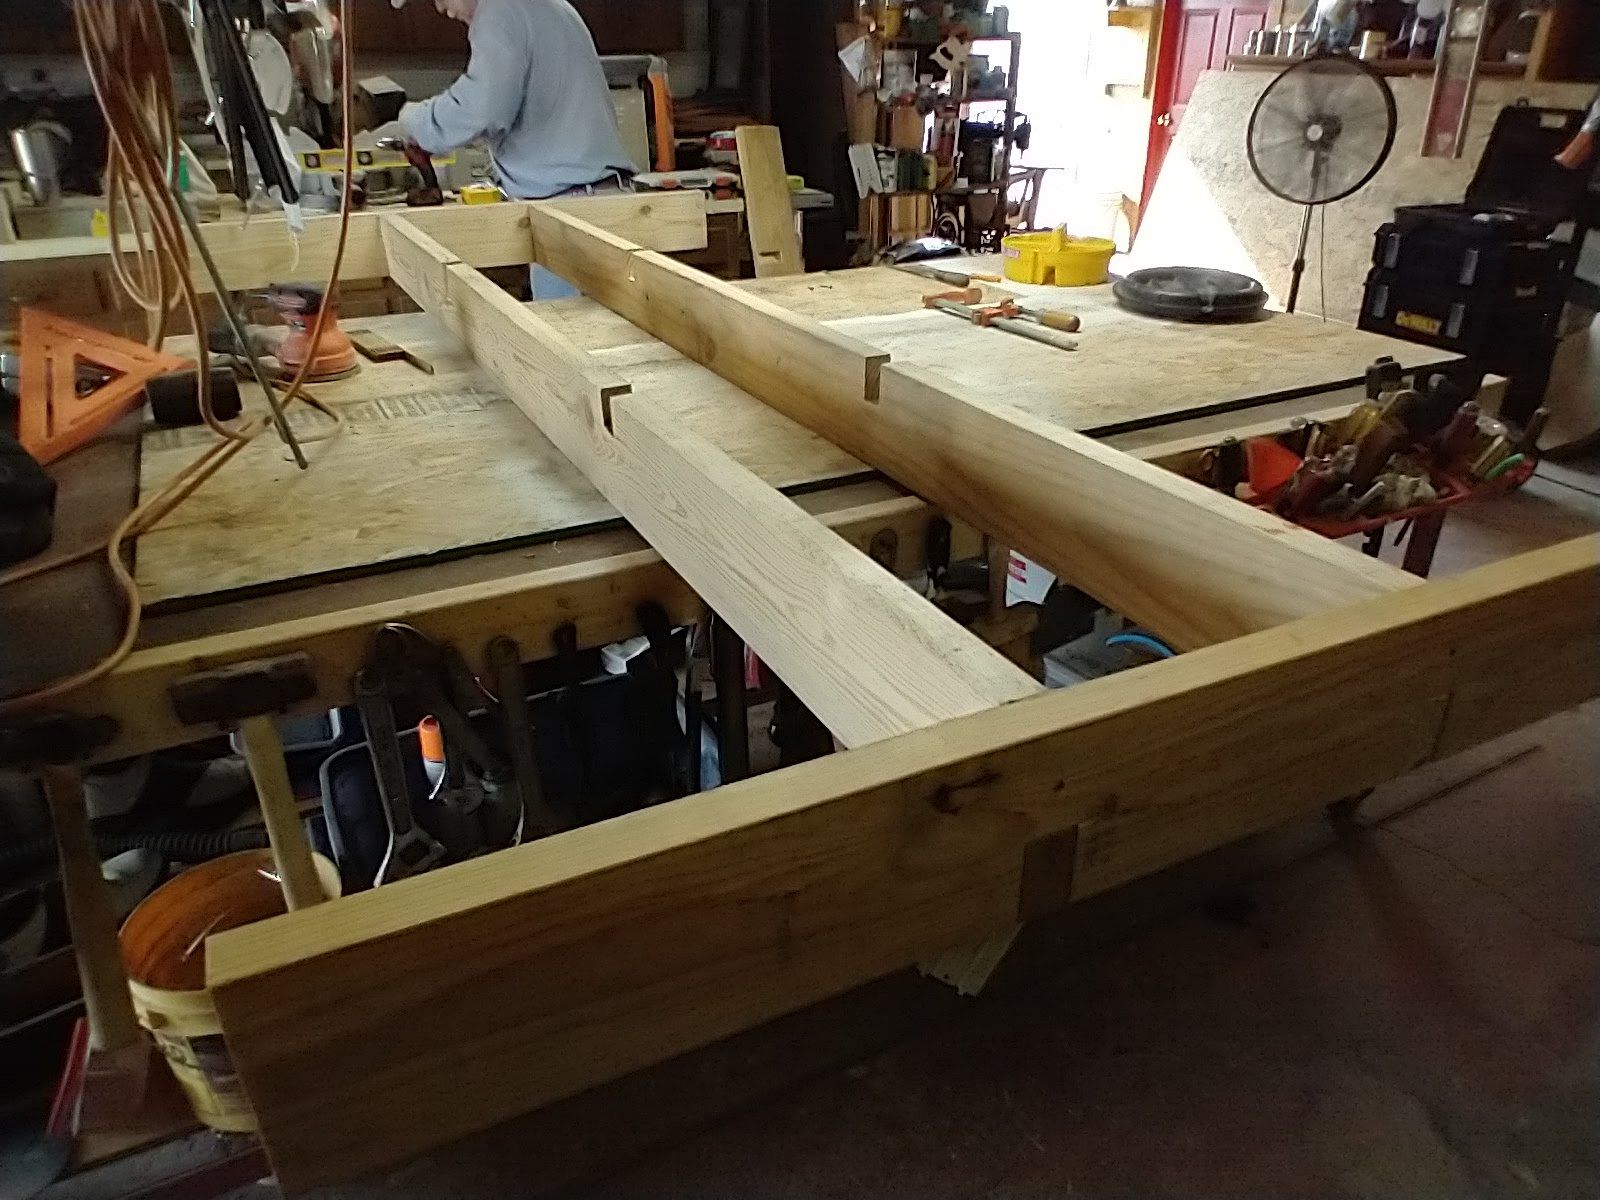
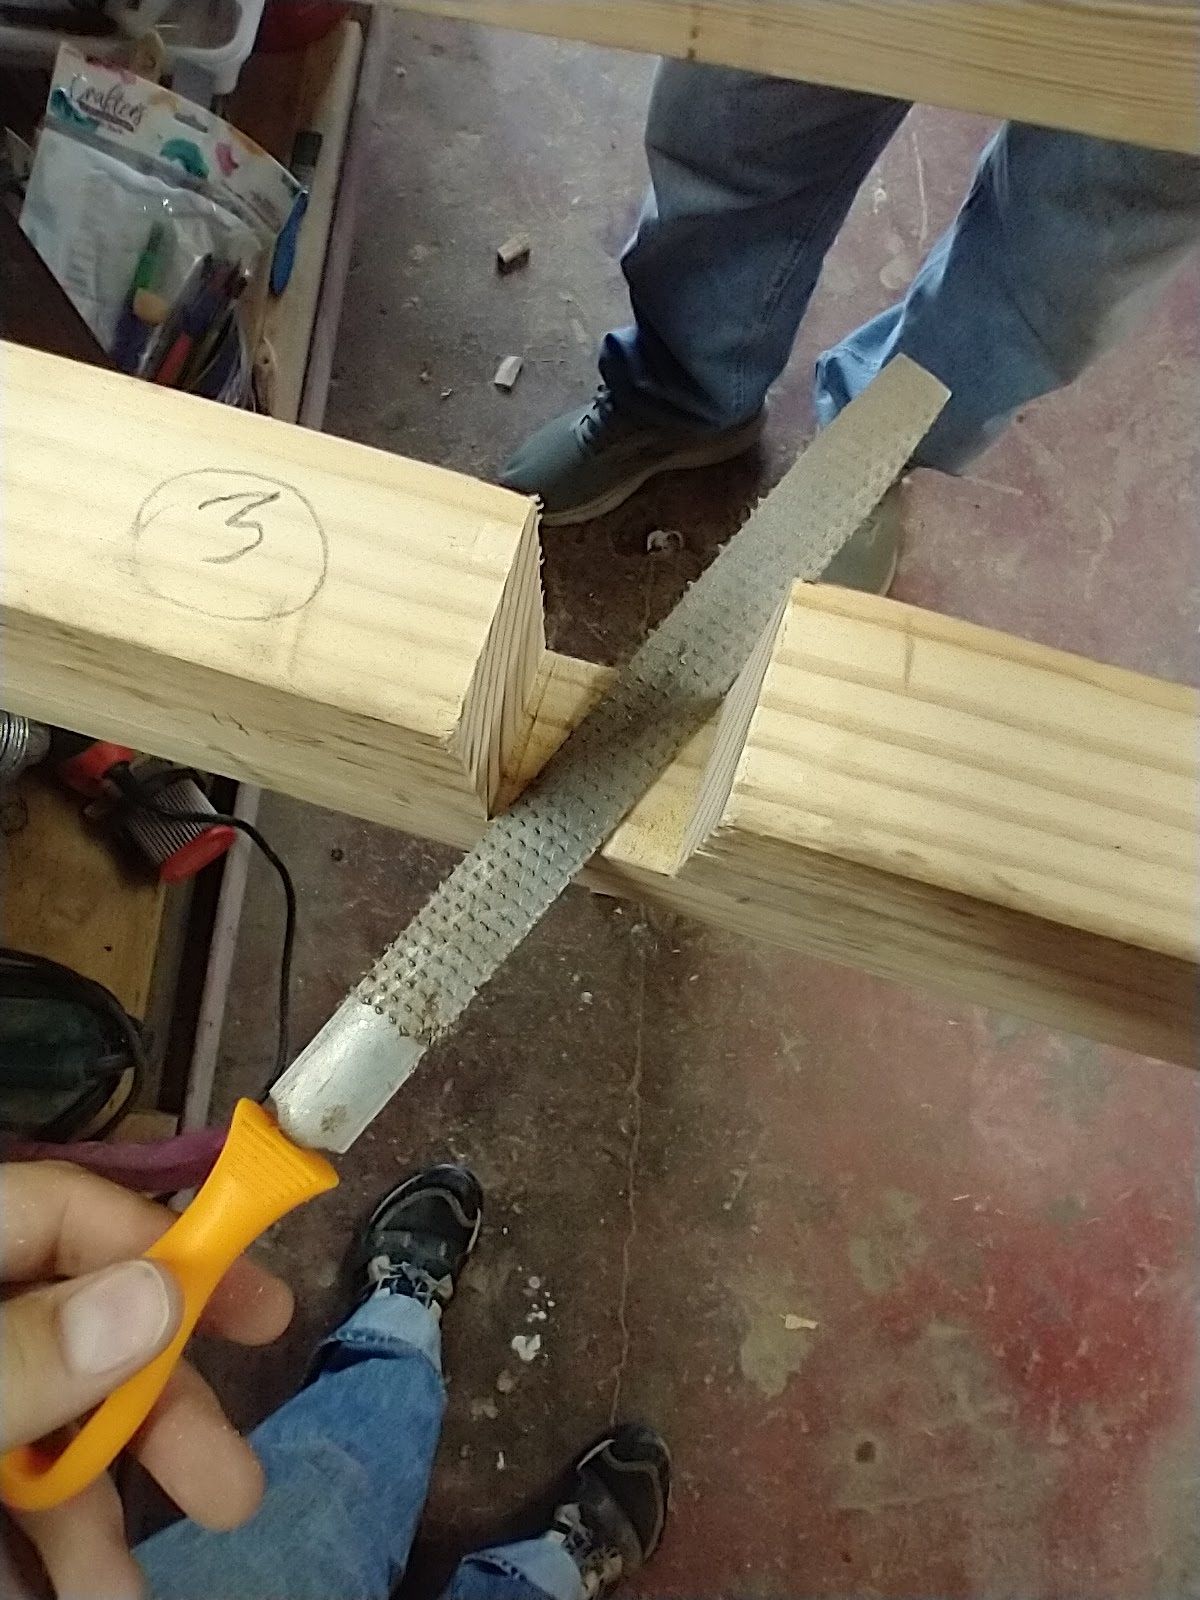
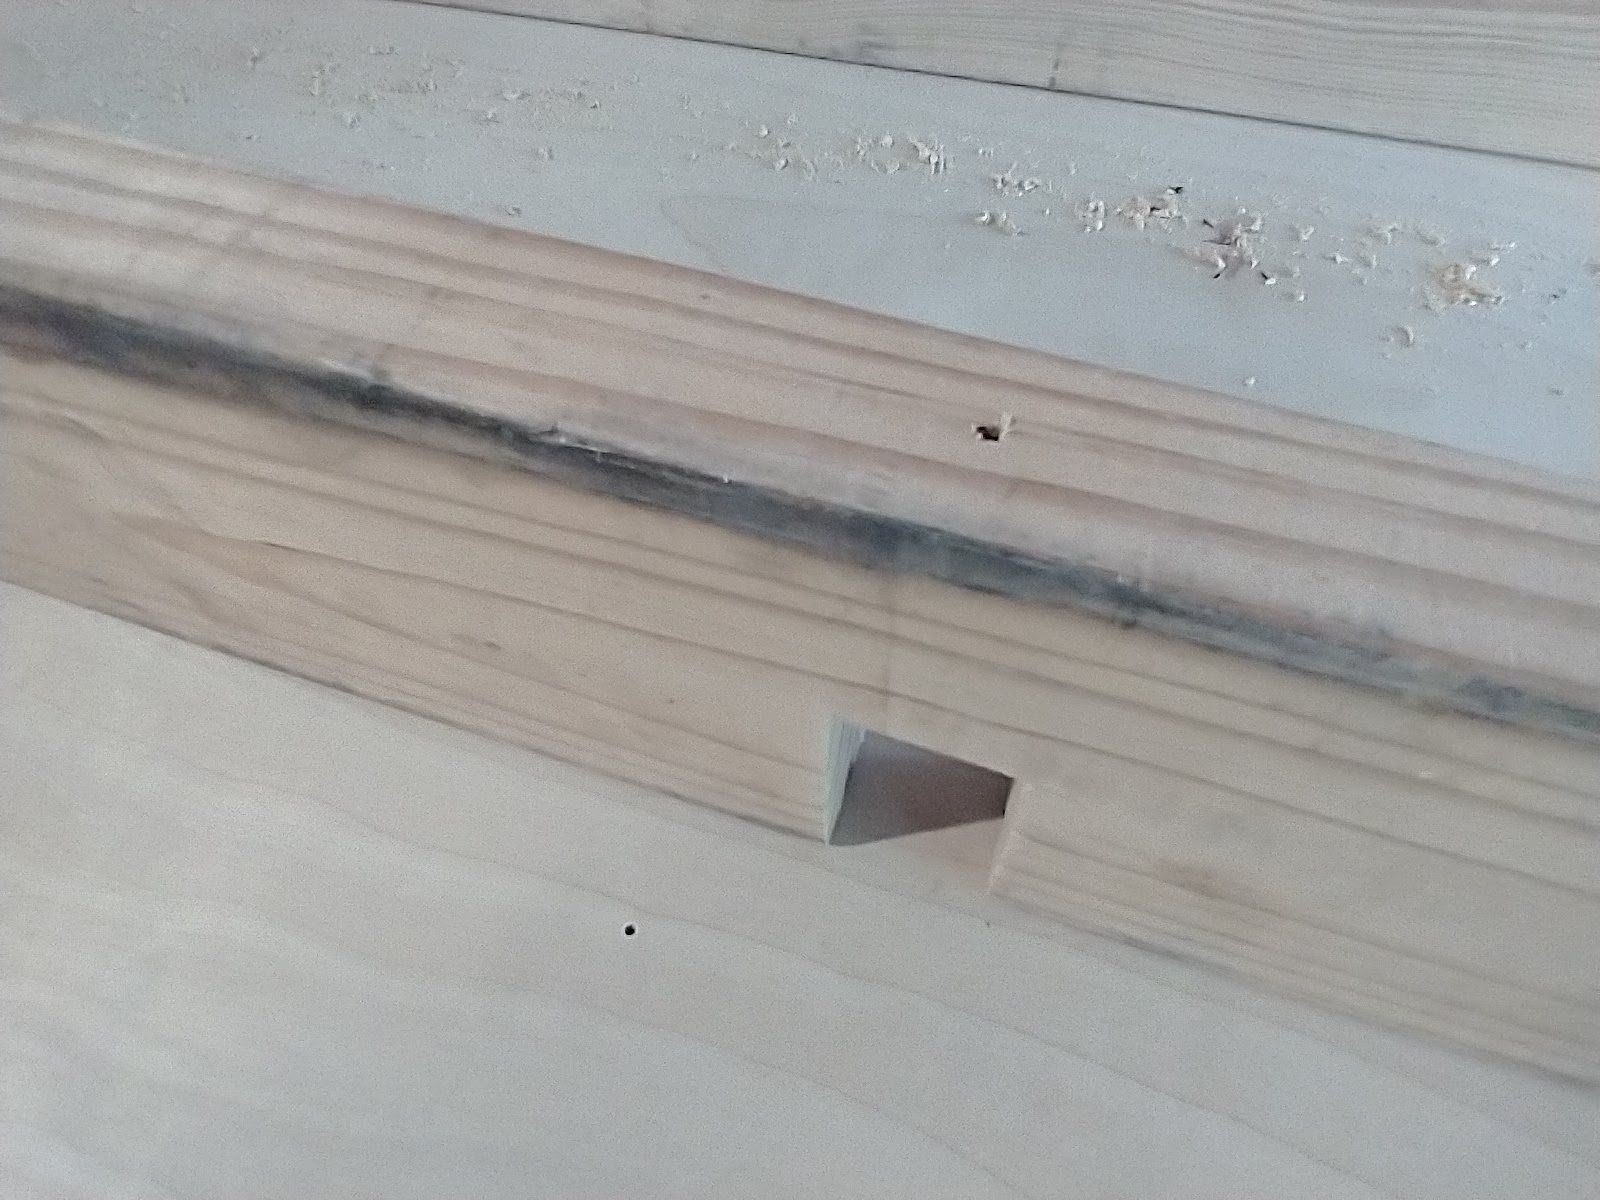
Once we had all the joints fitting perfectly, it looked great! (And I was almost done!)
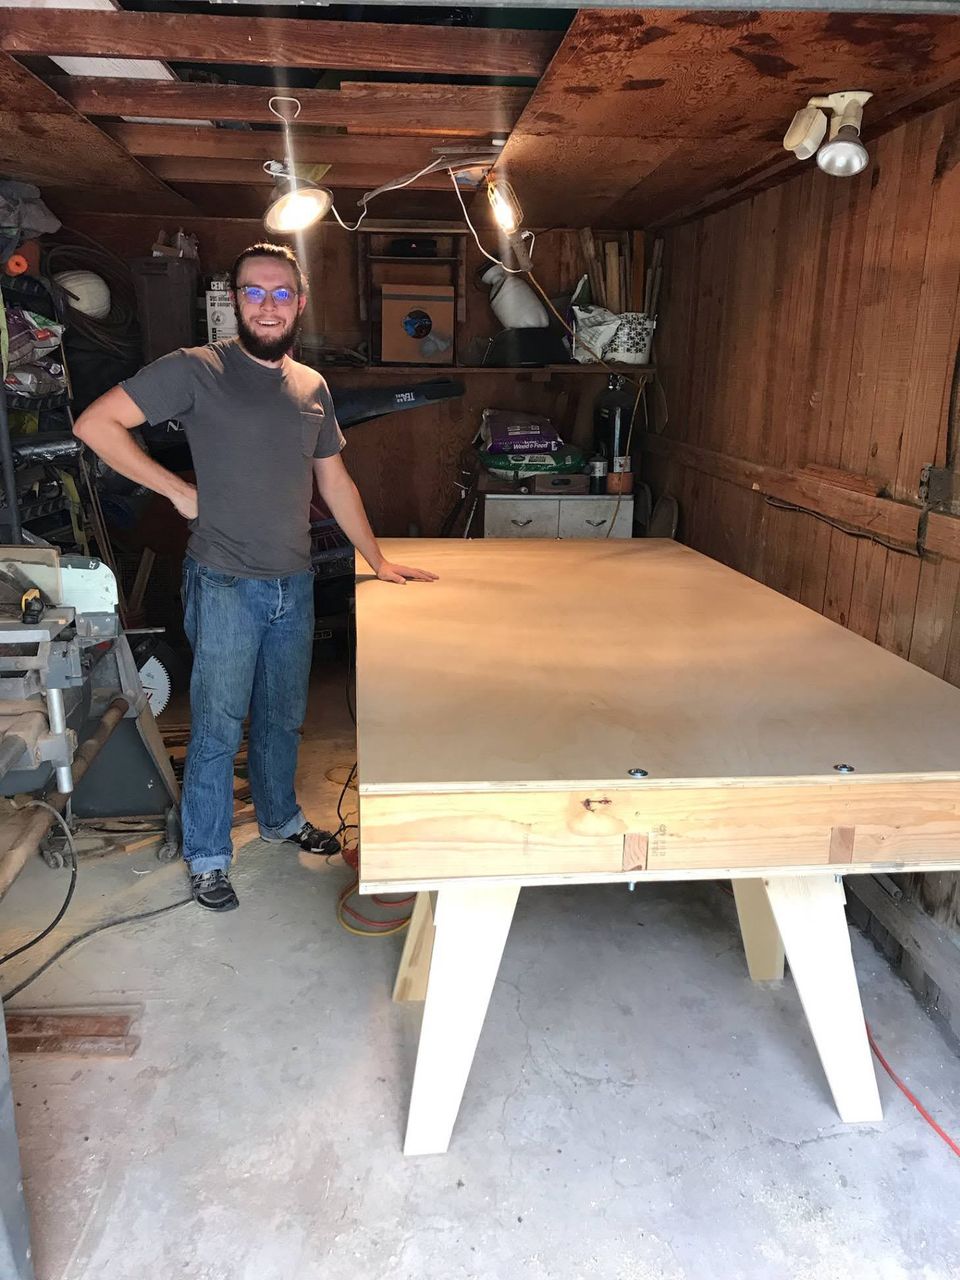
putting it all together
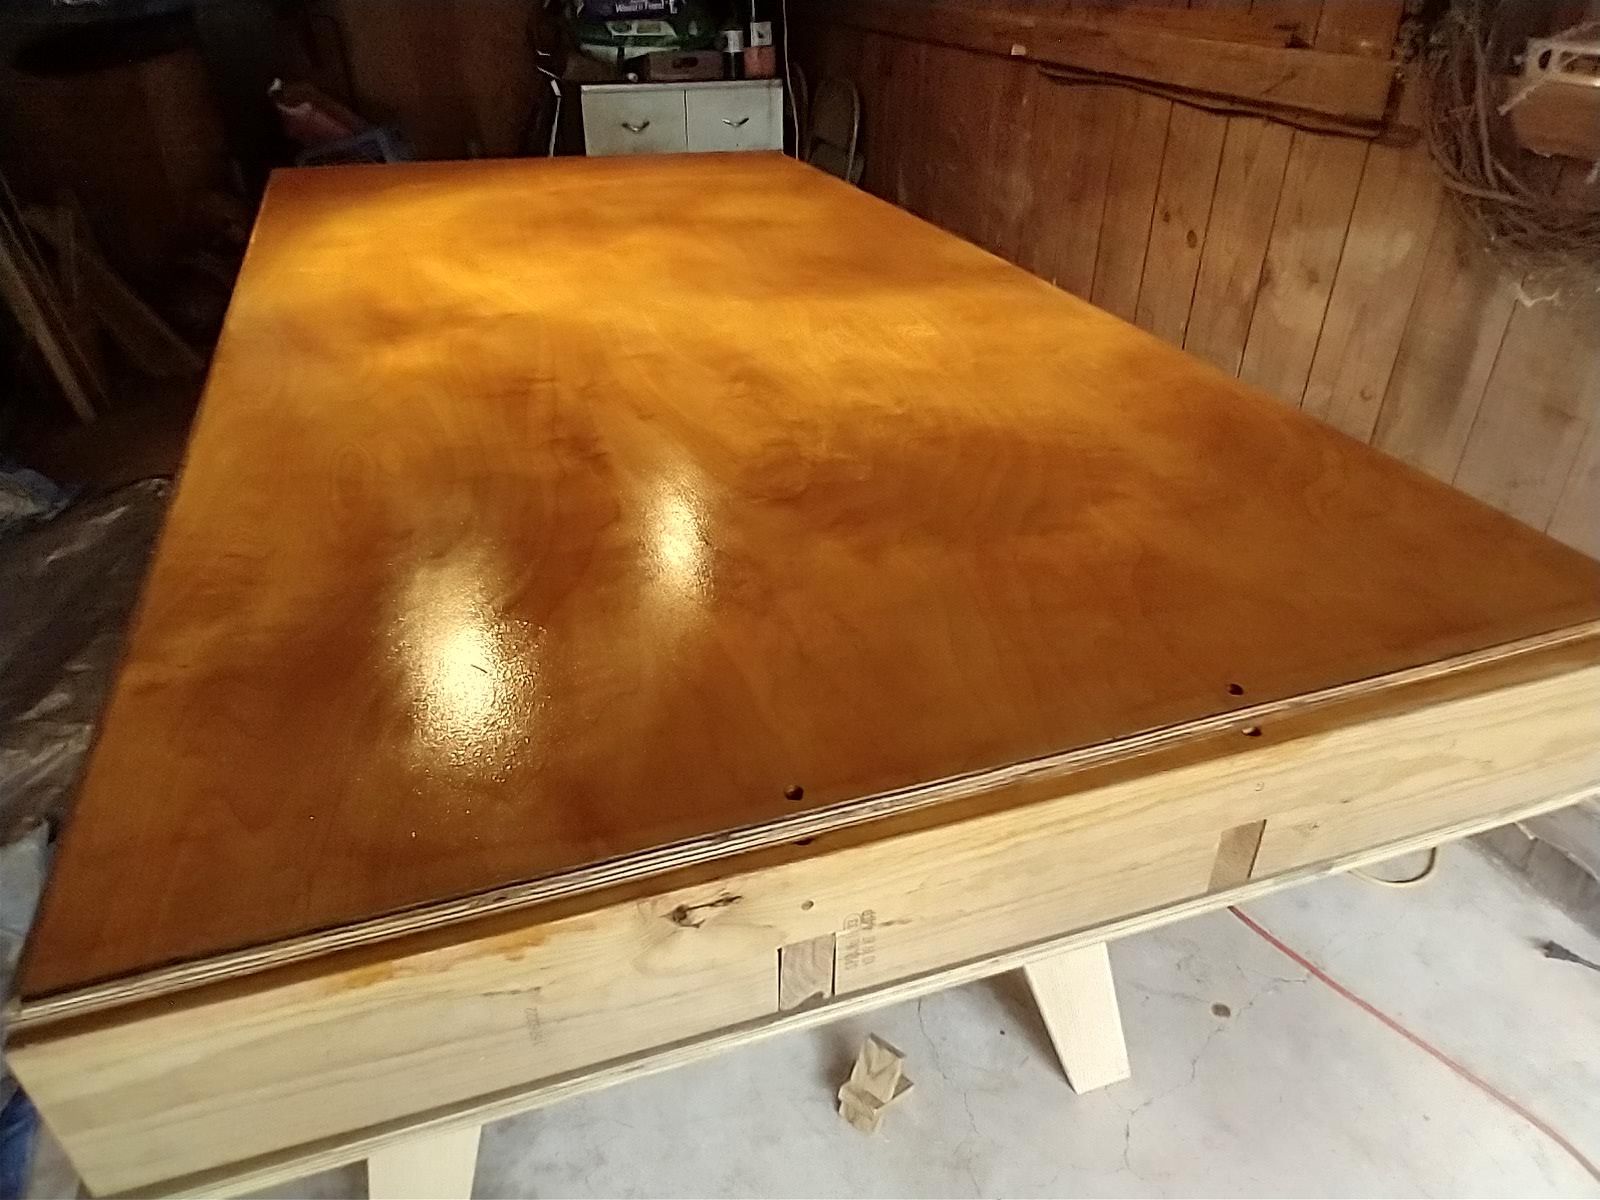
Here's the frame on the lower part of the table. I'm using sawhorses for legs! The table surfaces are beautiful laminated oak (which was cheaper than plywood due to the super high construction costs right now!).

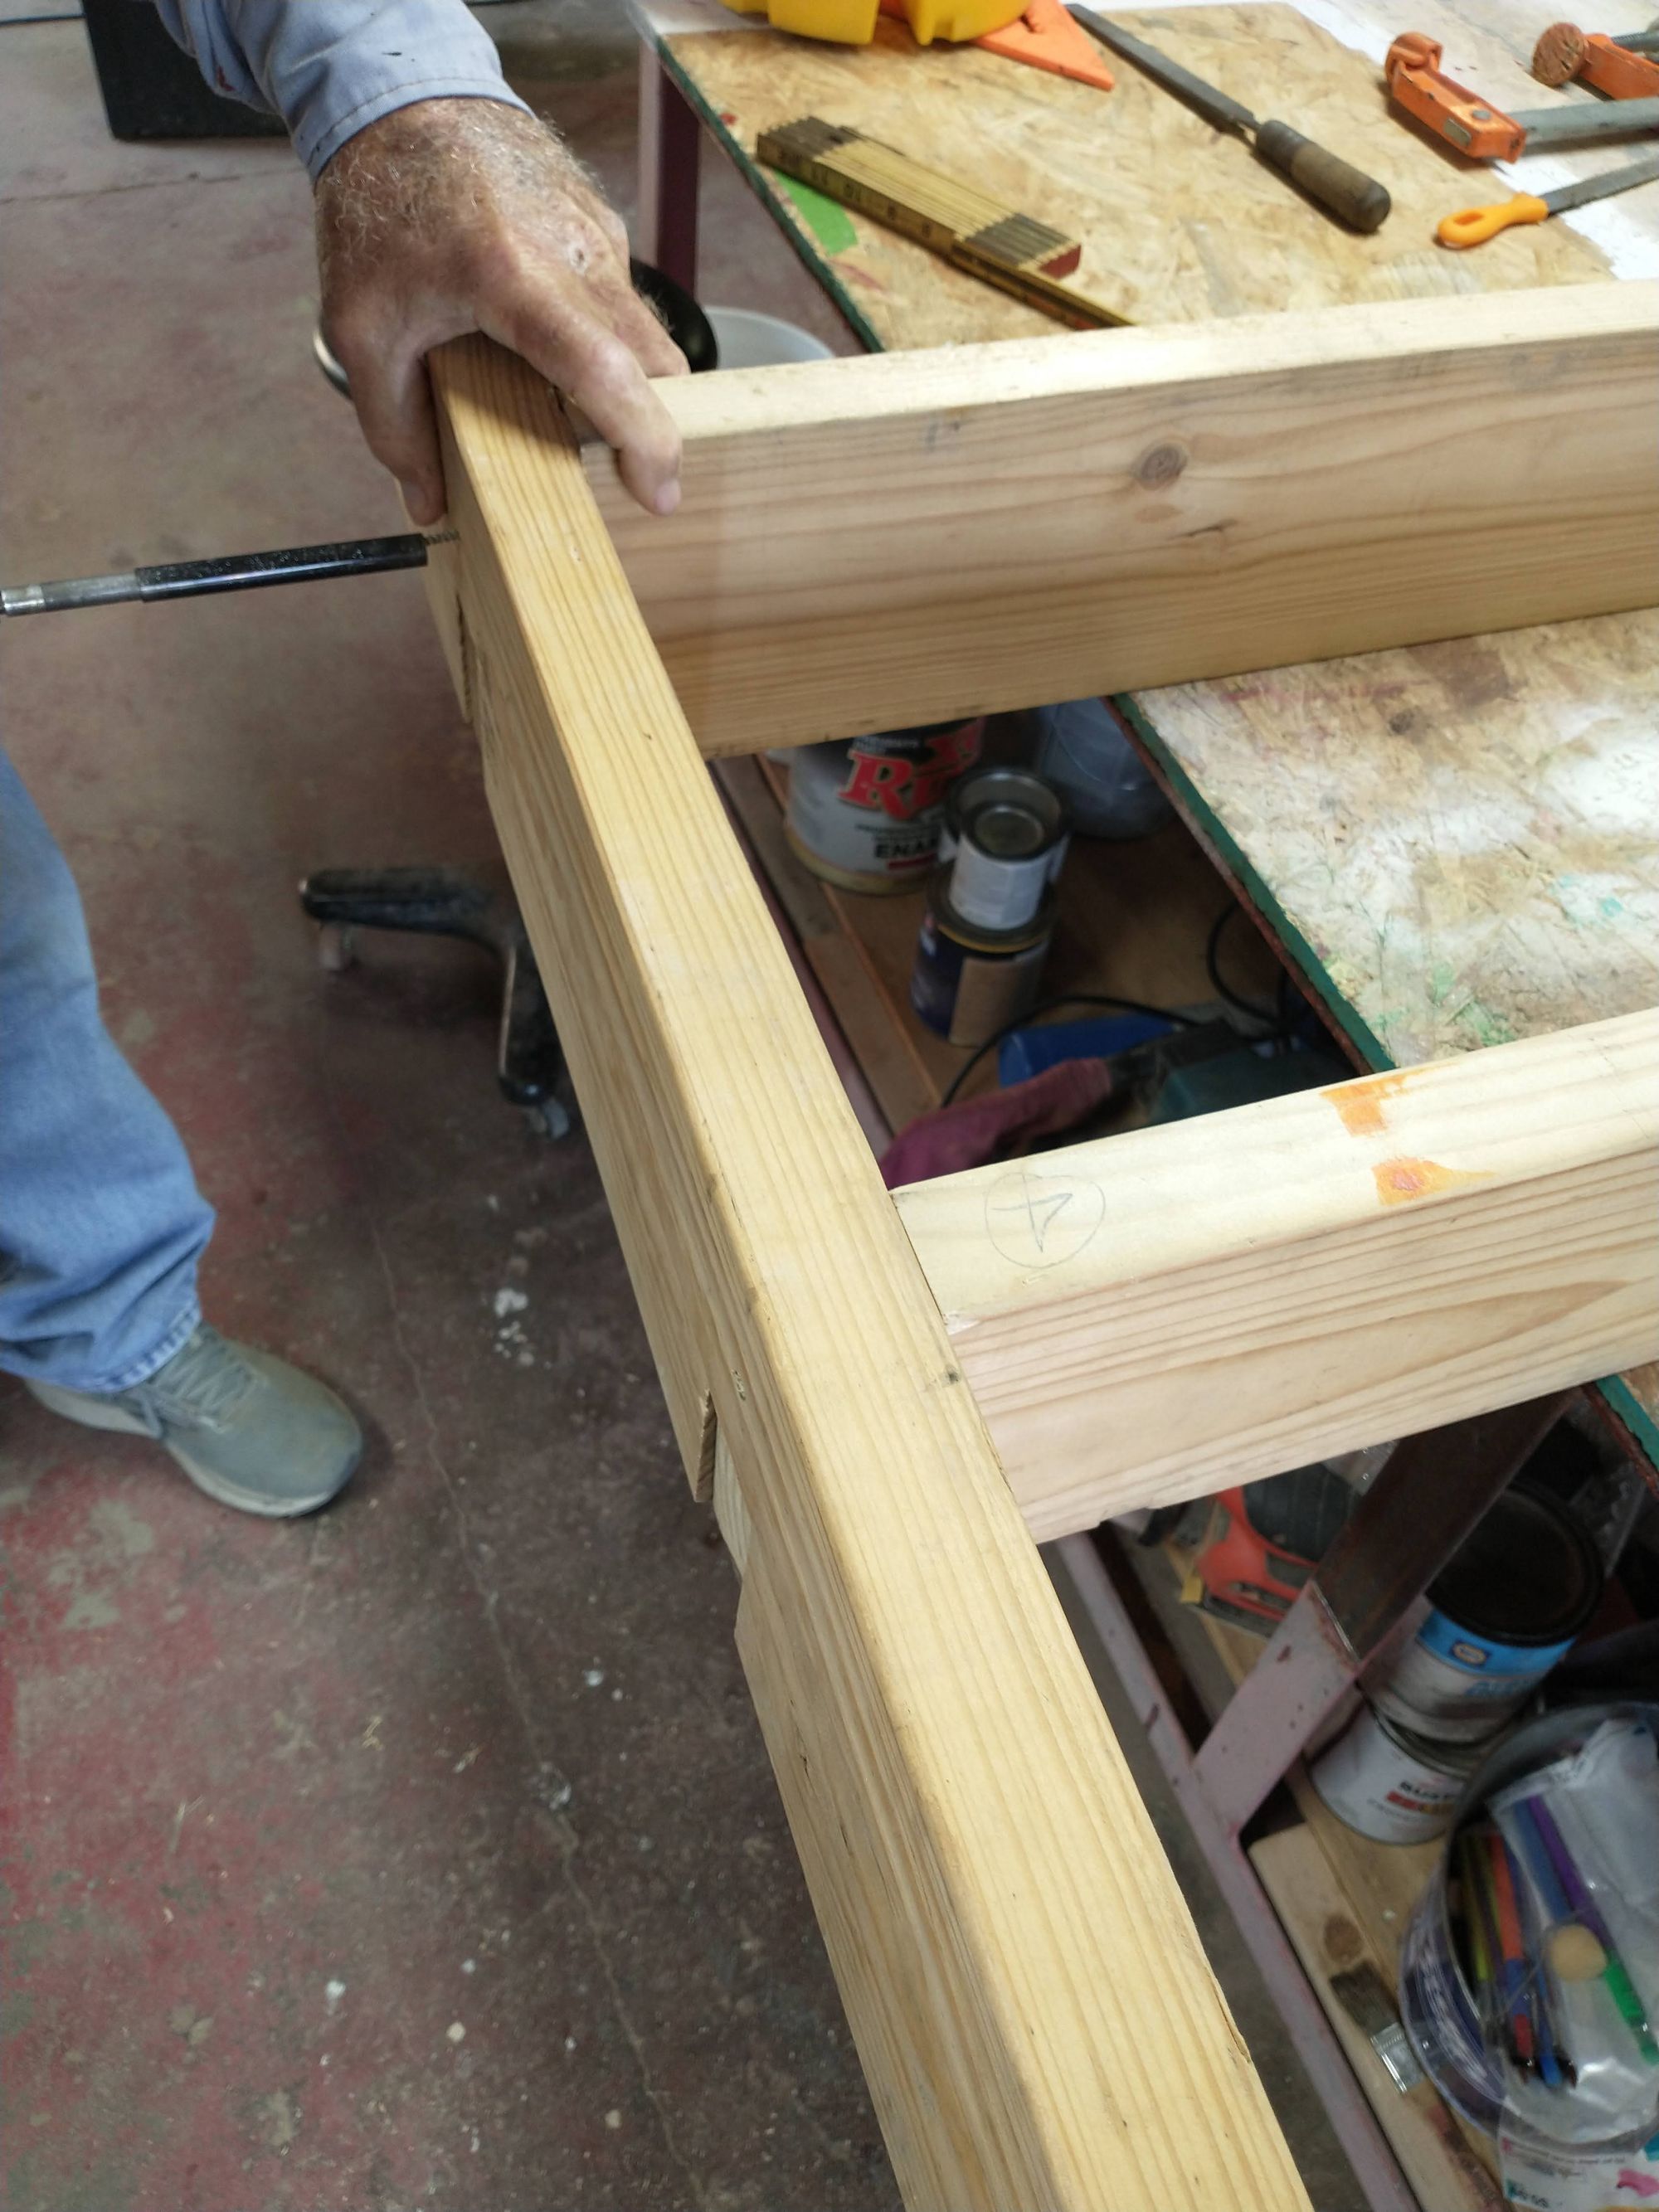
The next step was to drill holes for the bolts that hold the whole table together! As you can see from my pictures, my drill could make it through the top board, but not the lower one. My drill was too fat and I melted some of the plastic from letting it rub against the wood:
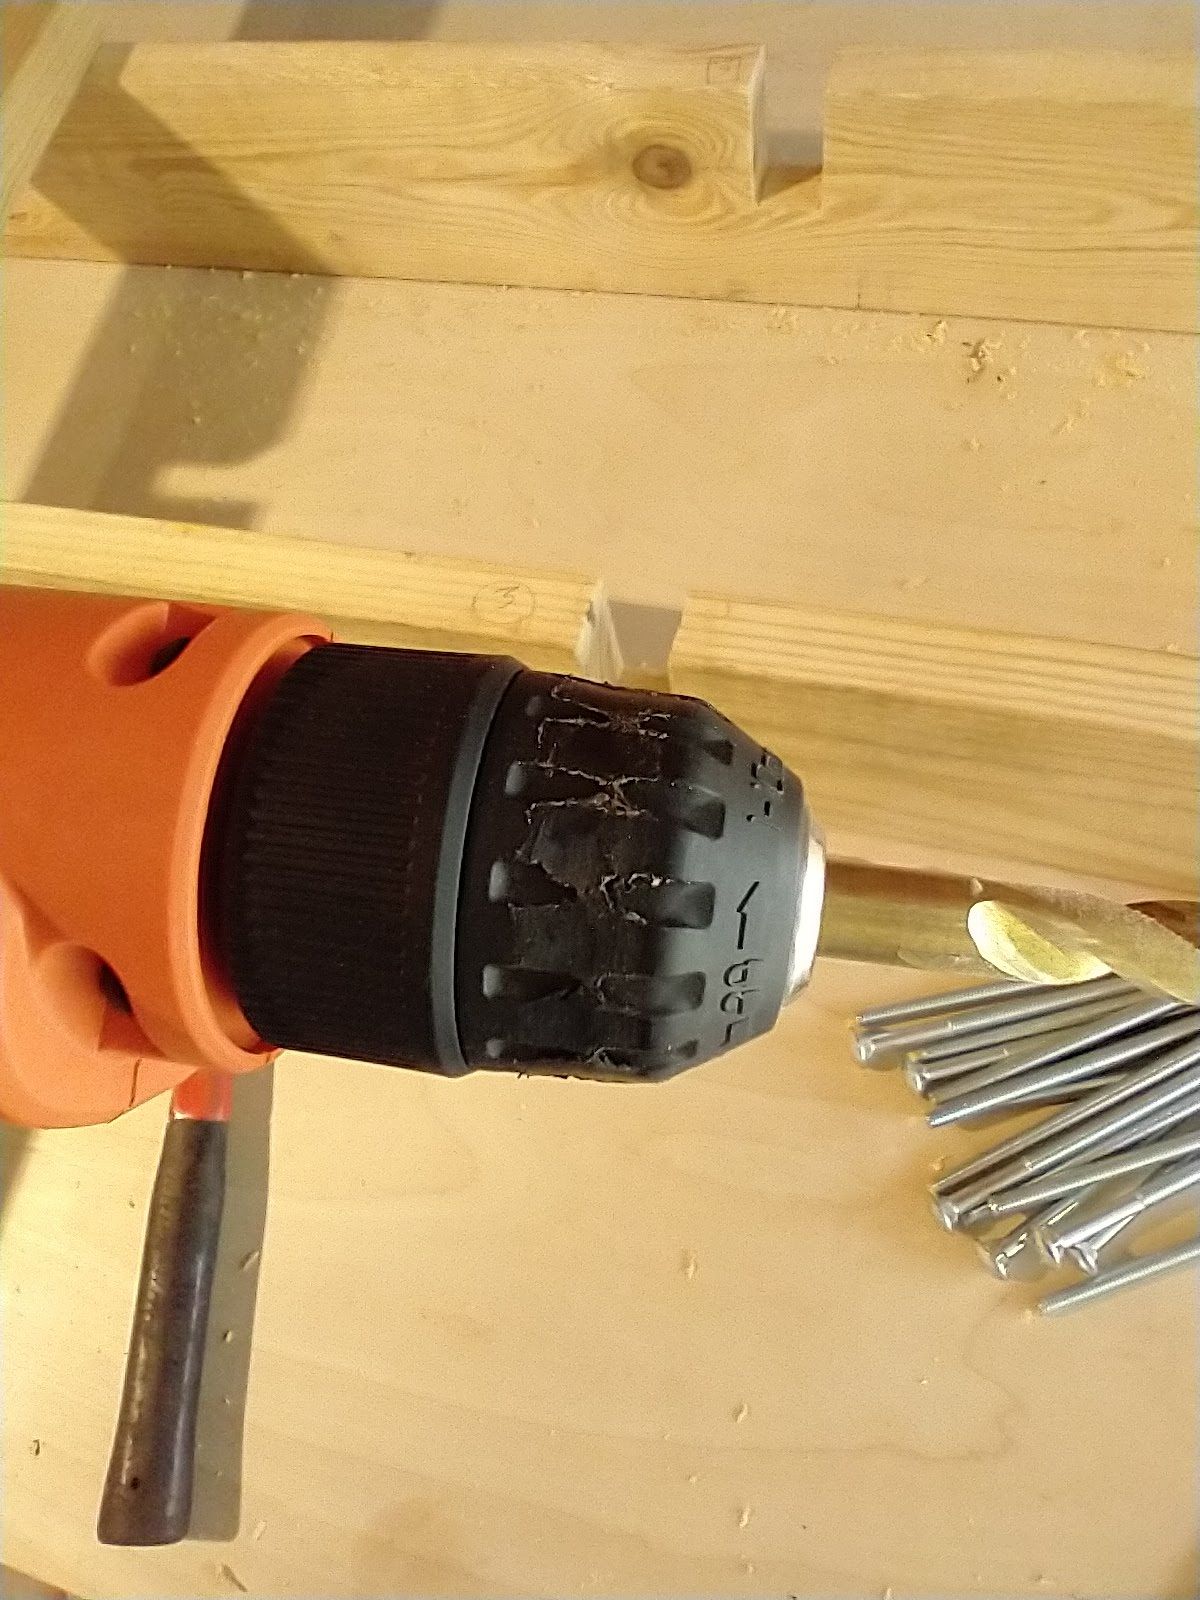
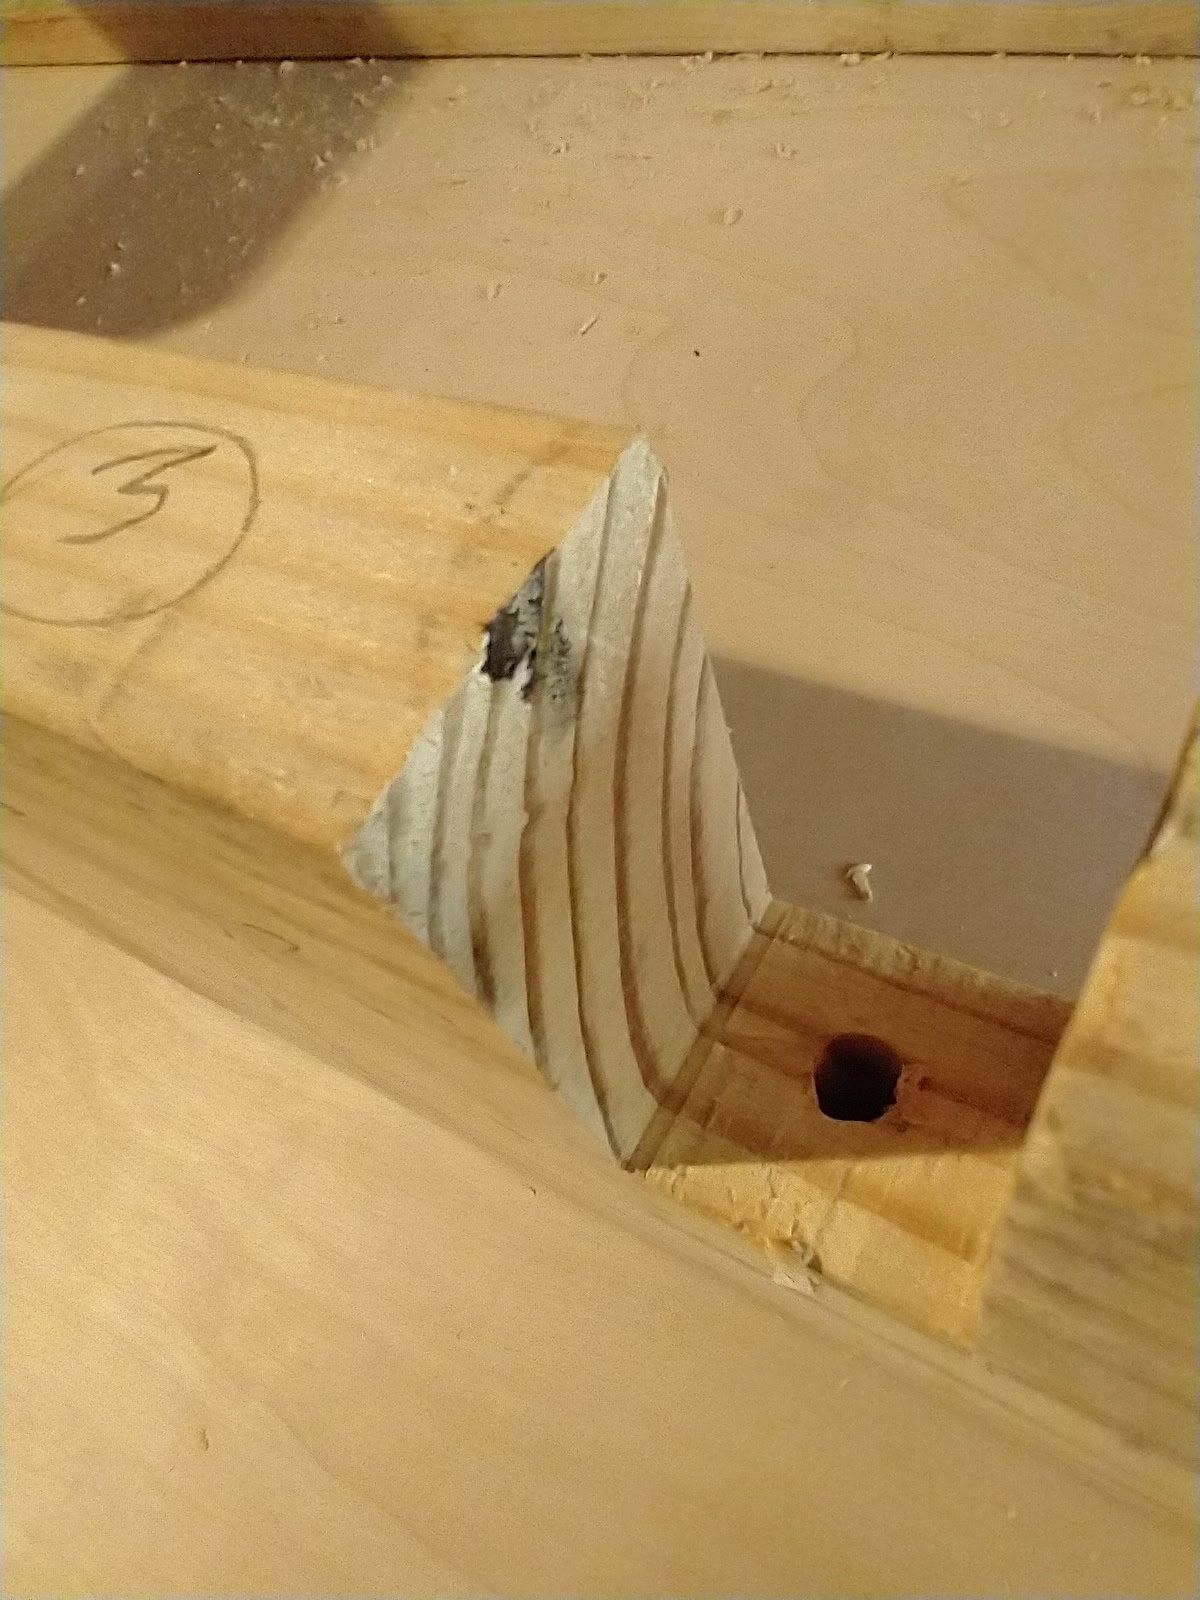
With a burst of inspiration, I hammered a nail through the middle of the hole to mark where to drill in from the other side:
After quite a bit more labor, it's finally done (almost)!

getting the aesthetics (a horror story)
I uploaded some videos of me learning to use a router on my YouTube channel. Here's one of them (I should have practiced on some scrap instead of my beautiful table):
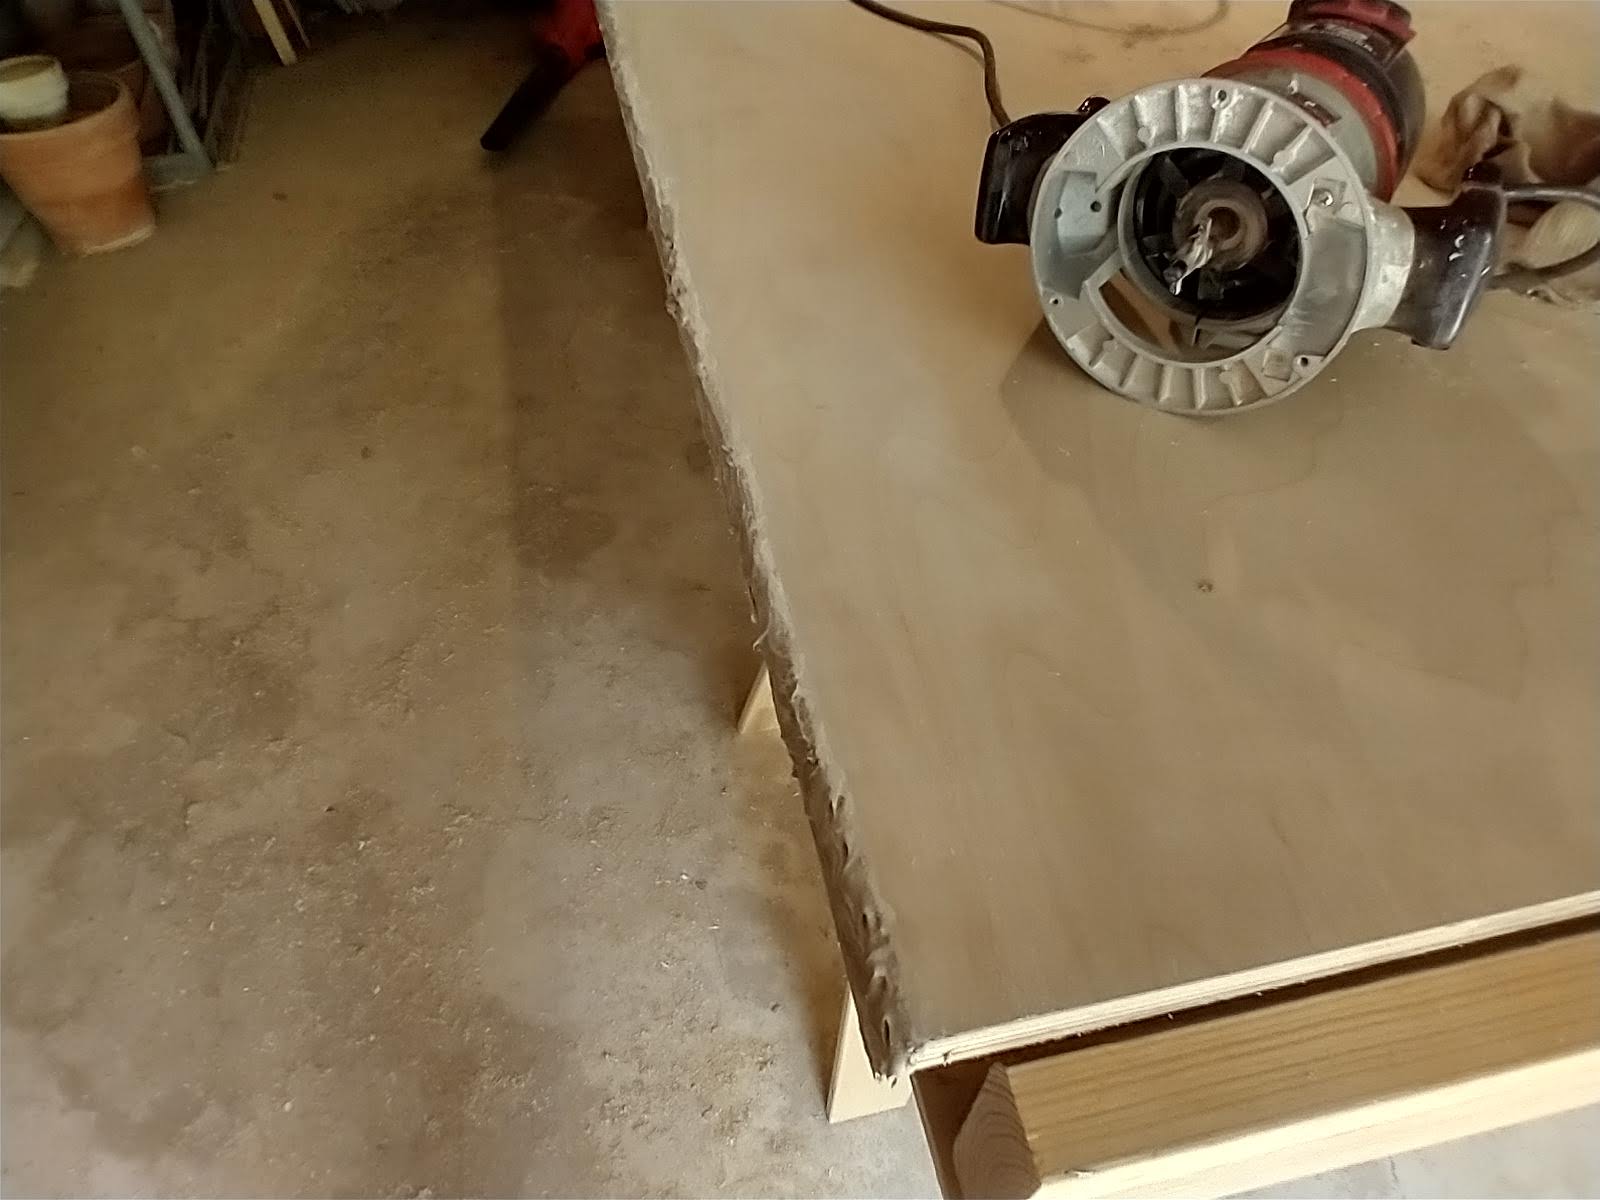
Seems simple, right? Seems like something I could handle, right? WRONG. Here are the results of my routing. It turns out the bit was loose and I didn't know enough to put it back in and tighten it.
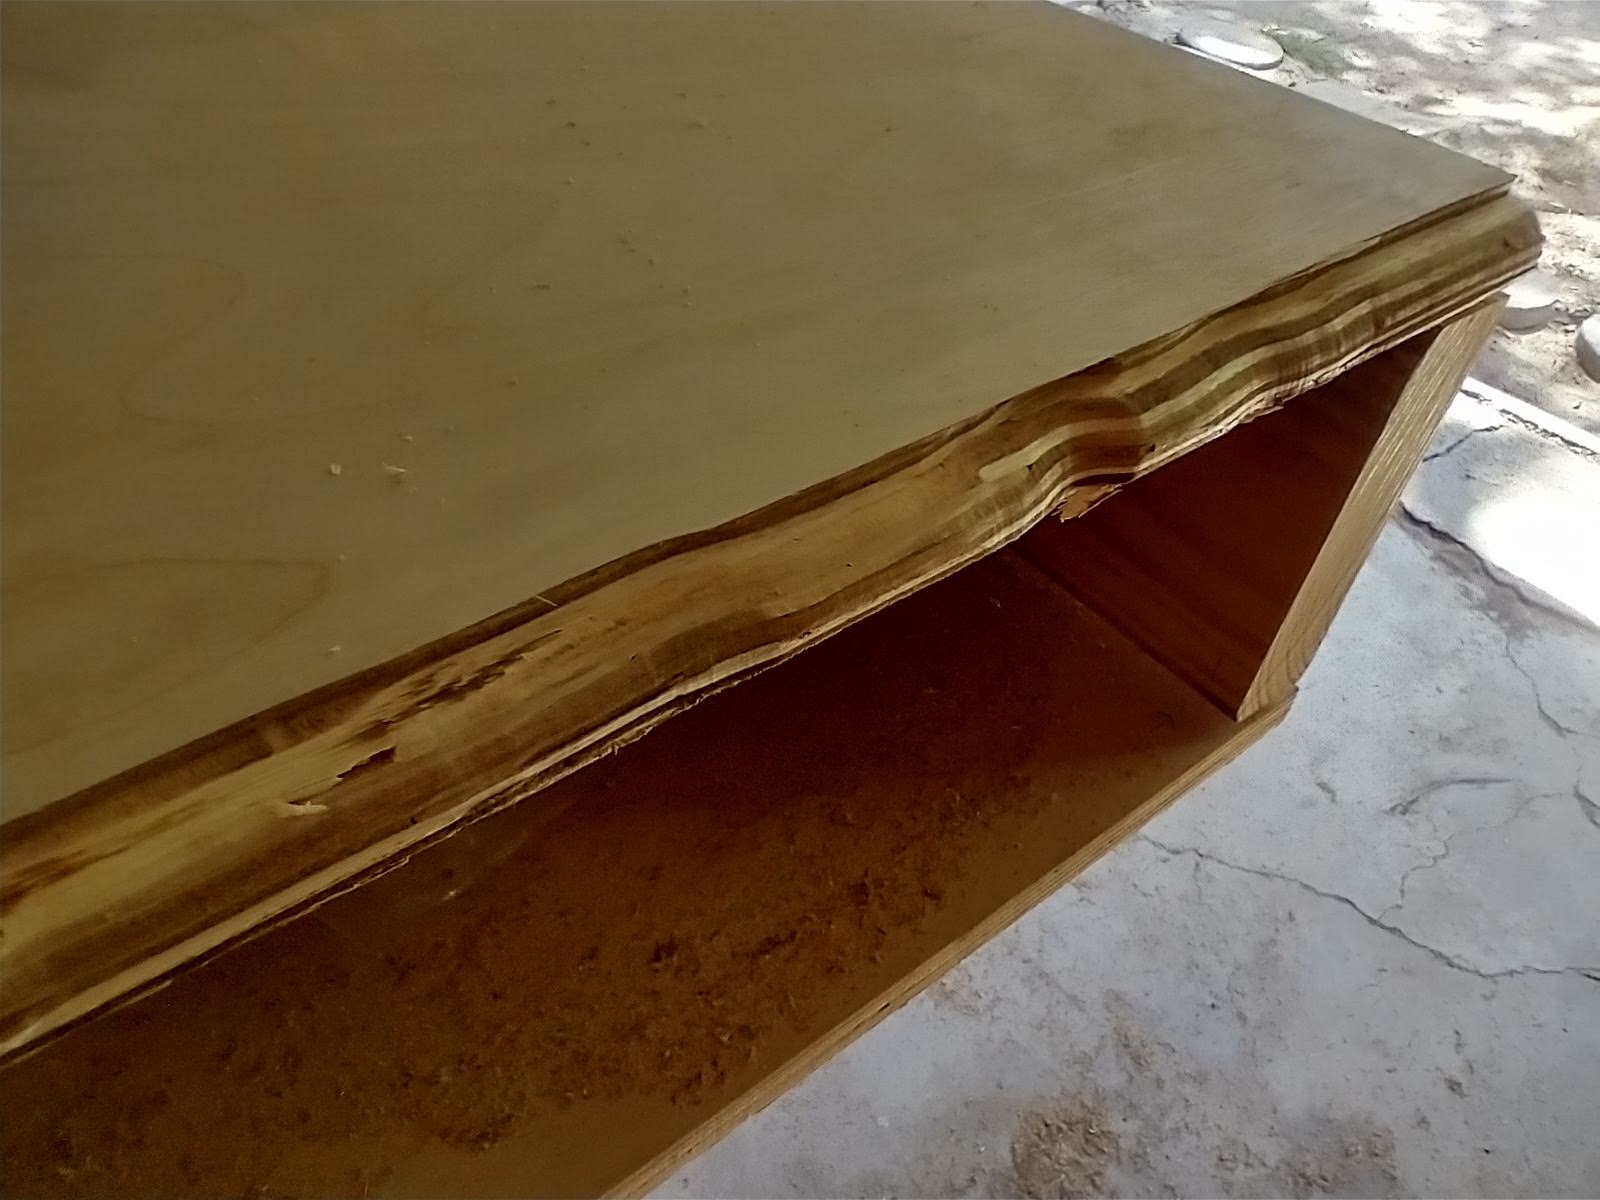
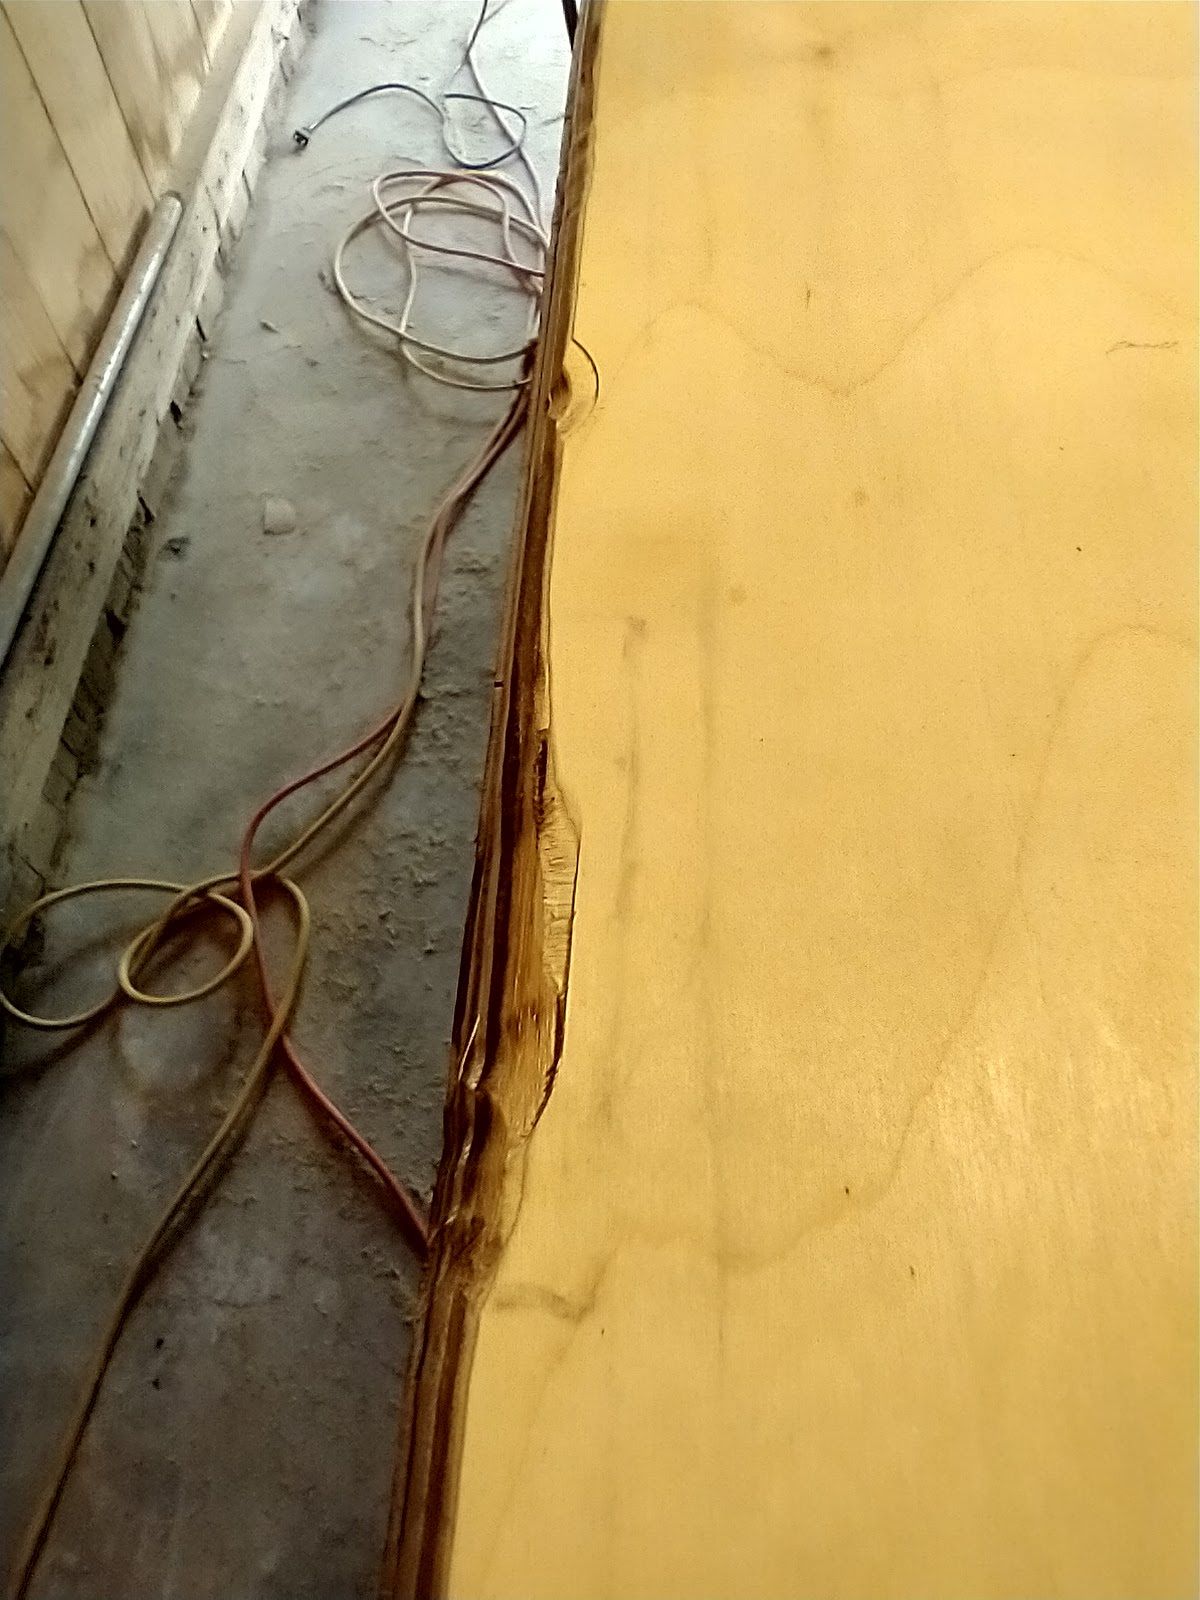
I know... It's really bad. Why didn't I stop? That's a great question...
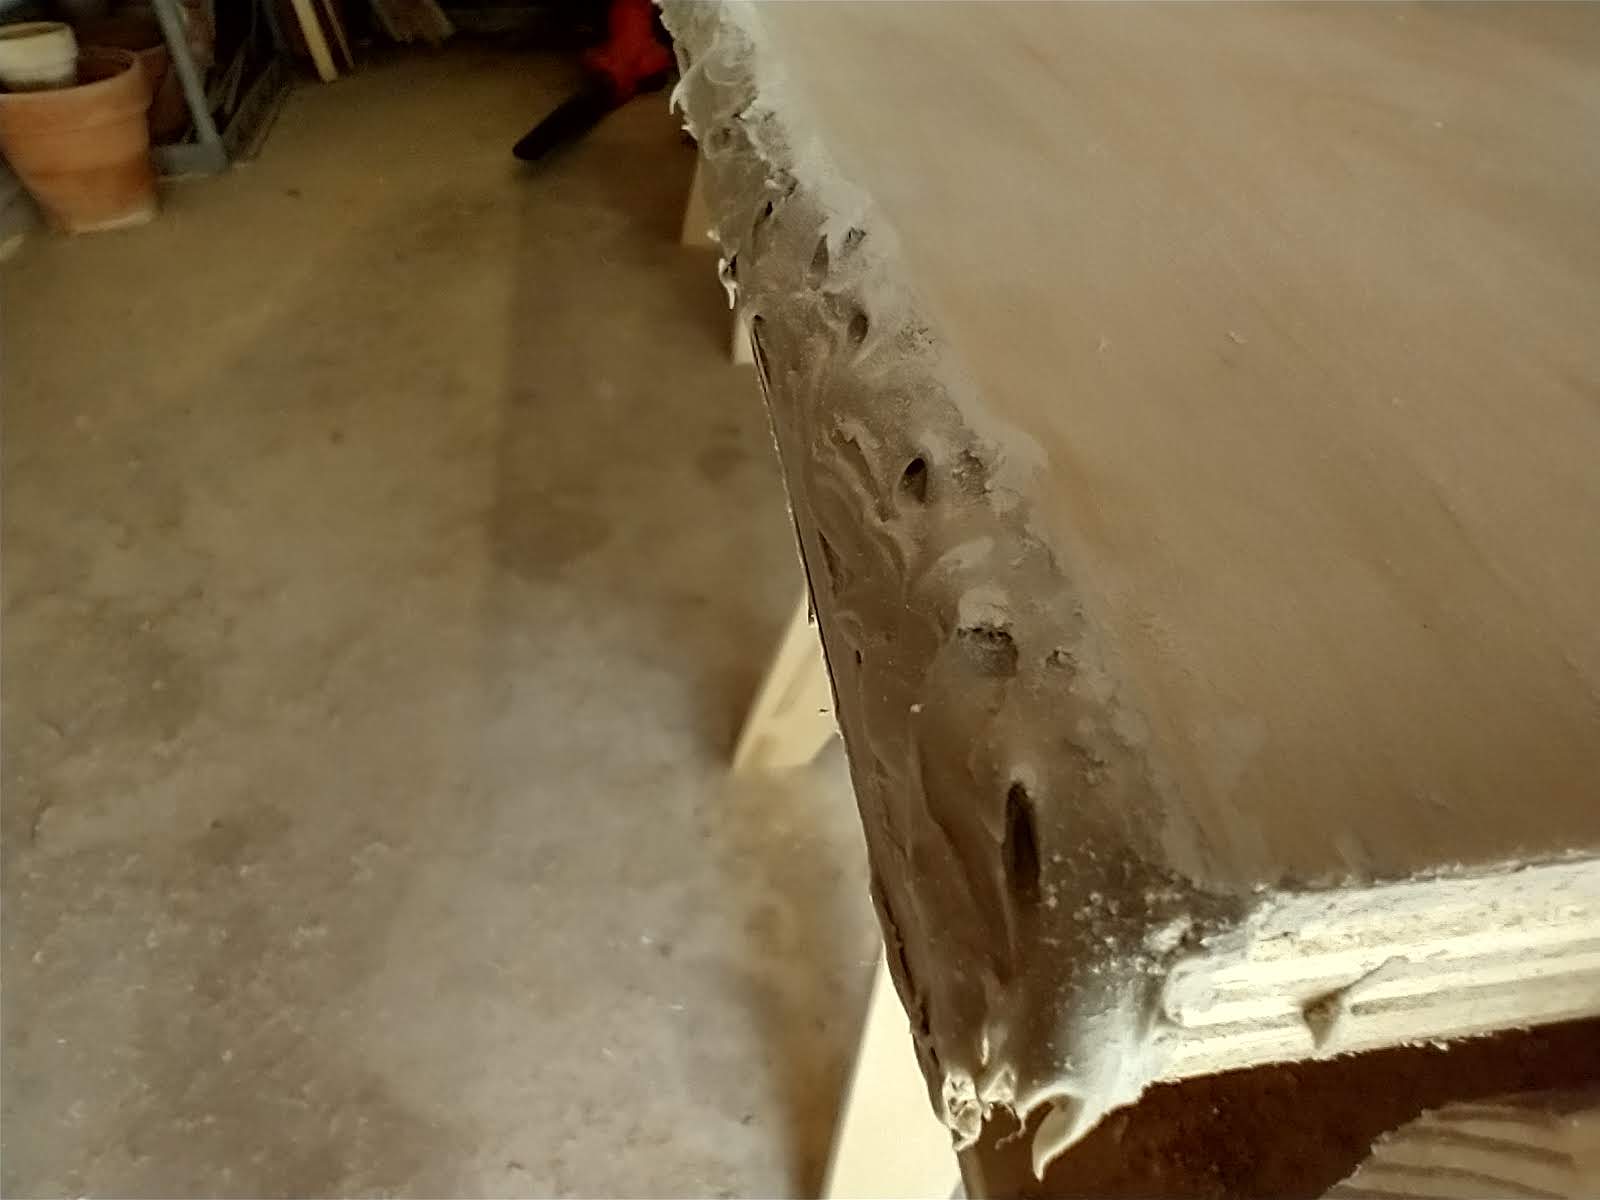
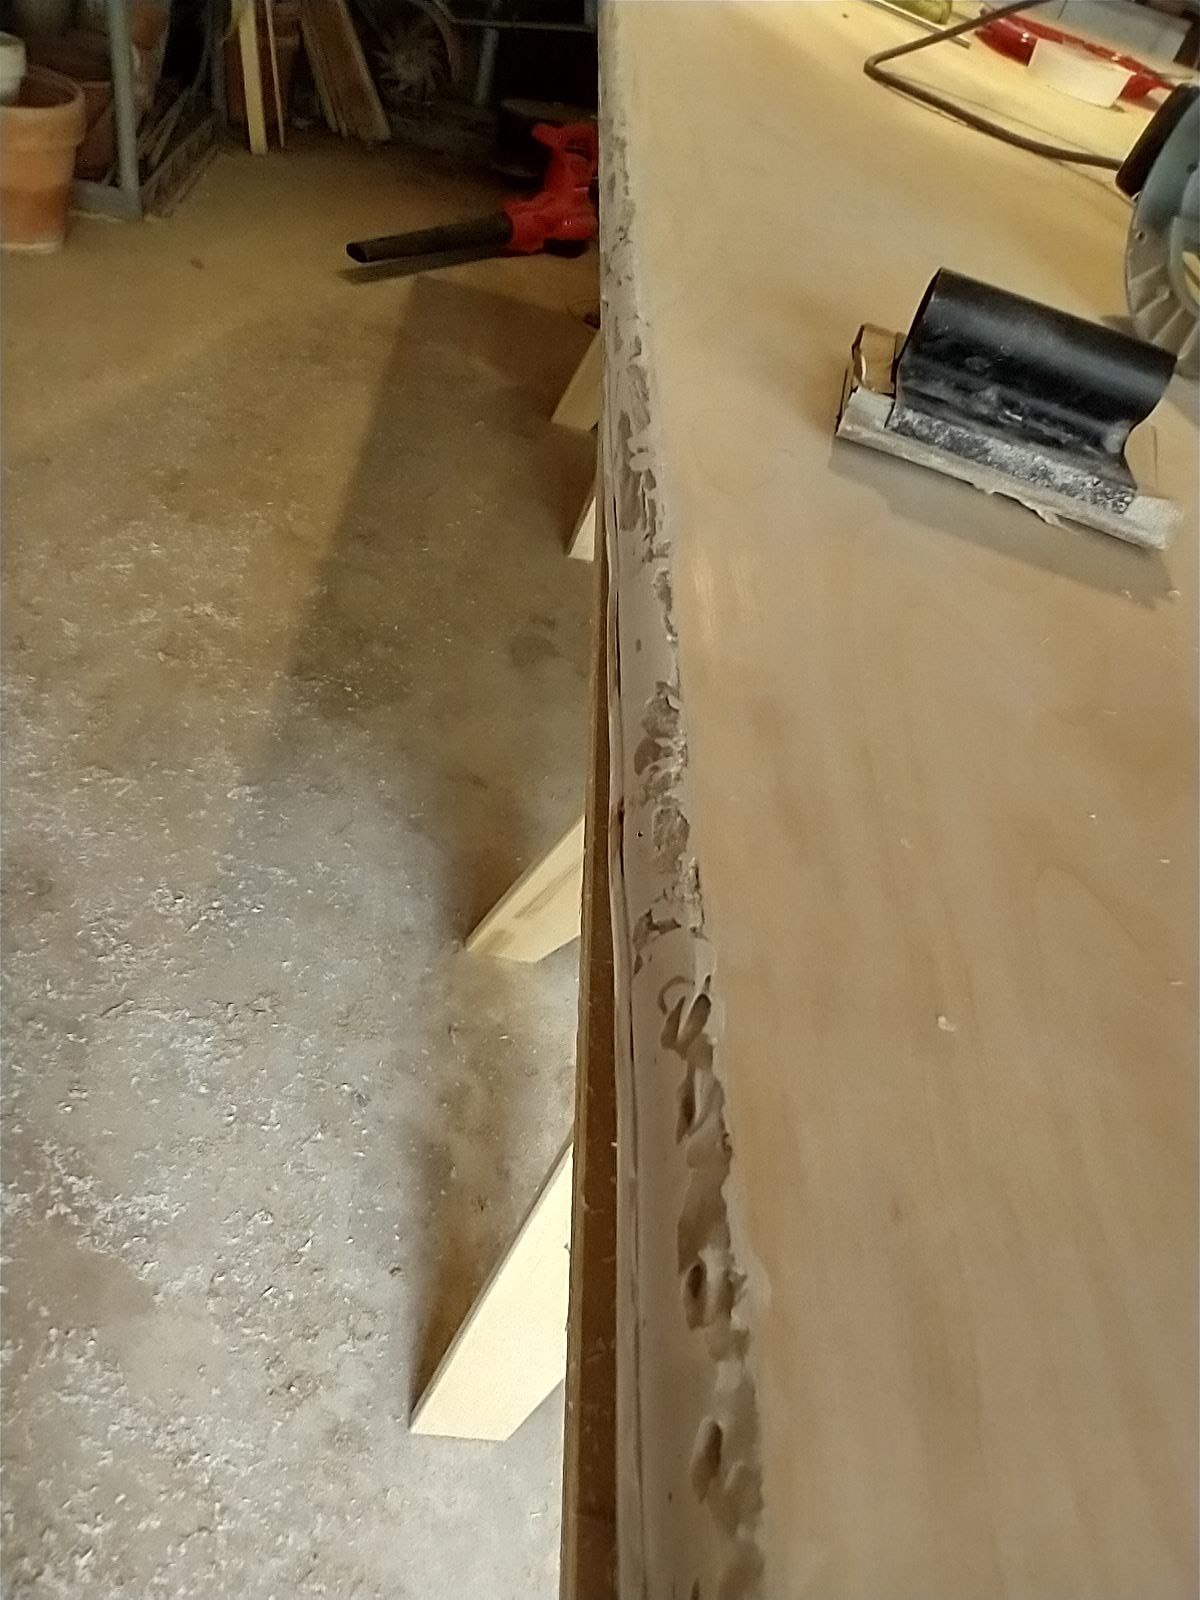
Fortunately, I was surrounded by my super supportive family at the time and they helped me come up with a solution. I used some wood putty to rebuild the edge, then routed it back down to be smooth. Overall, I'm very pleased with the results:
Not too bad for the disaster I caused!
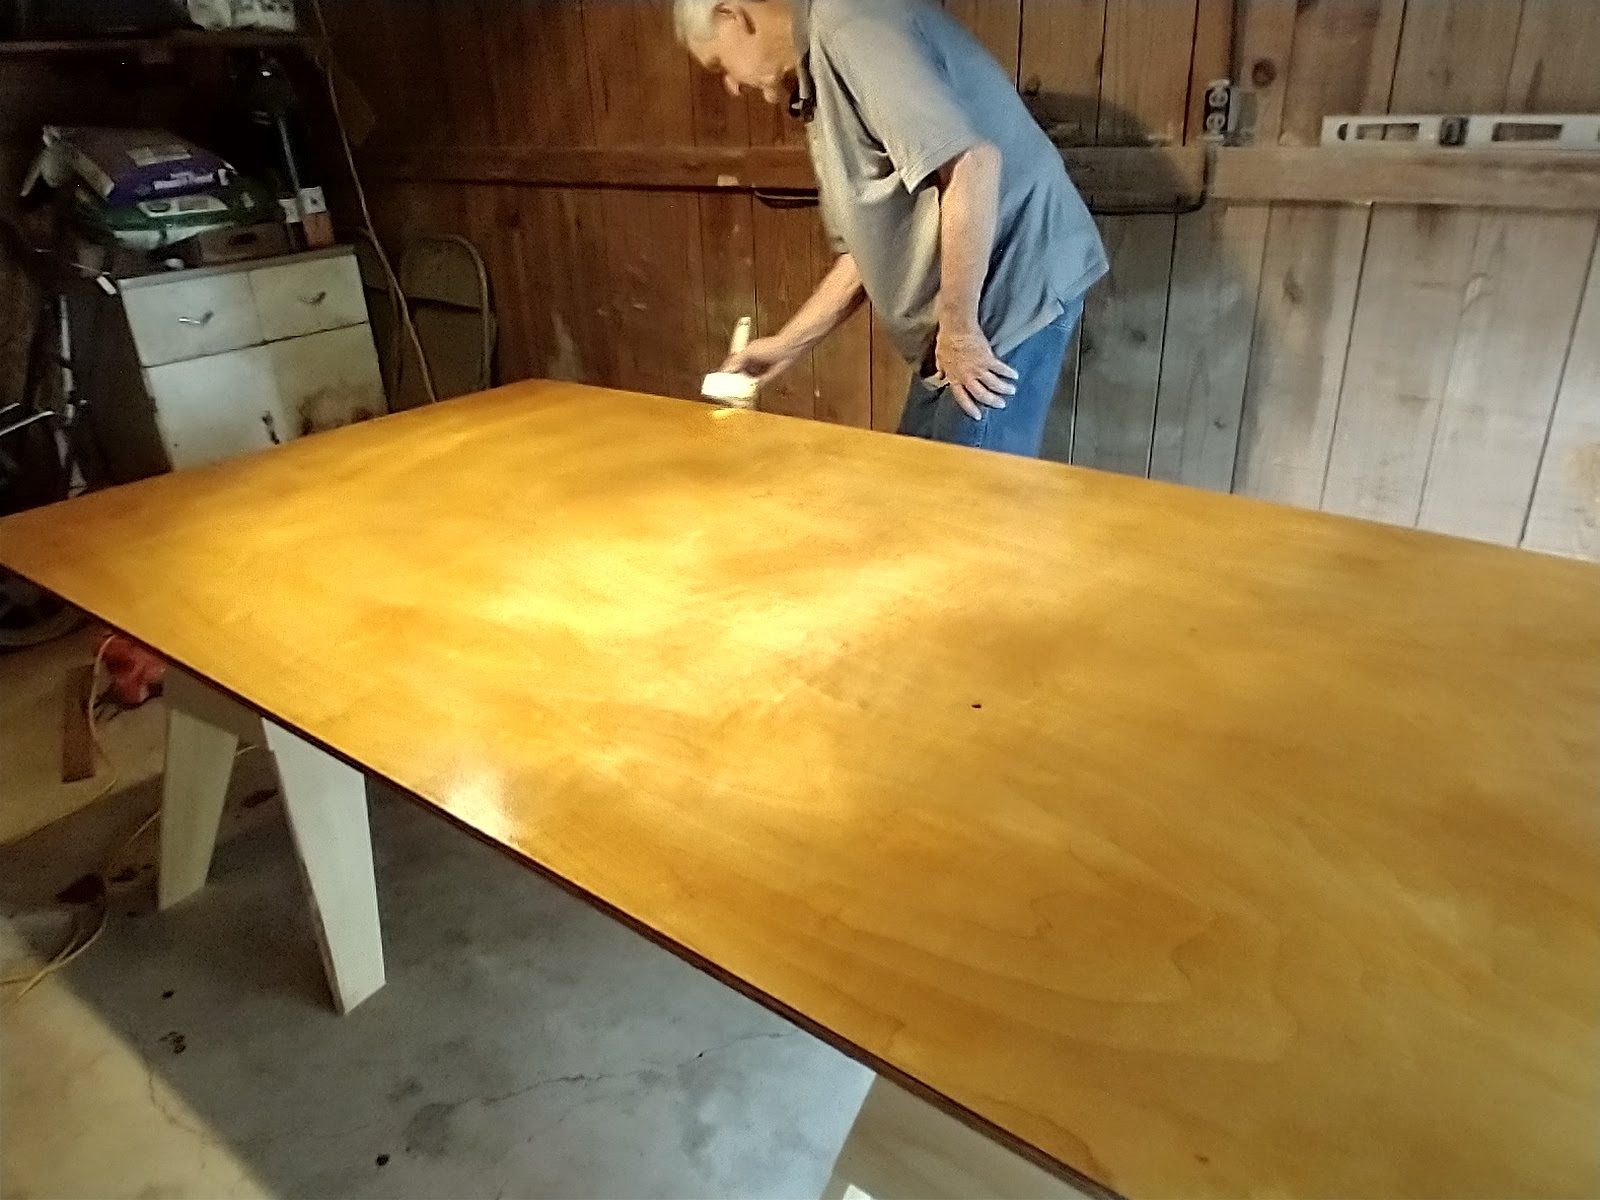
father-son bonding time
My dad and I worked together to stain the whole table. All in all, this was an awesome project!


subscribe to get email updates and support my work
To read about more projects like this one, subscribe!
You can click the following link or the subscribe button at the bottom of the page to support my work and get an email every time I make a new post!