how I made a speed-square on a 3d printer - part 1: design
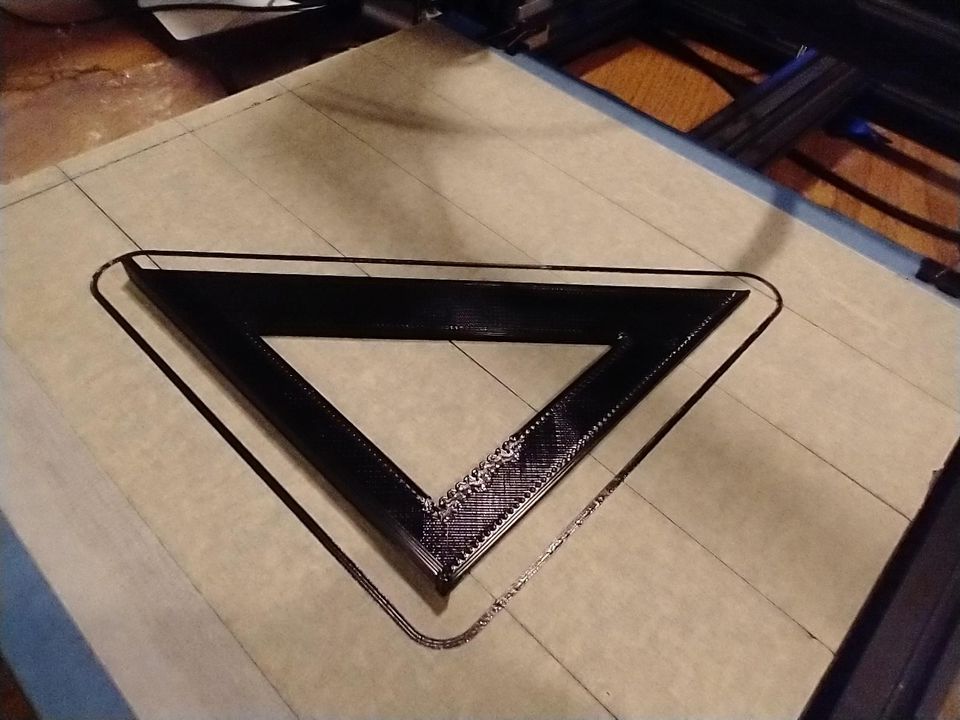
A speed square helps builders connect things at the correct angles. It works as a protractor and a straight edge at the same time. It's extremely useful for almost any project you can think of! Here's a quick, funny introduction:
I really want to share how I design things for my 3D printer! However, I still want my blog to be easy to read for everyone who wants to. I would really appreciate feedback on this post: tell me what's easy to understand, what's hard to understand, what was interesting, or what was boring! The easiest way to reach me is to send me an email by clicking this button:
first step - make the design
To make 3D models for printing, I generally use a program called Fusion 360. It's freely available to hobbyists (like myself) and very easy to use and learn.
In Fusion, the steps to make a design are straightforward (and I'm going to provide some simple examples here!):
- draw a sketch
- expand that sketch to three dimensions.
Since sketches are already two-dimensional, that means that adding the third dimension is usually easier than drawing the sketch in the first place. Let's see how it works!
example (designing the speed square)
Be sure to watch the video above so you can get a feel of what a speed square is!
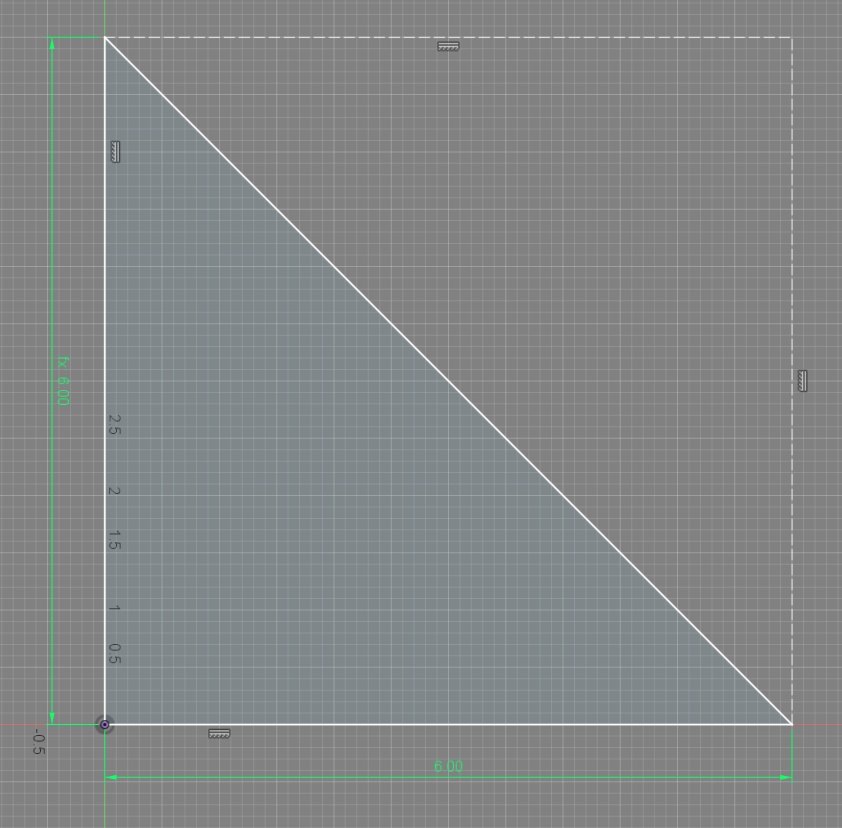
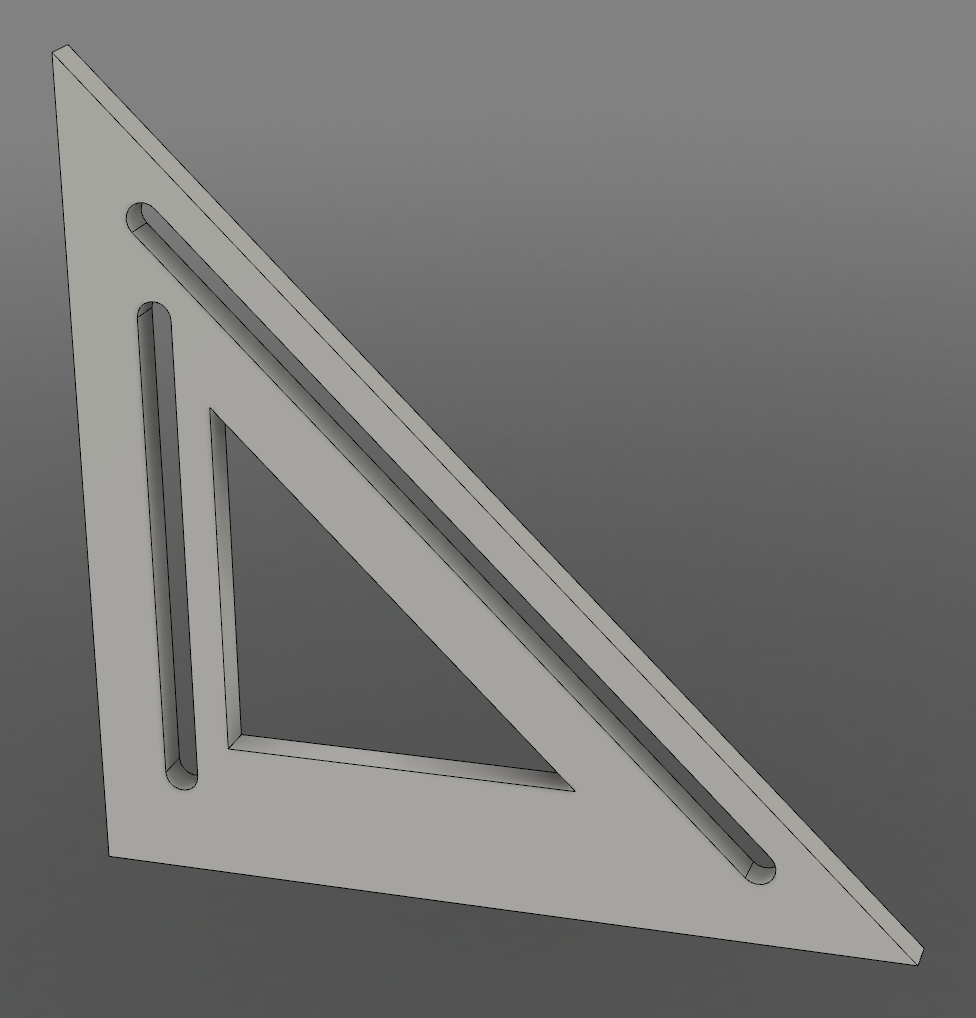
I start my design by sketching a triangle:
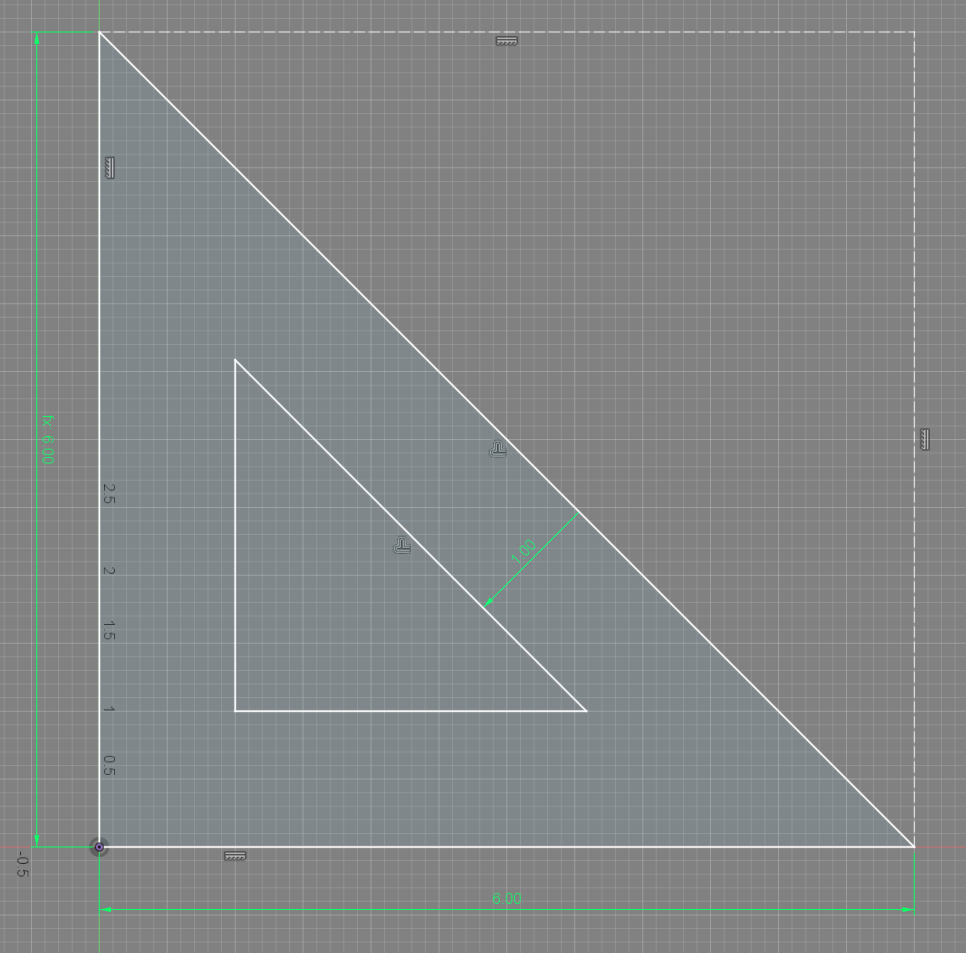
Then I sketch the triangular cutout in the middle:
Finally, let's make it 3D!
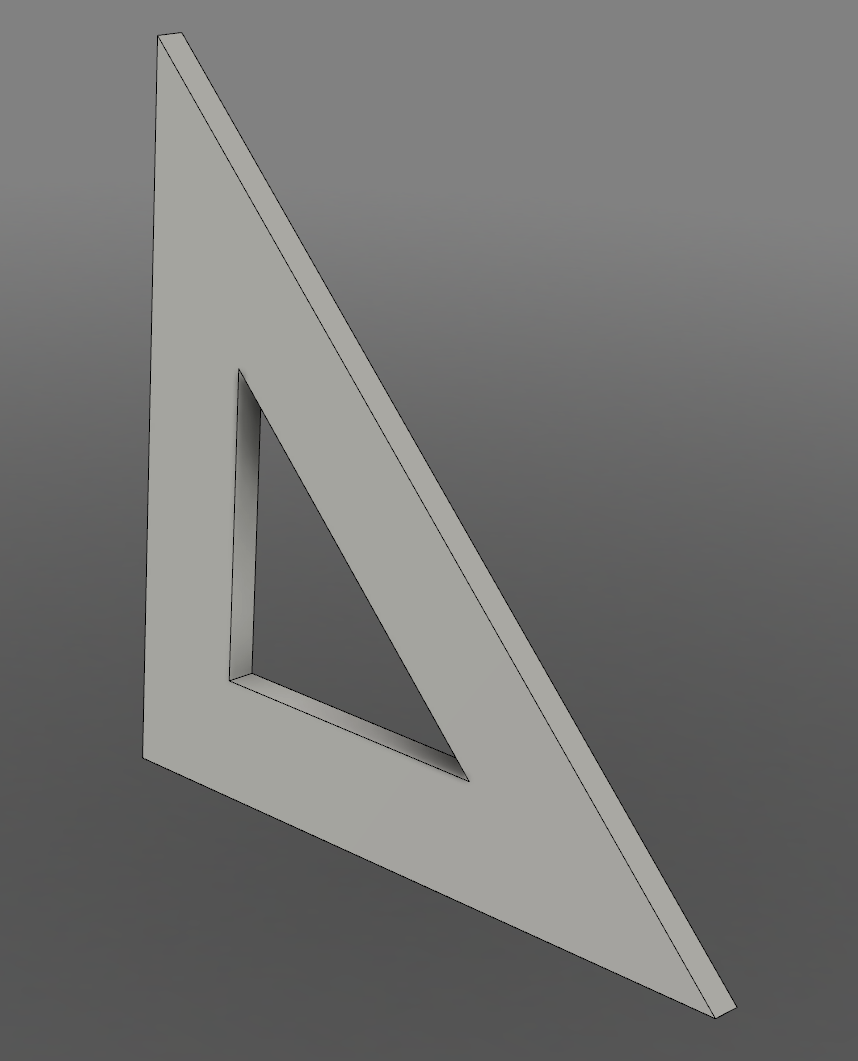
That was pretty easy!
I added some more cutouts (using the same process) to finish making the main body of the square:
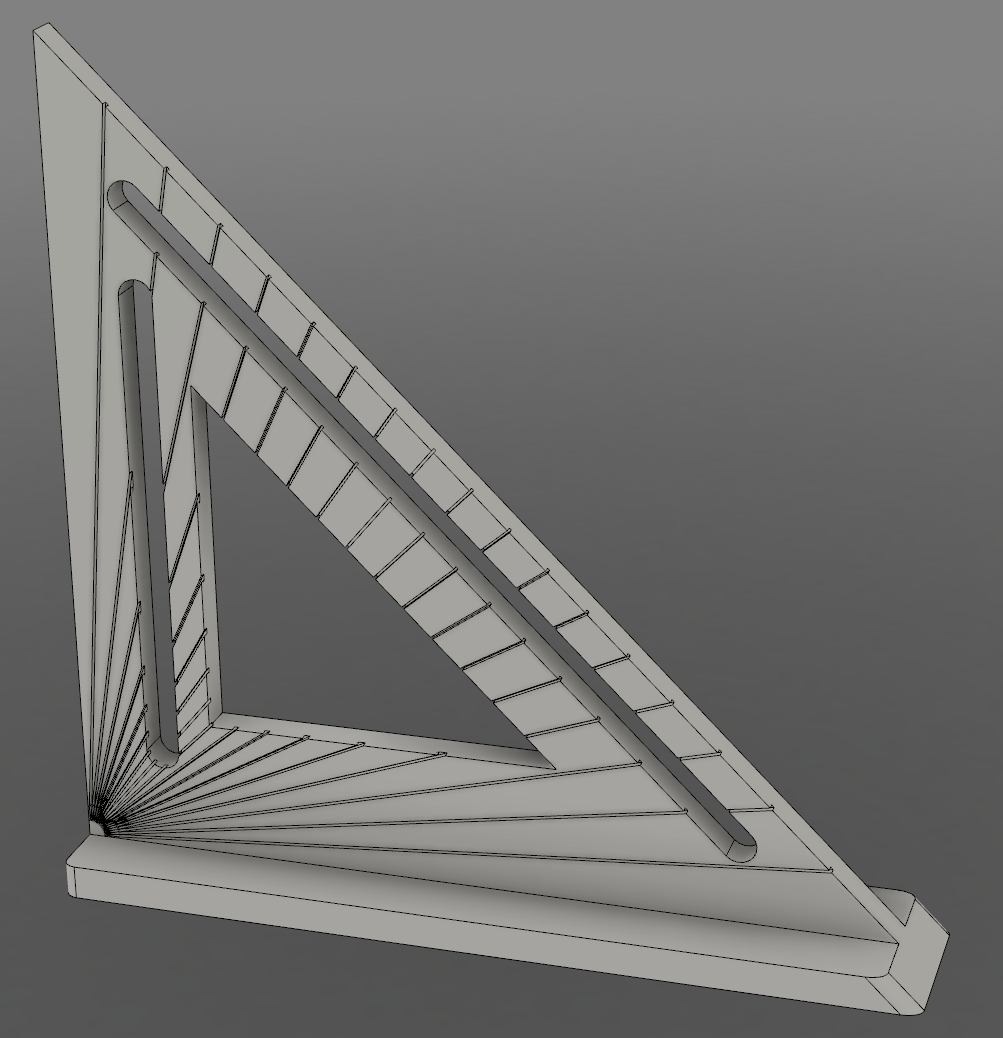
Next, I sketched the angle lines and made them three dimensional by cutting them out of the body of the square:
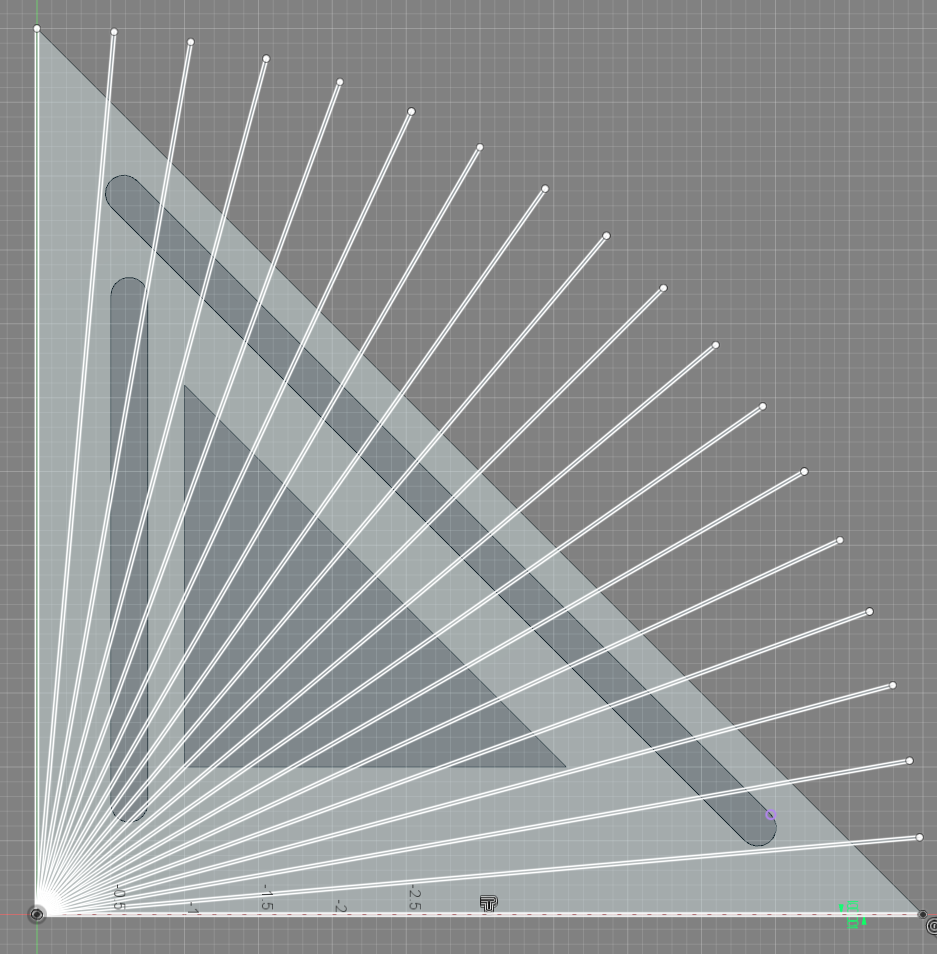

These lines don't look very good right now, but this is just a prototype for now!
Next, I sketched and extruded the base of the square (engineers call it "extruding" when you make a sketch three-dimensional):
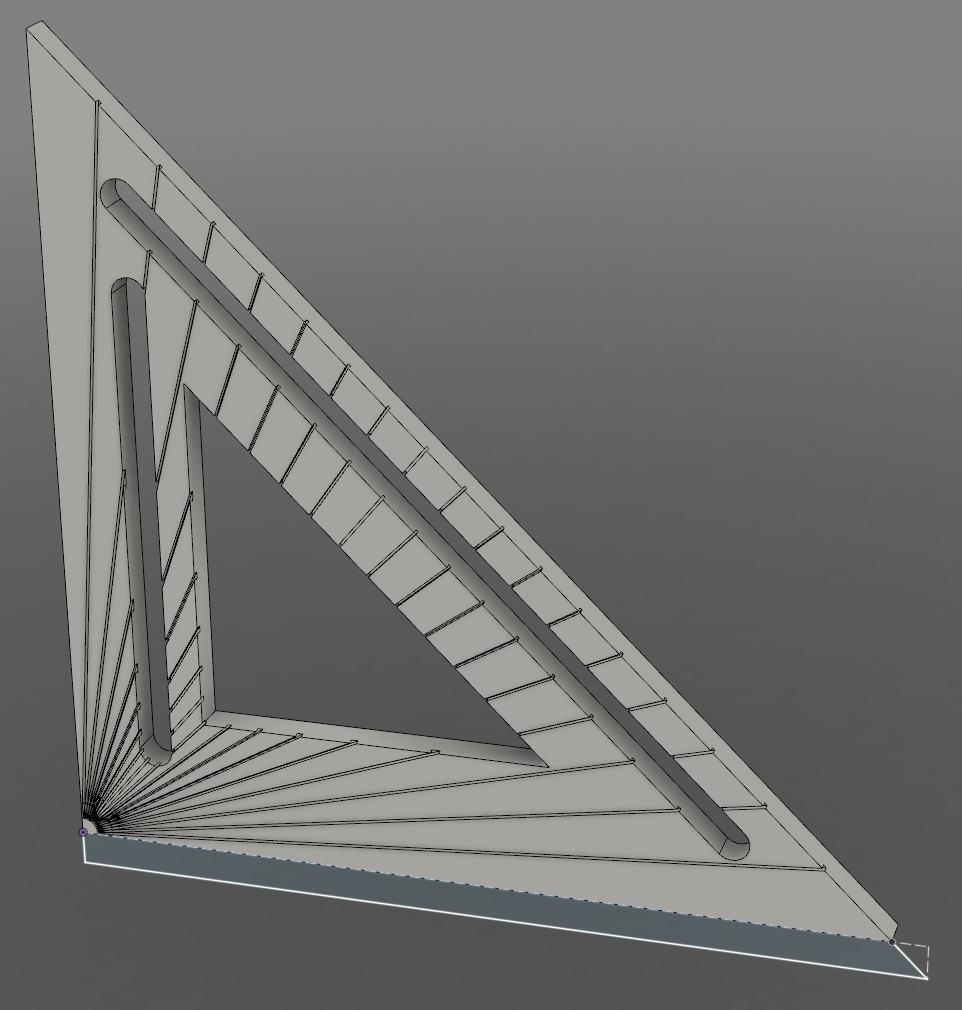
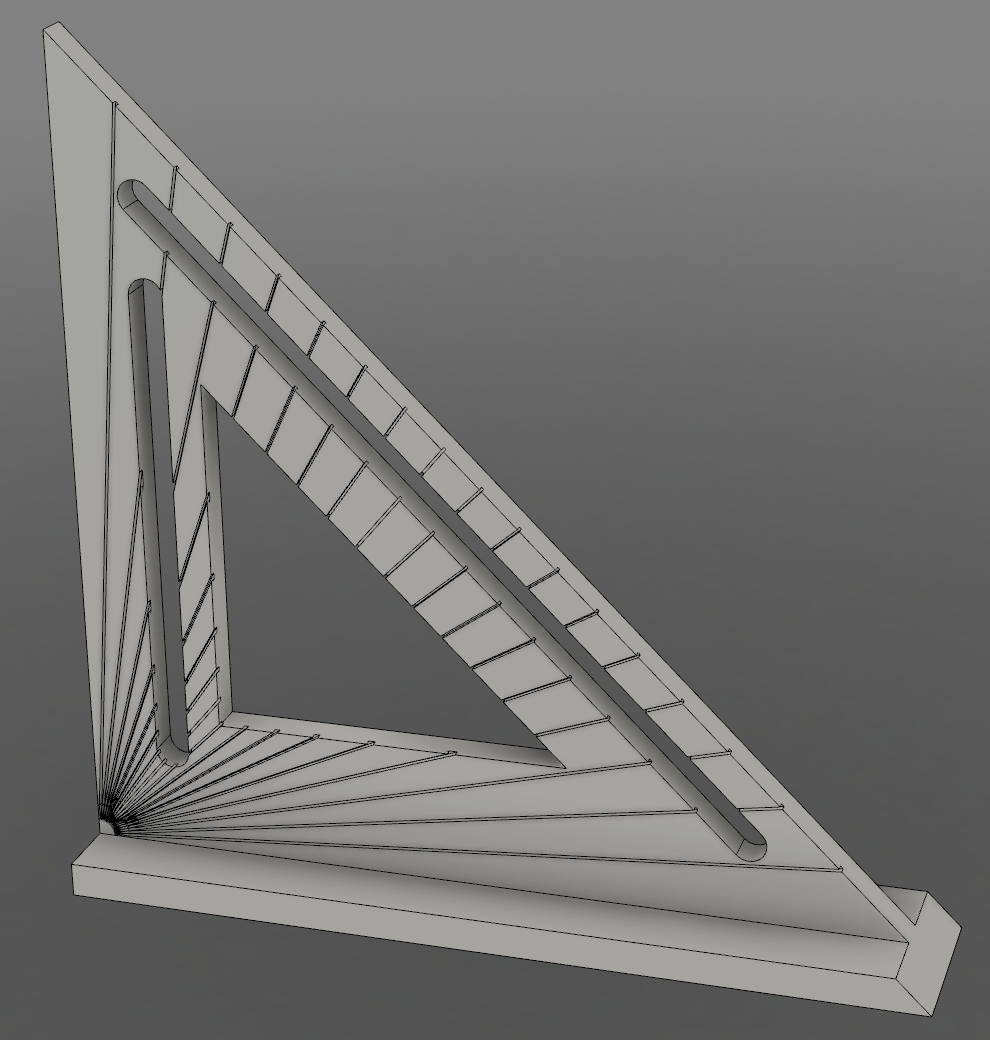
Finally, I added some numbers to make the square easier to use:

next steps: 3d print and improve the design
In a later post, I'll show the results of my design and how I tested and improved upon what I designed here!
send feedback!
Like I said above, please send me some feedback! Did you enjoy the post? Did I go too fast? Did I go too slow? Was something confusing? Did I forget something? Click this button to send me a message!
subscribe to get email updates and support my work
If you want to be notified when I make my next post, subscribe! (I promise this is better than Facebook!)
You can click the following link or the subscribe button at the bottom of the page to support my work and get an email every time I make a new post!
