new organ: part 4
By the end of my last post, My new organ console was standing on its own two feet and its own eight legs.
 Tate Shannon
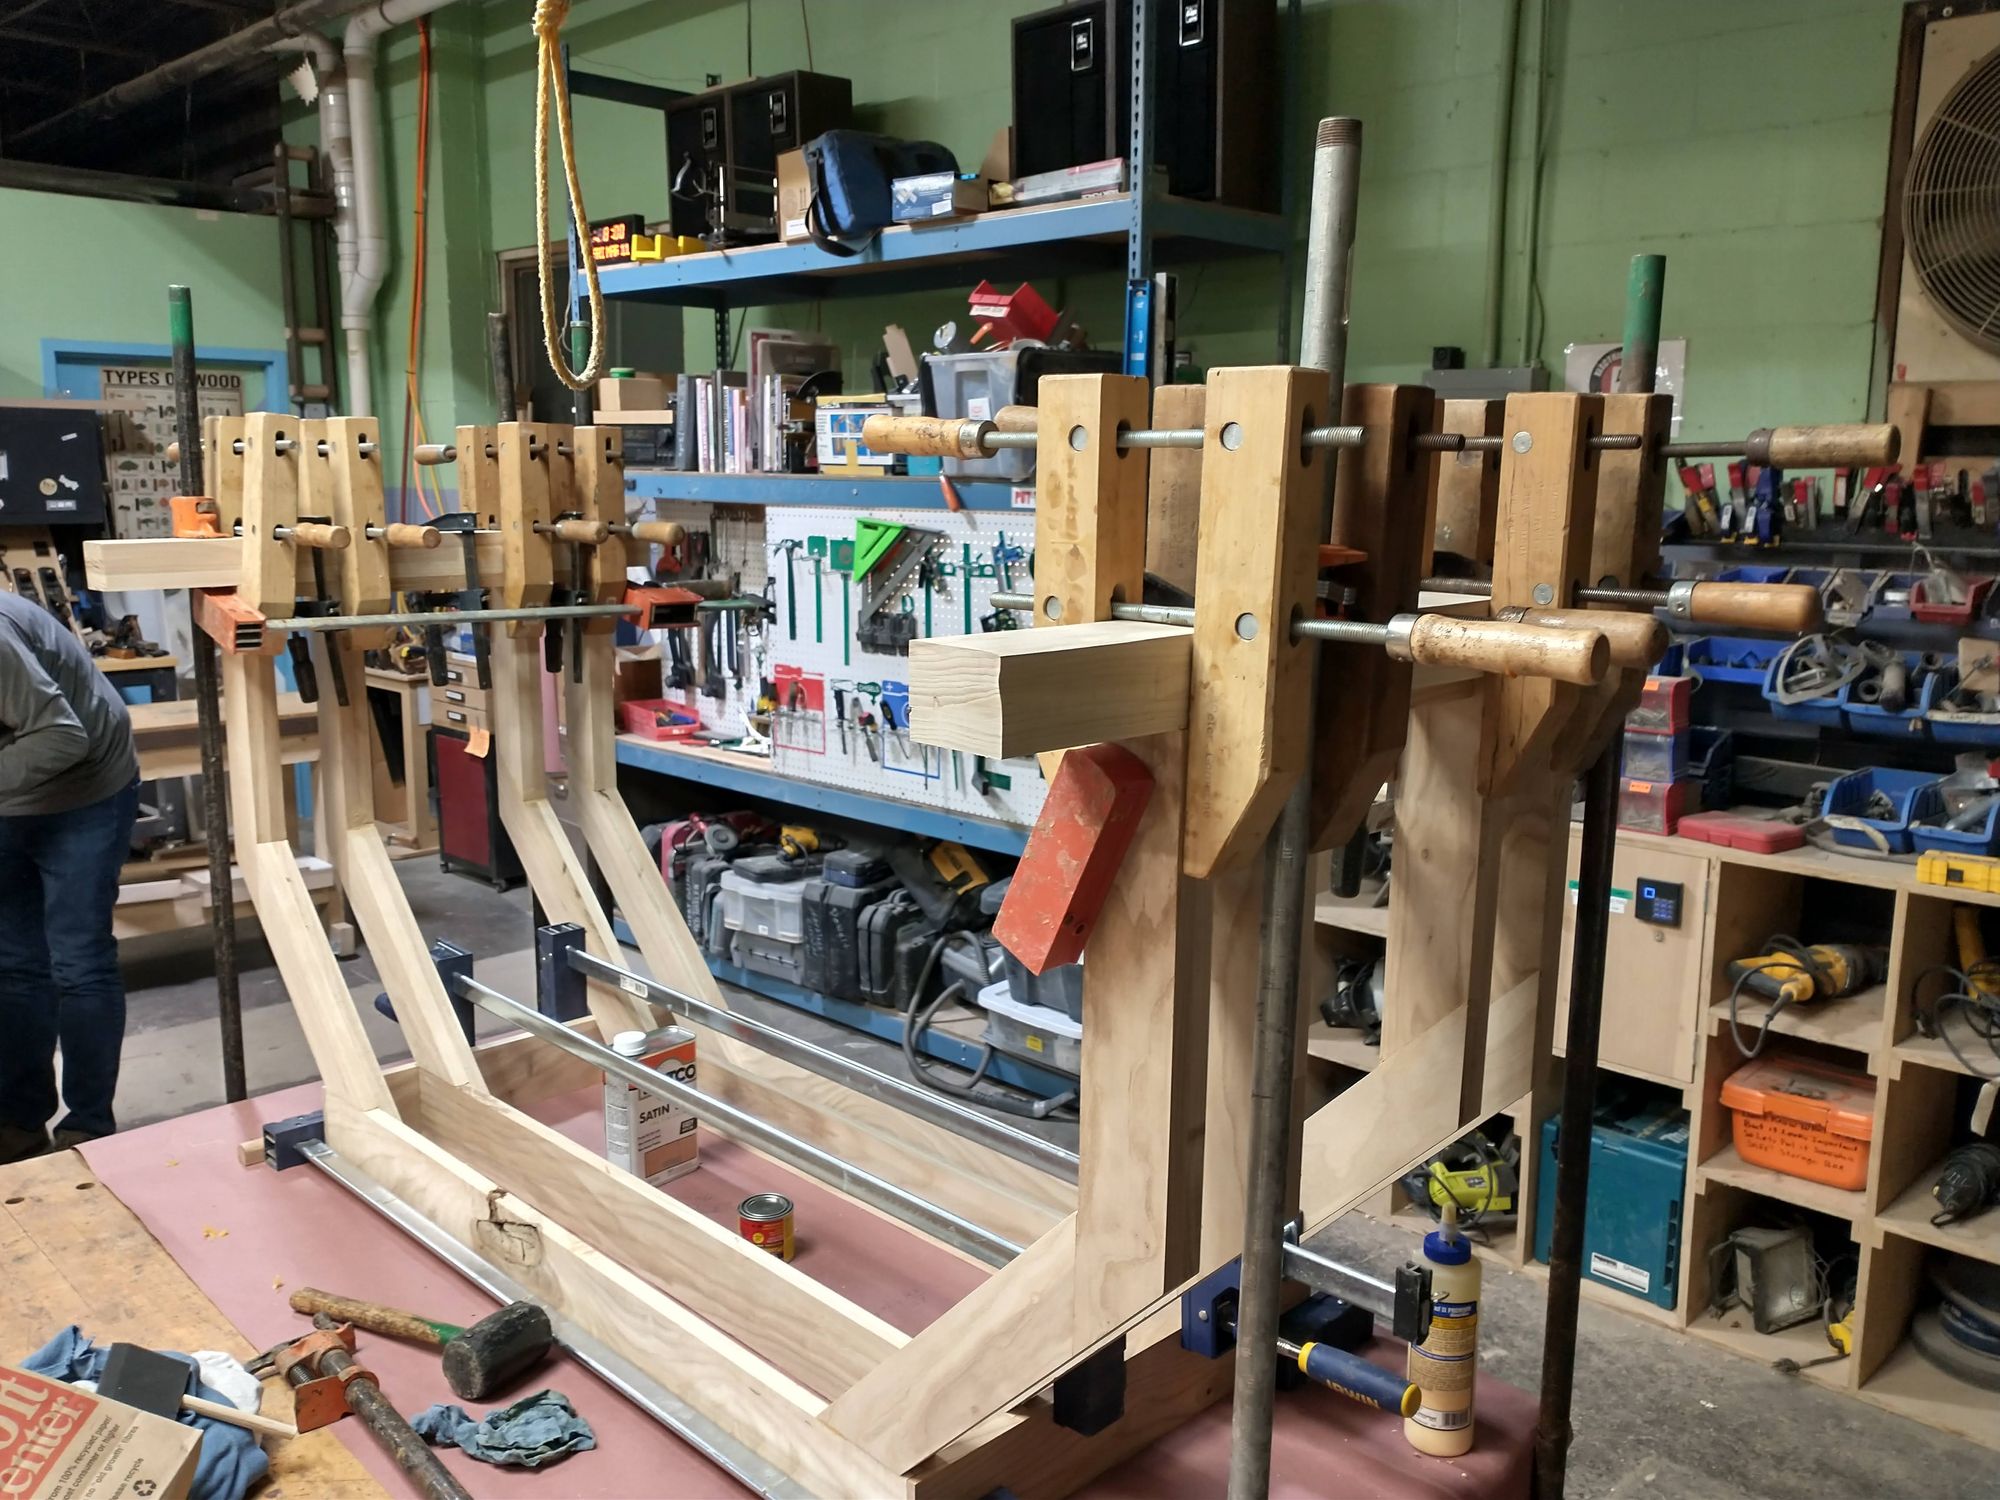
People have asked me, "Tate, where did you learn to do all this stuff?" Well, let me rant philosophically for a minute: I do a lot of cool and amazing things (and I'm humble too)! In my limited experience, 90% of learning comes from doing, 9% comes from teachers, 1% comes from skills and abilities. I really, really, really enjoy designing things, making things, and solving problems. That's why I became an engineer. I want to share that joy with everyone I love.
So, how did I learn to do all this stuff? Well, I learned where to buy lumber by searching online for "wood stores near me." I was so nervous about looking like an ignoramus at the lumber store that I called my cousin to ask him which words to use. Actually though, I learned how to buy lumber from the employee at the store who said, "Have you ever done this before?"
I learned how to draw 45-degree angles in 4th grade math class. I learned how to use a planer and jointer by quietly watching other people do it and YouTube. I learned how to use a table saw from one lesson with my cousin and YouTube. I learned how to use wood glue from YouTube. I learned how to use clamps through intuition.
Finally, from today's post, I learned how to make a table top from YouTube!
step 1: cut your boards to size
This wasn't easy. In the beginning, I tried using a track saw to do this, but in the end it was much easier to just use a regular ole circular saw.
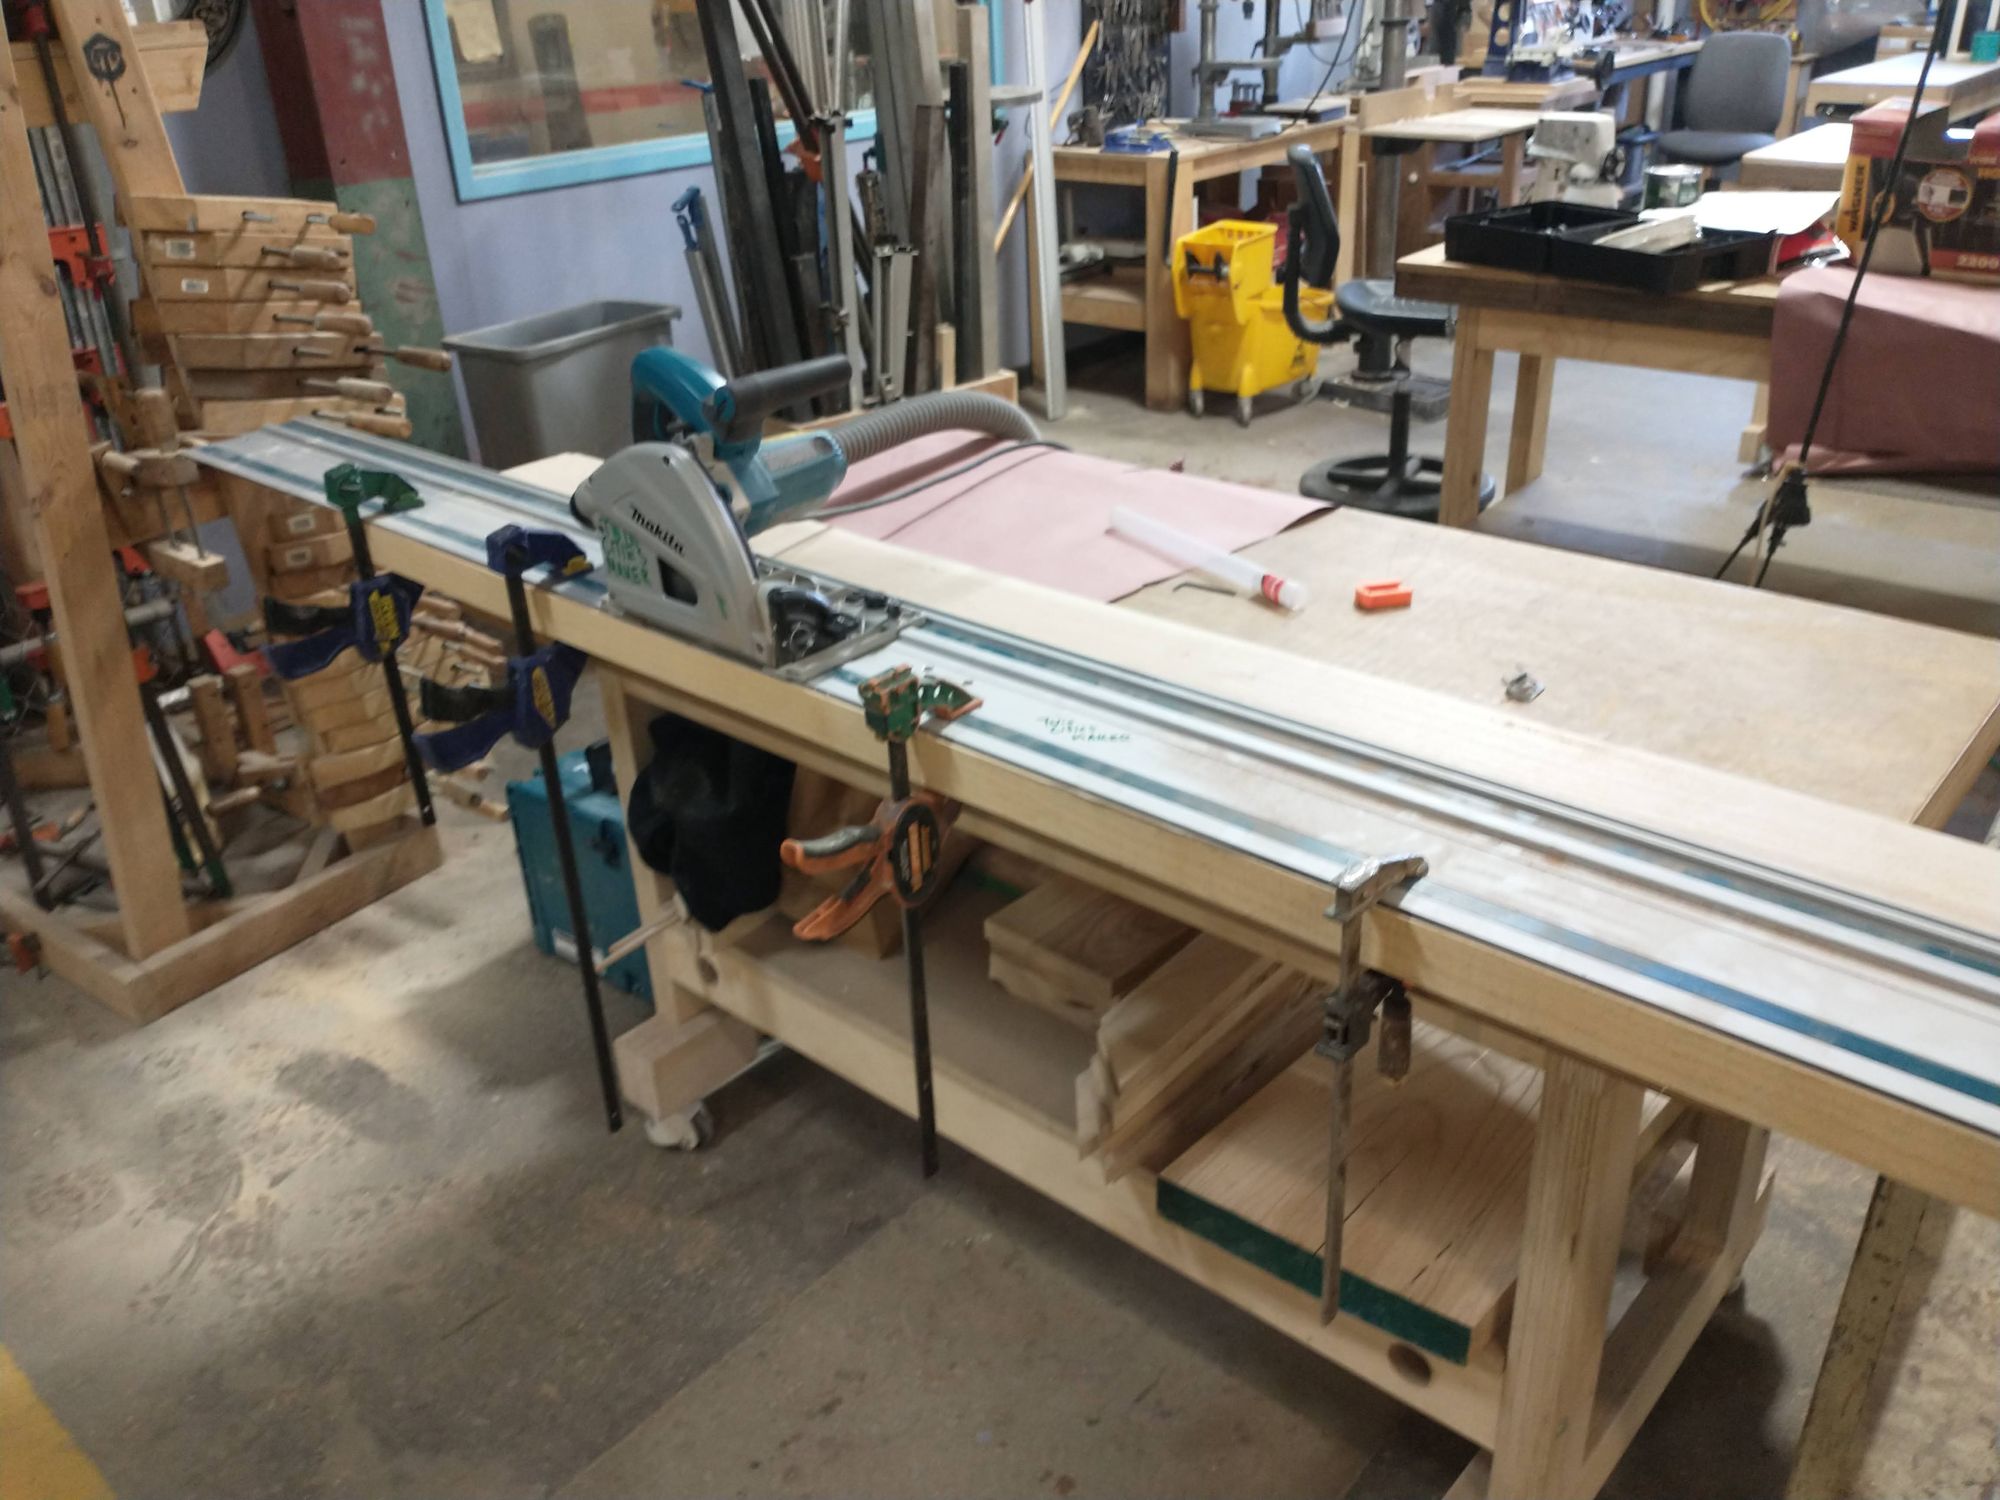
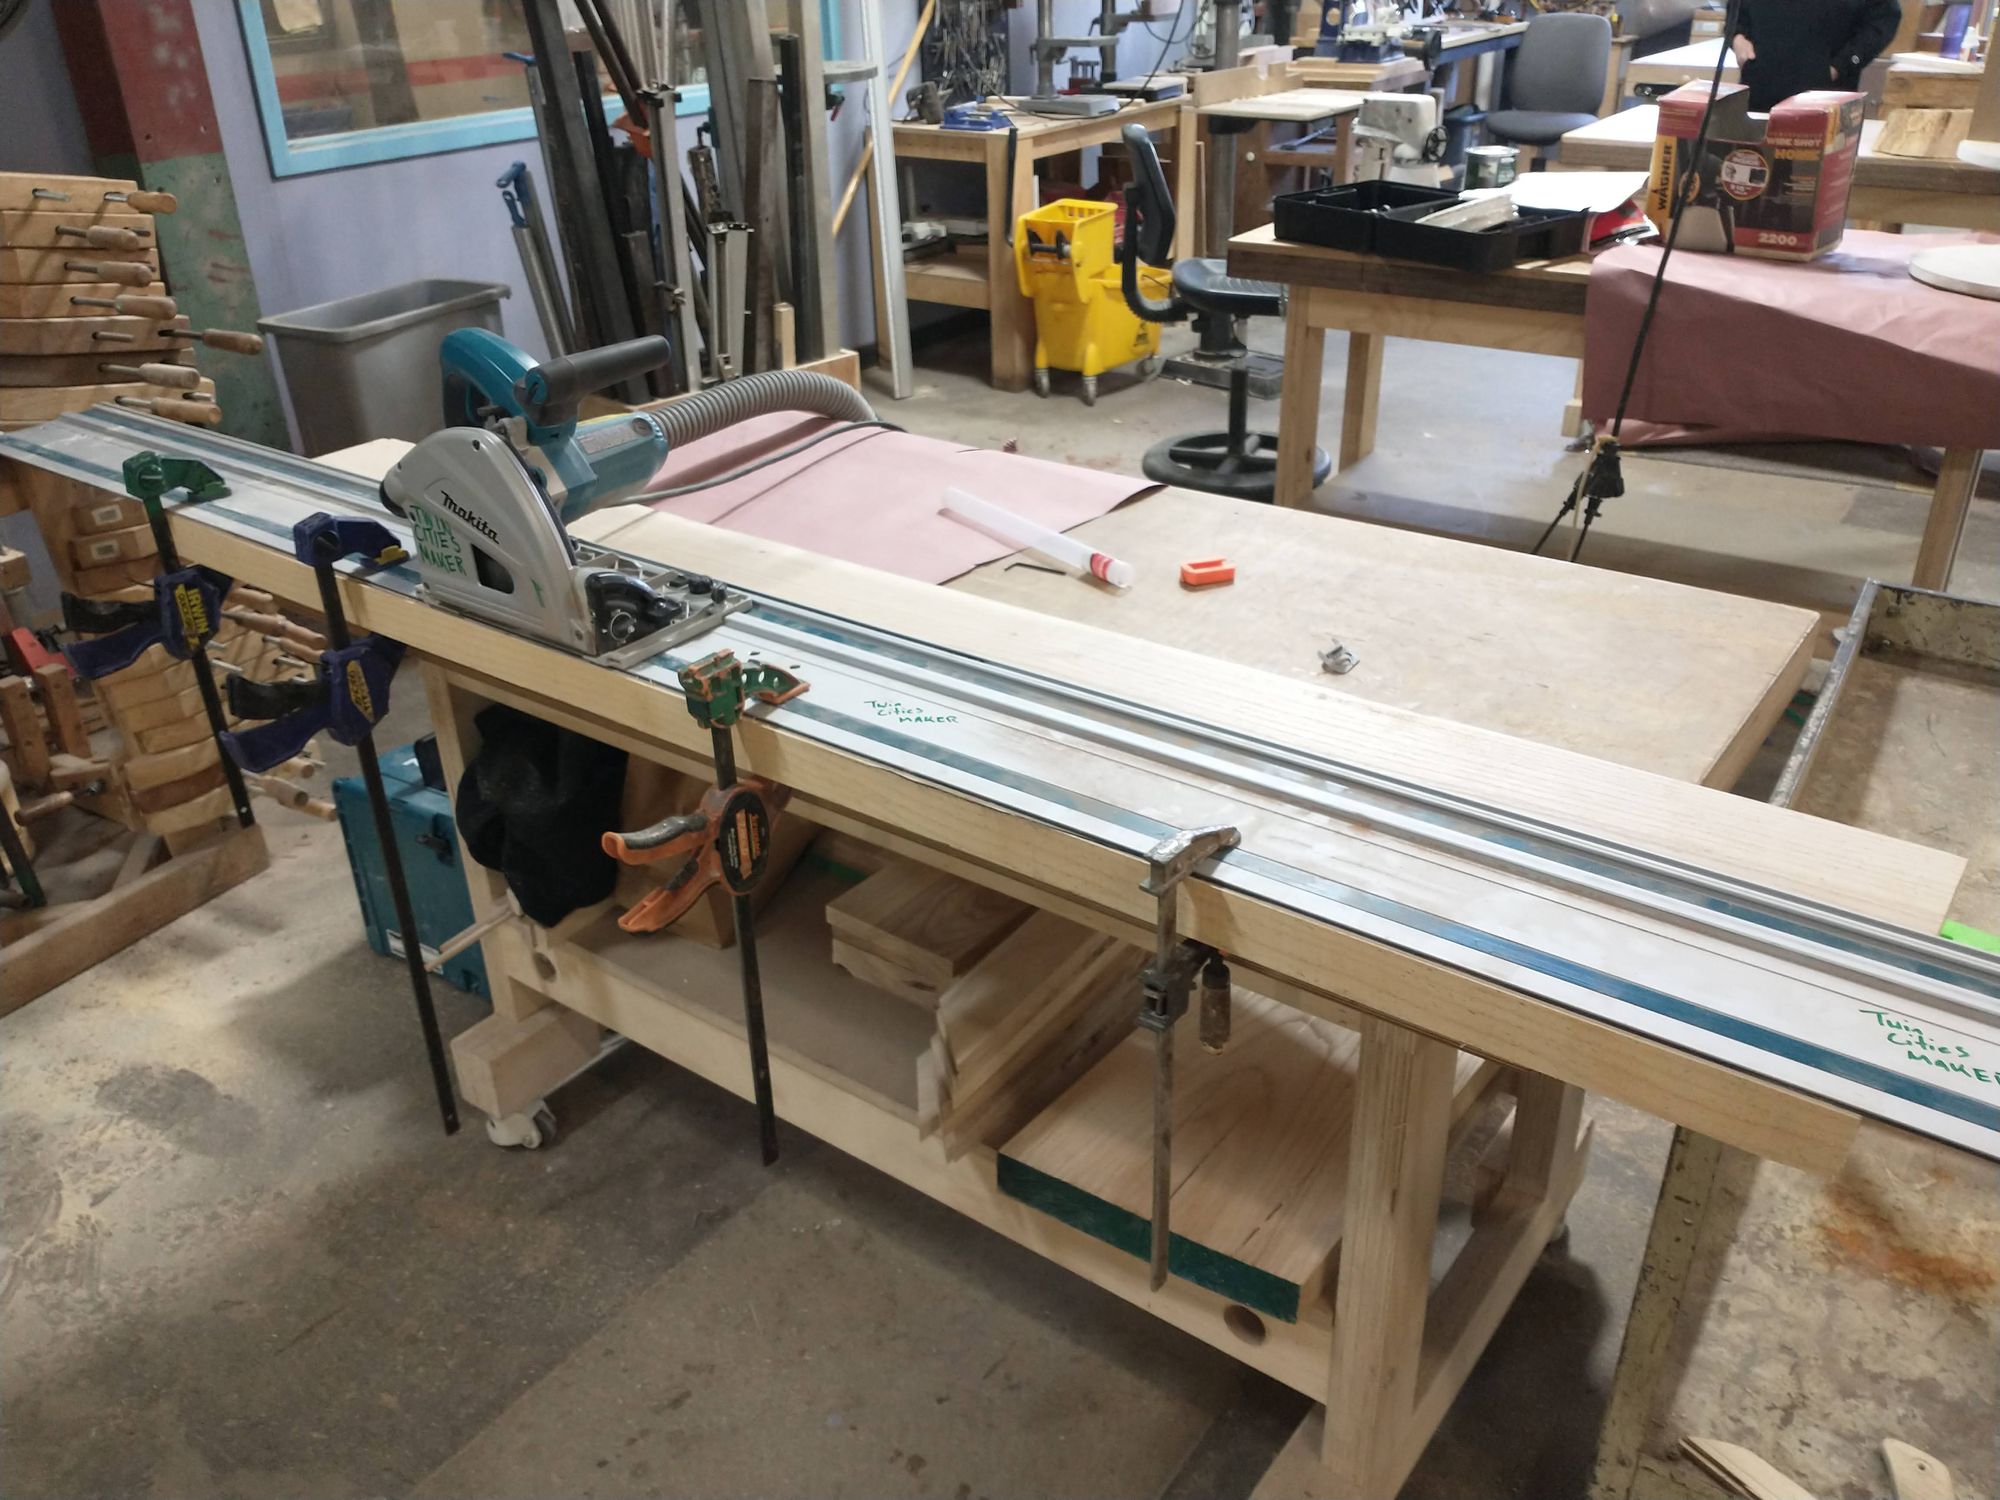
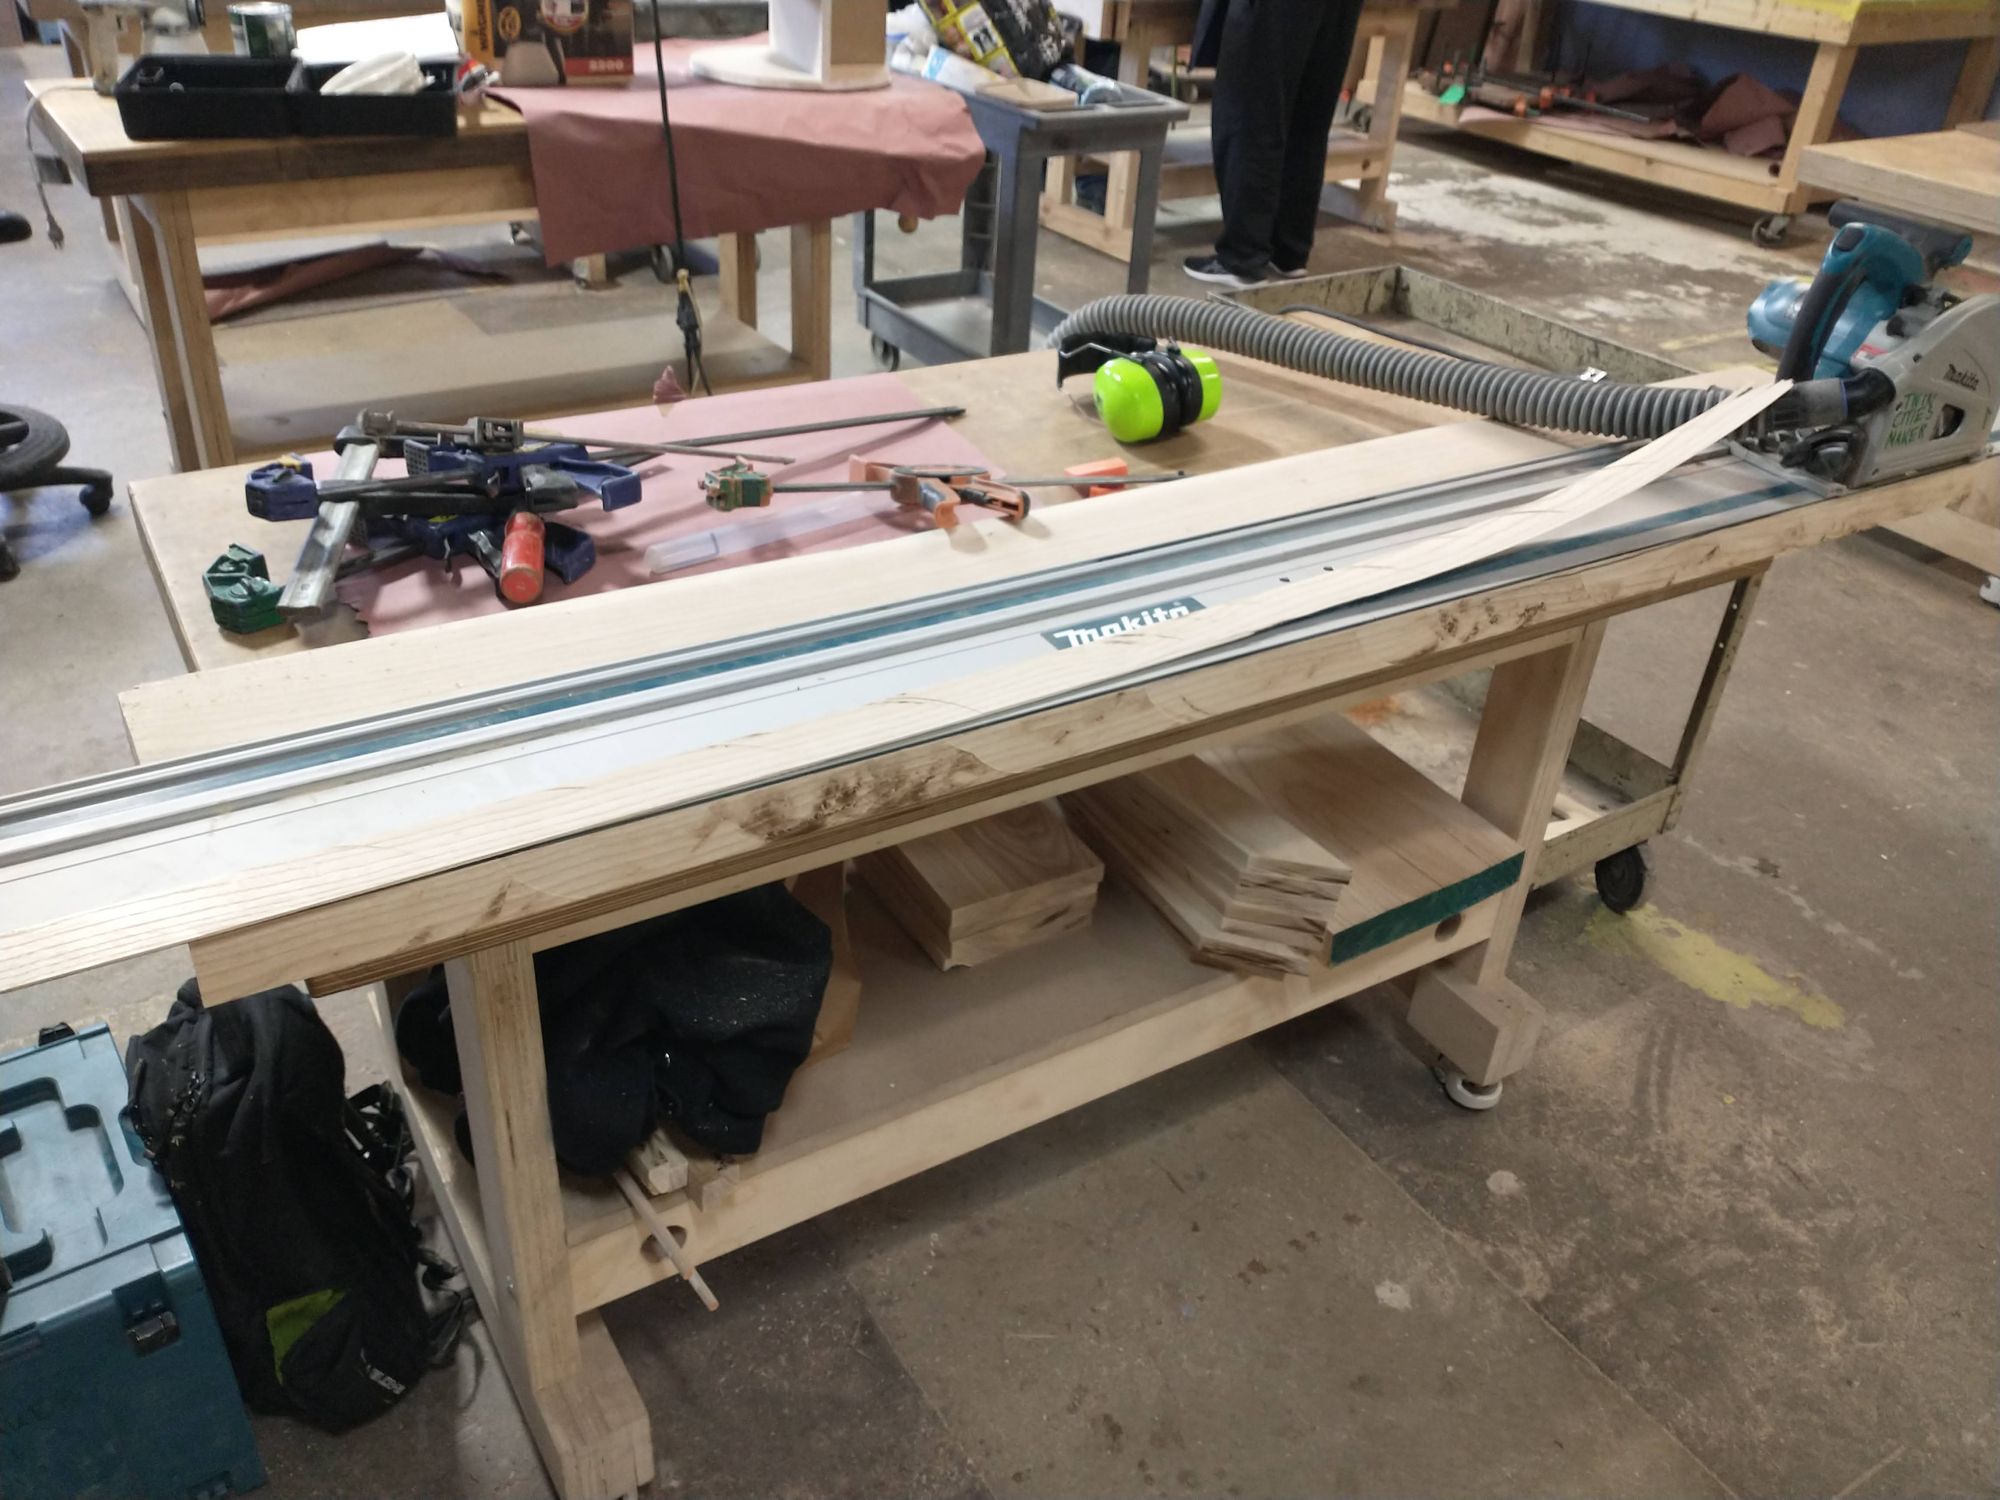
This was fine, but then I realized that a table saw could get me close enough. I do not recommend this method if you need a lot of precision with very little waste.
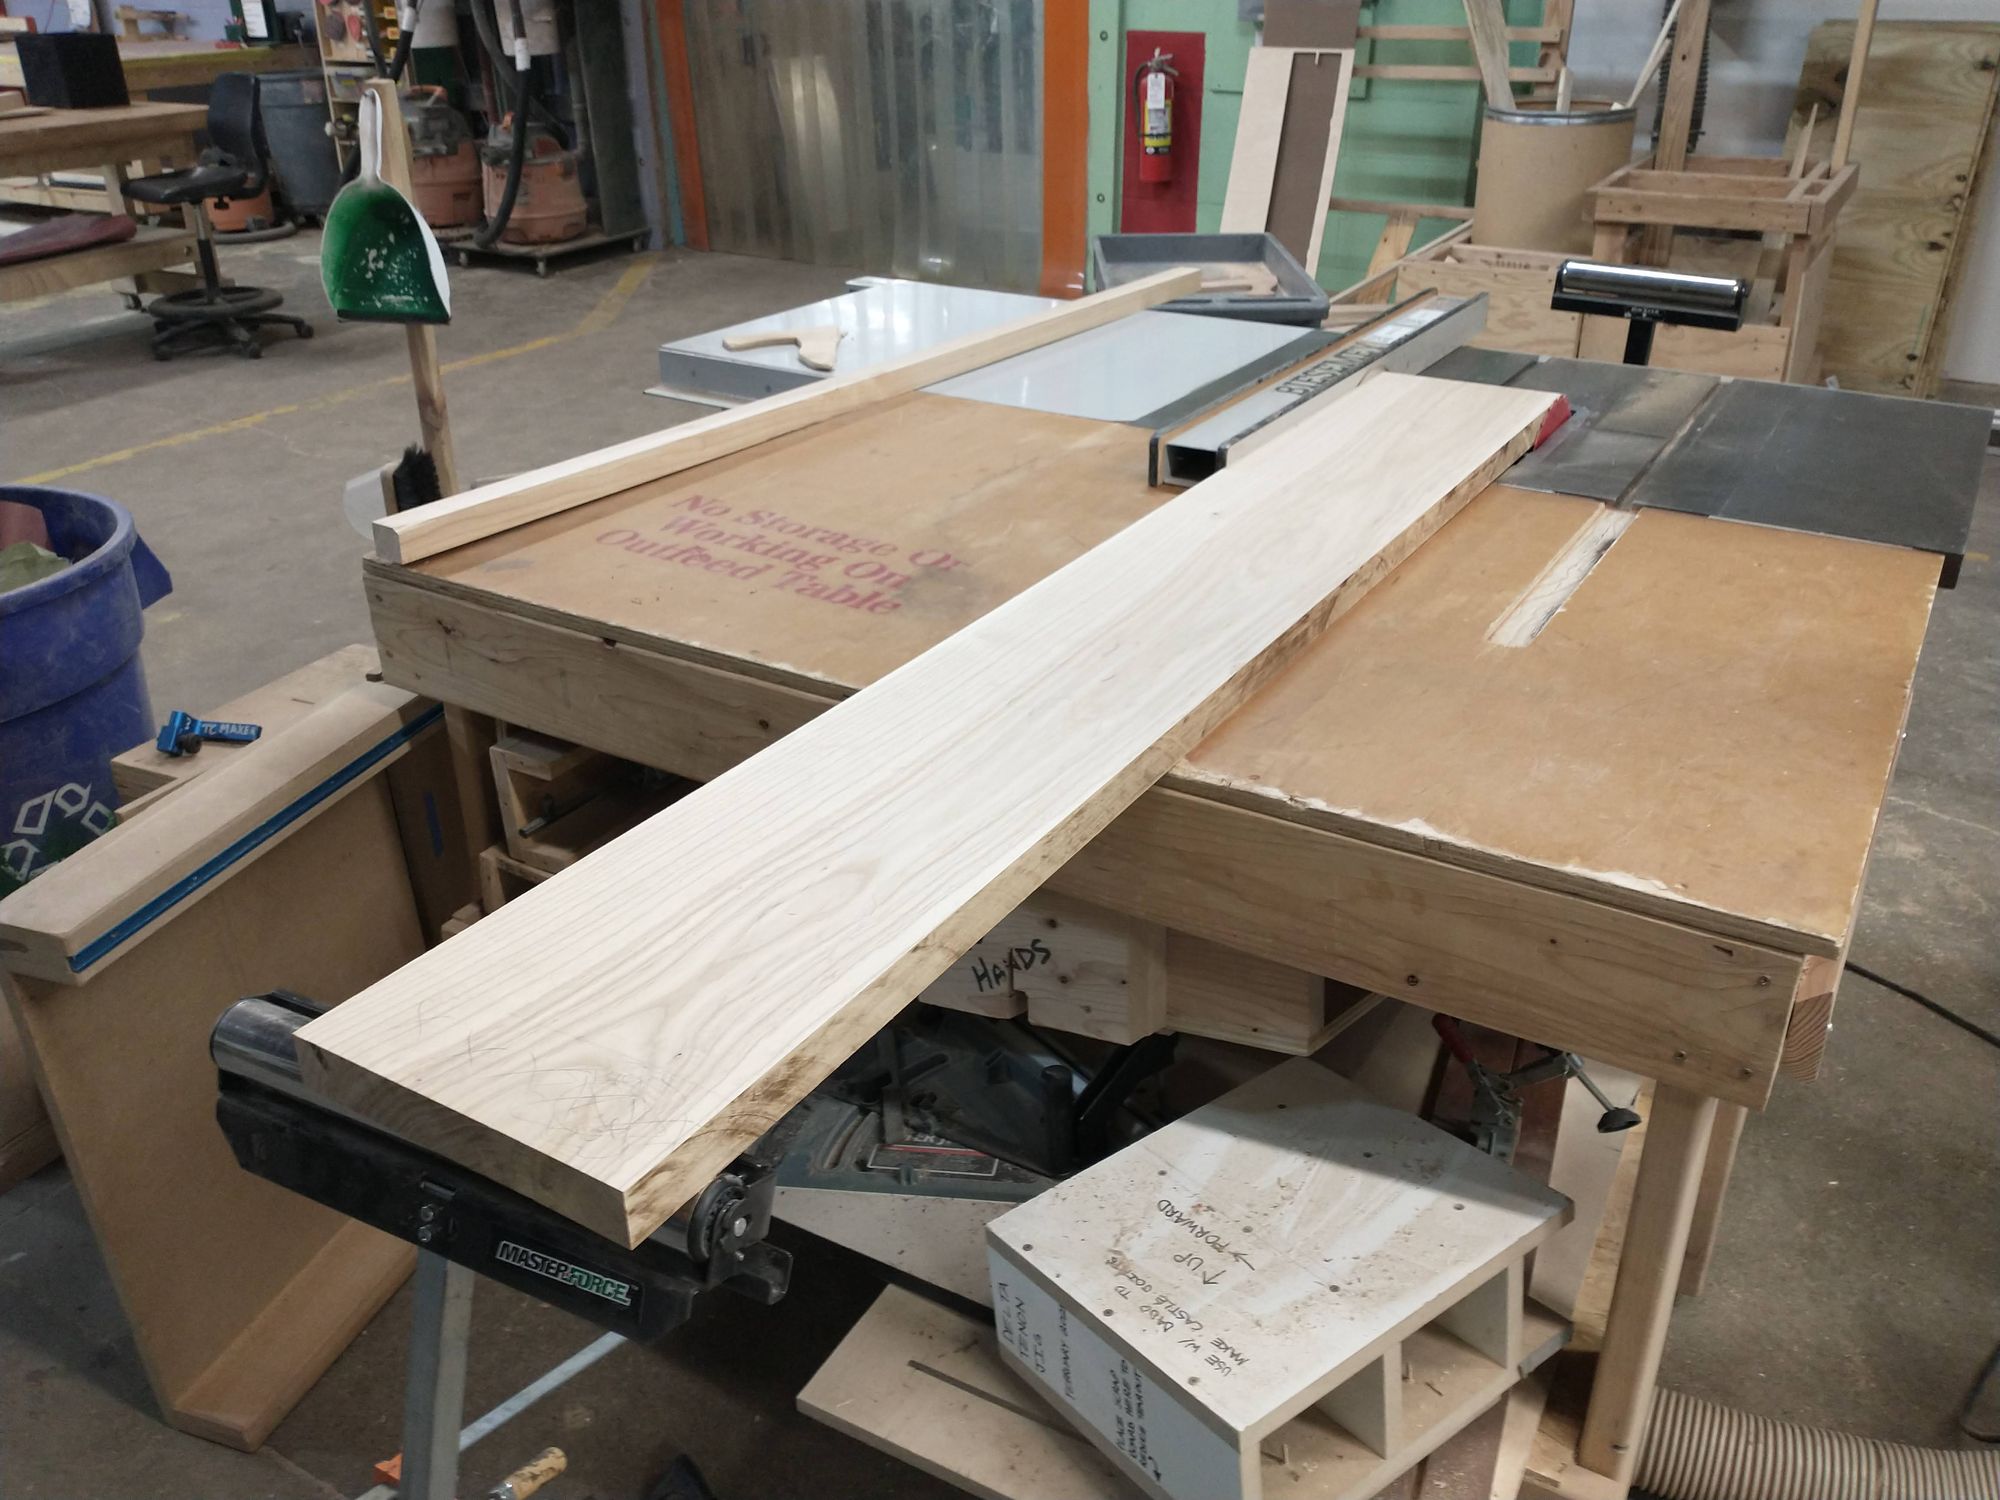
Don't worry too much about dimensions on this since you'll cut everything to its final shape in the end. Just leave a little extra material on every side!
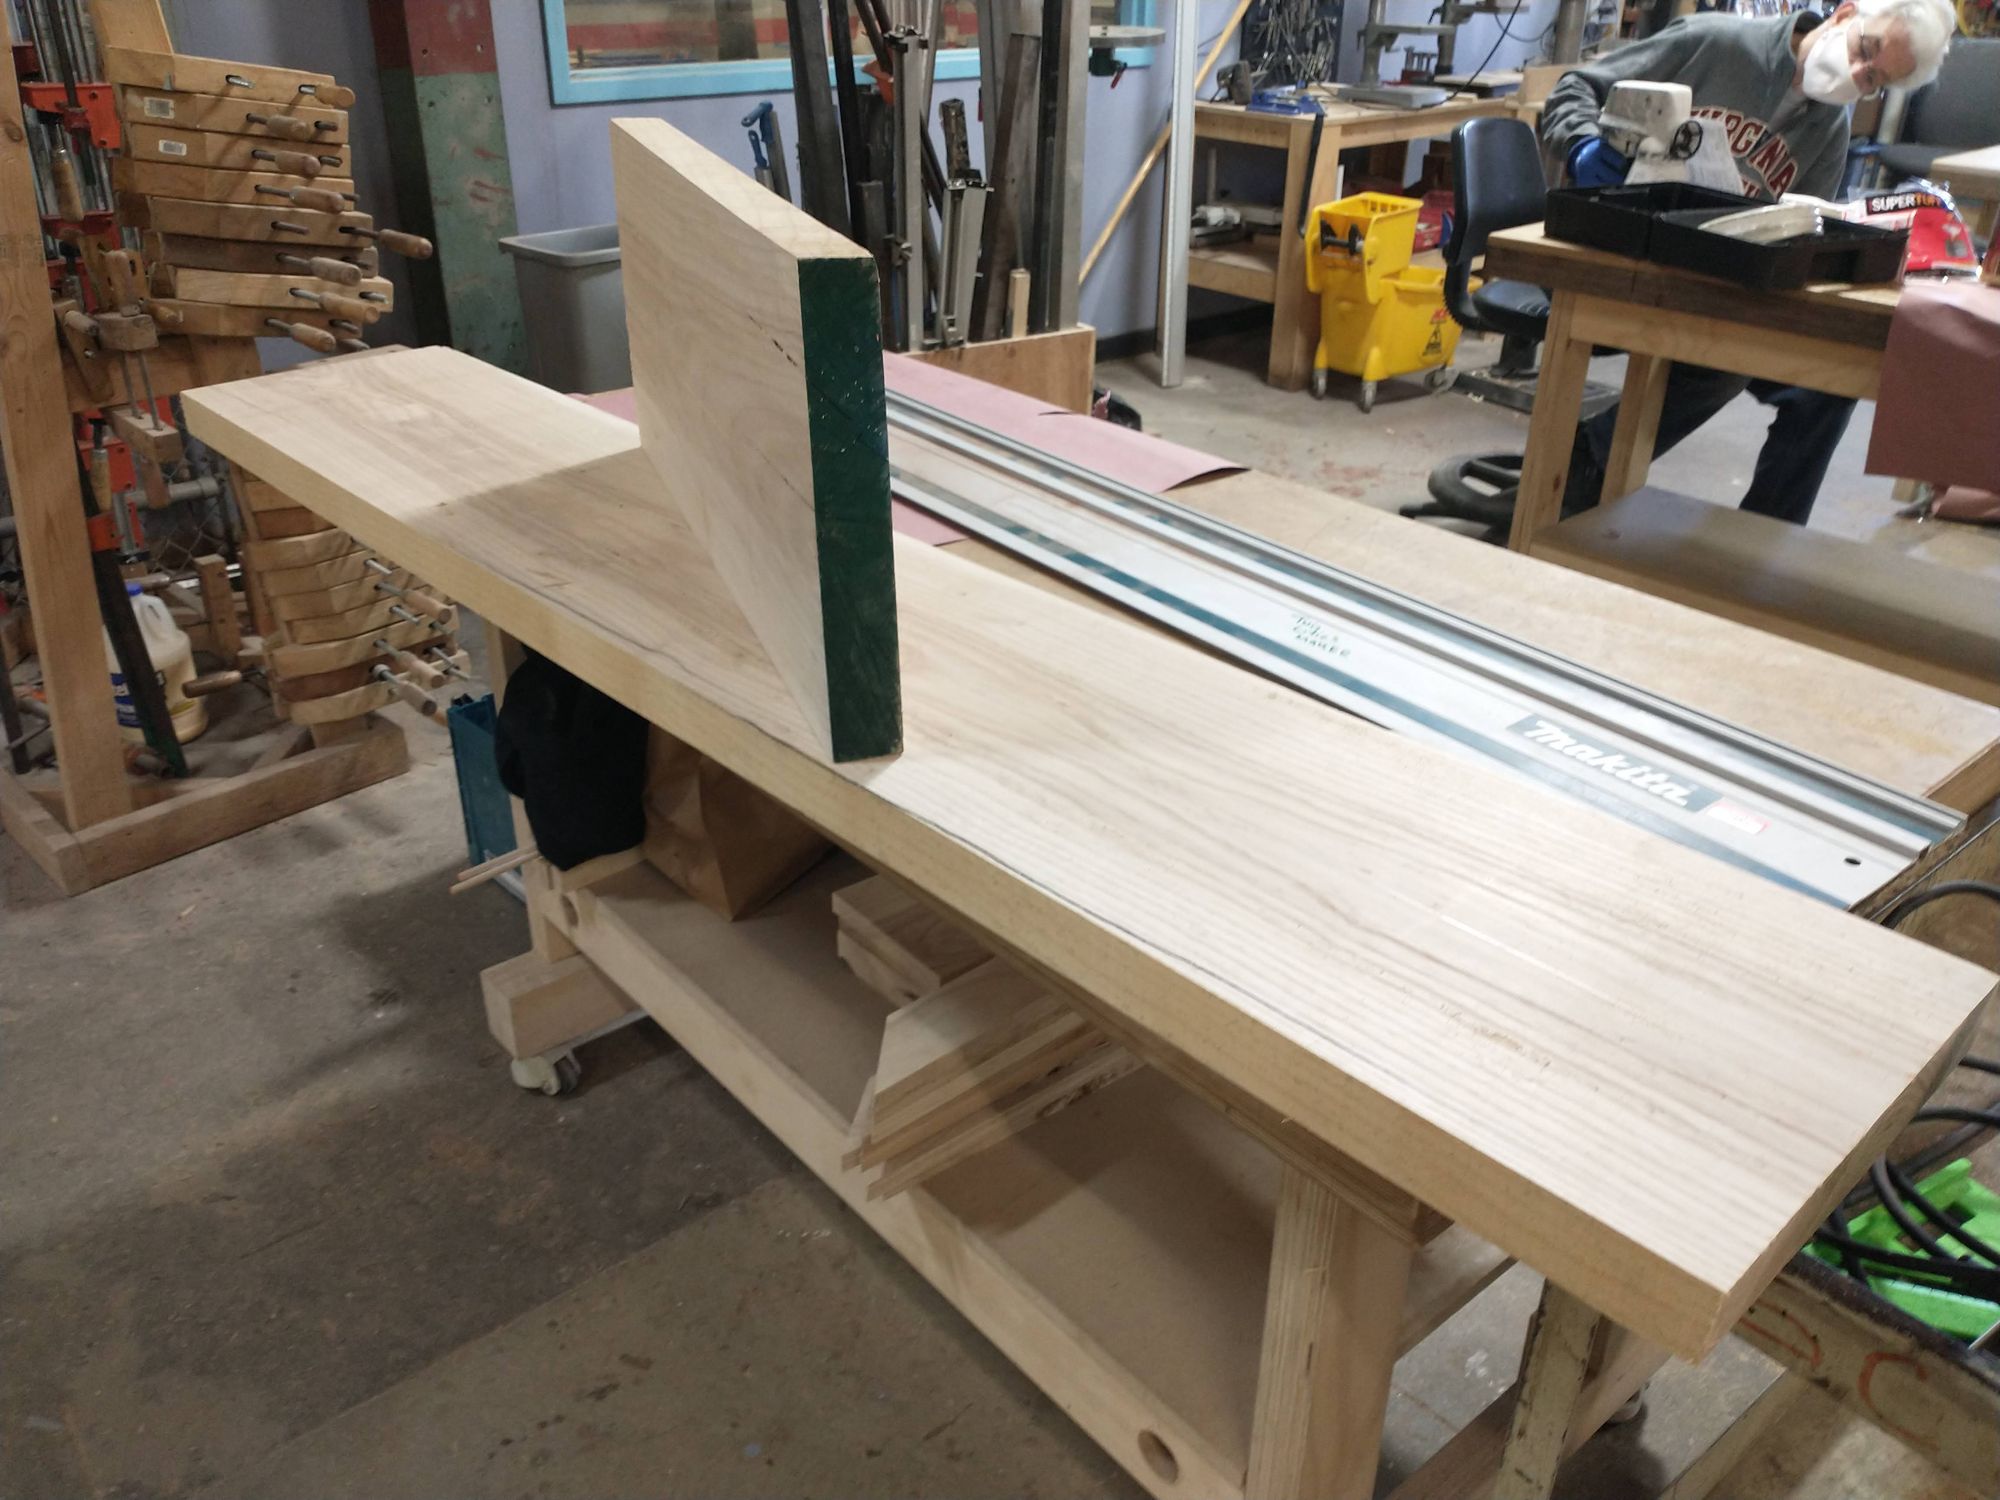
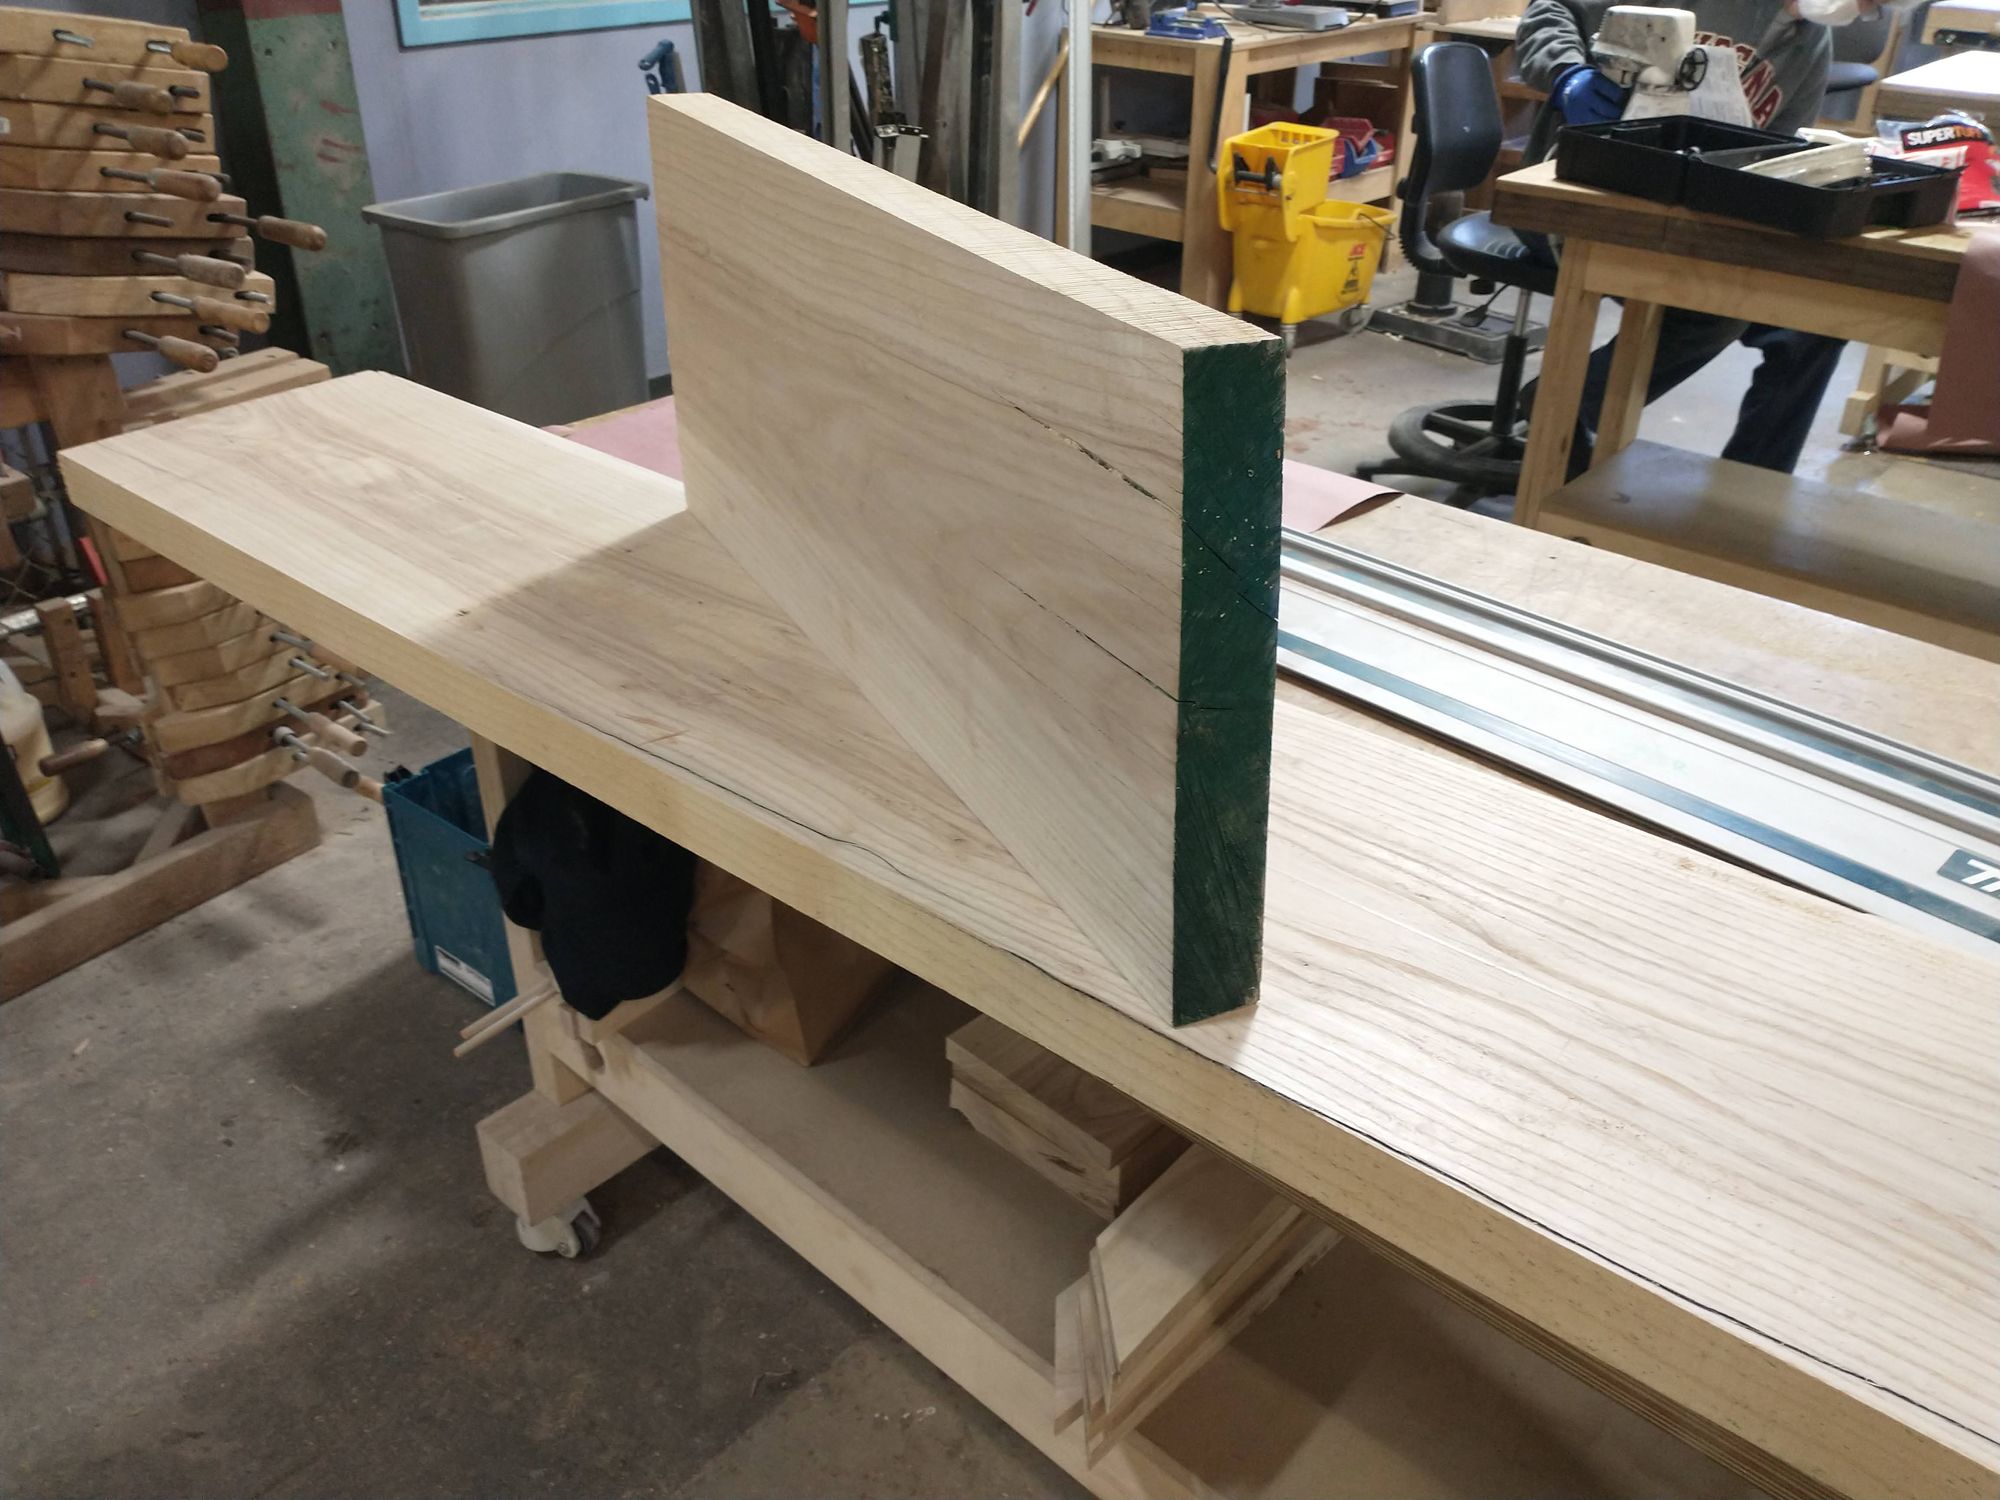
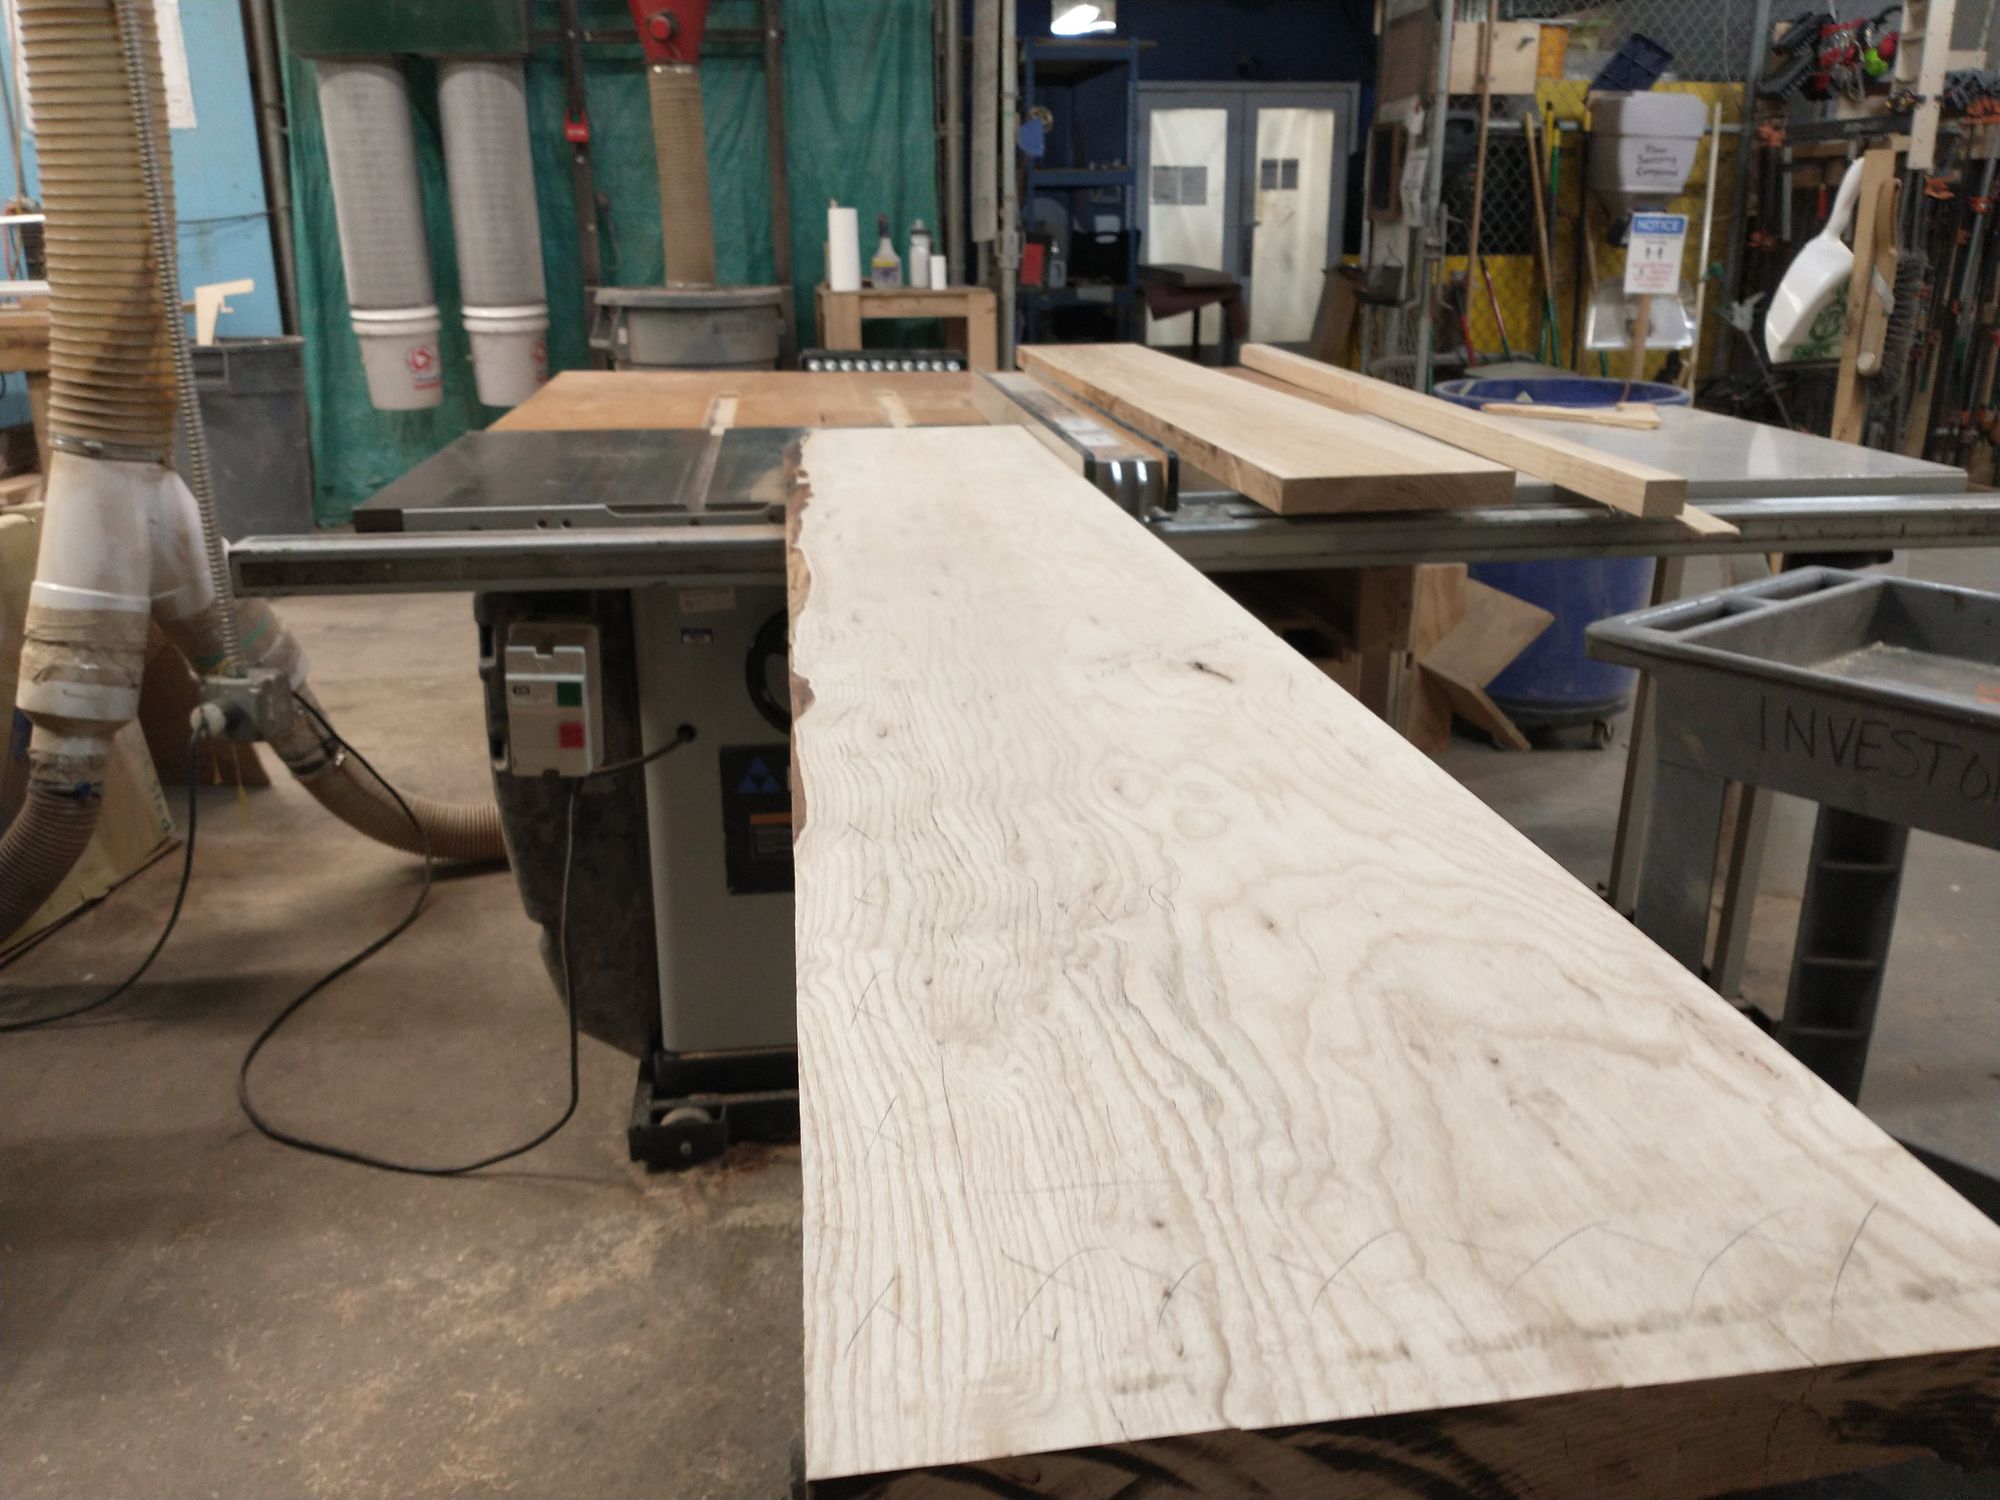
step 2: make (some things) square
From YouTube, I learned that all you have to do to make a table is glue boards' edges together. Those edges have to be very straight. That's the perfect job for a jointer!
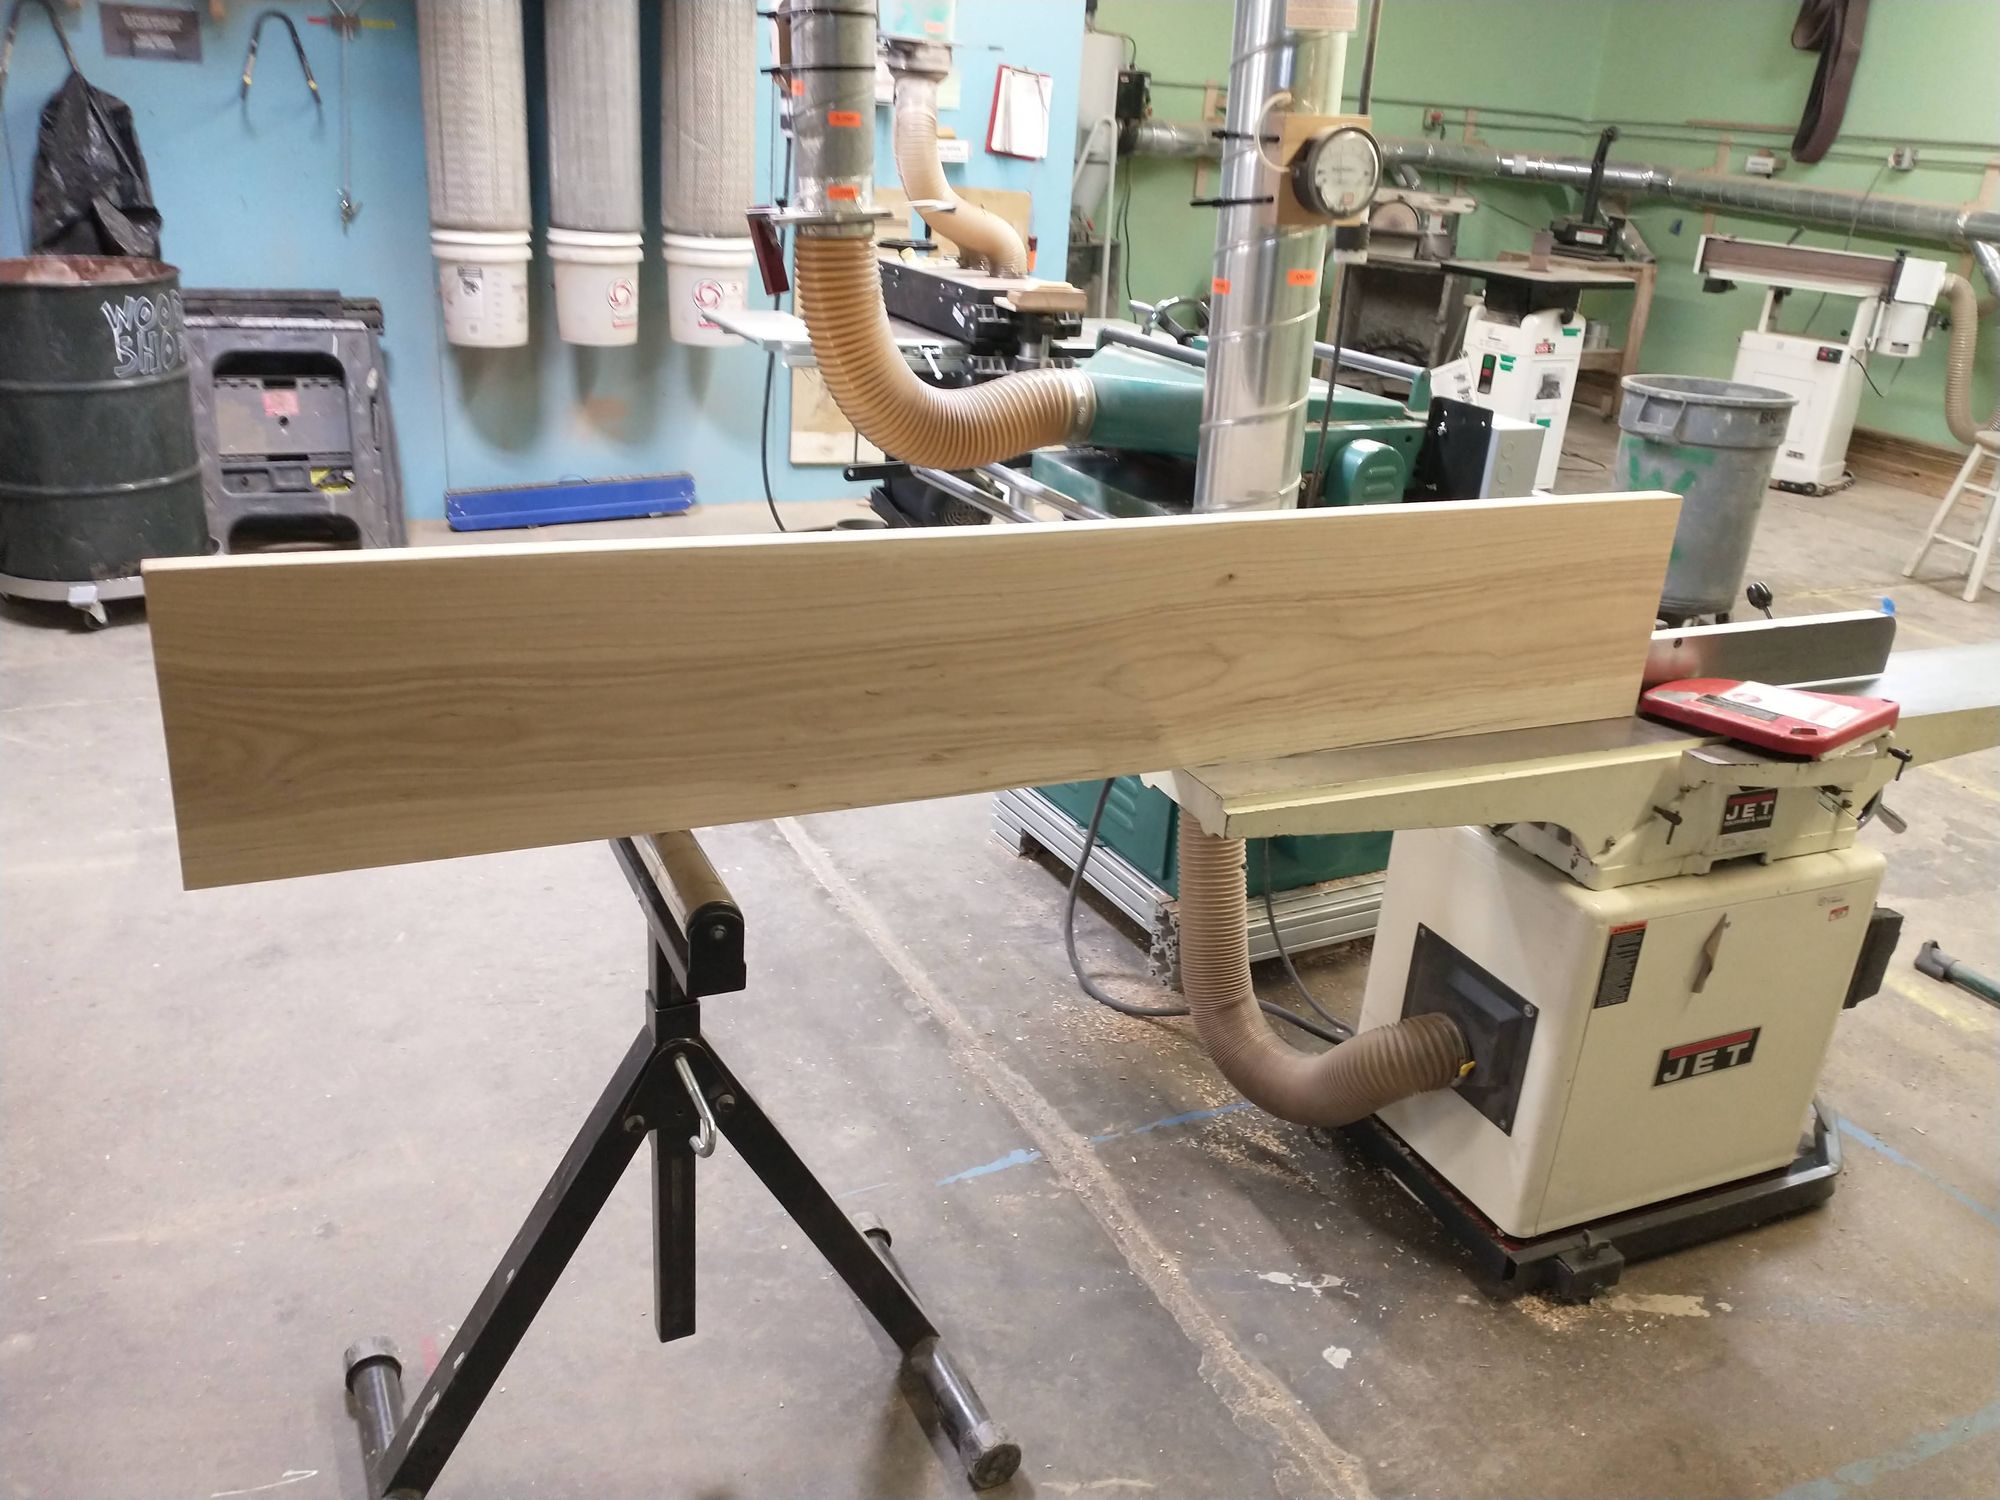
These boards were so heavy that a friendly guy at the maker space helped me out. They were well over a hundred pounds!
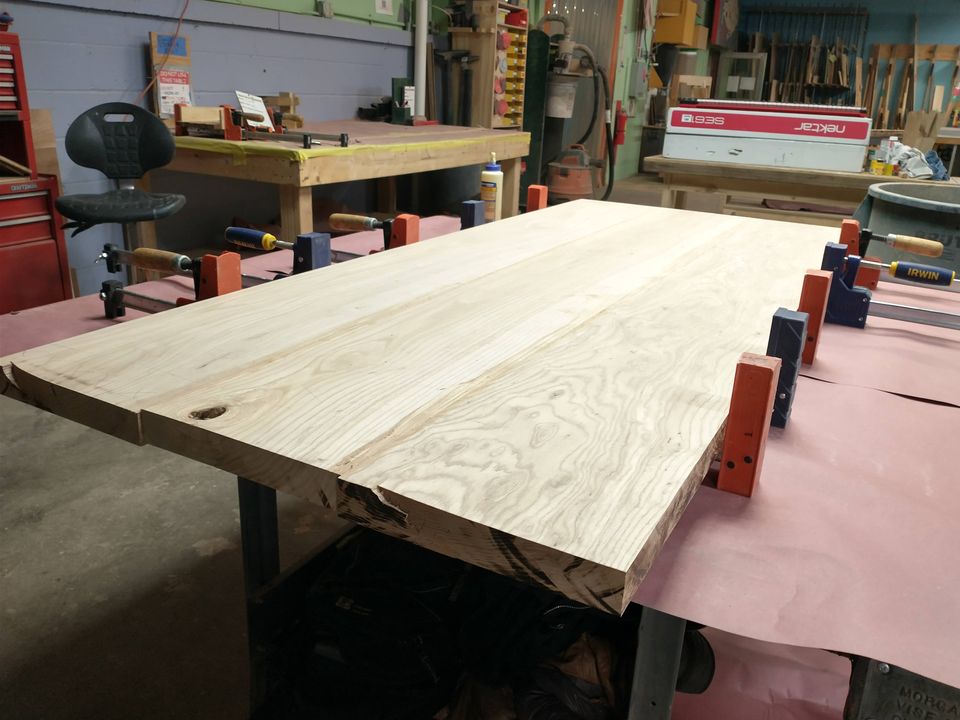
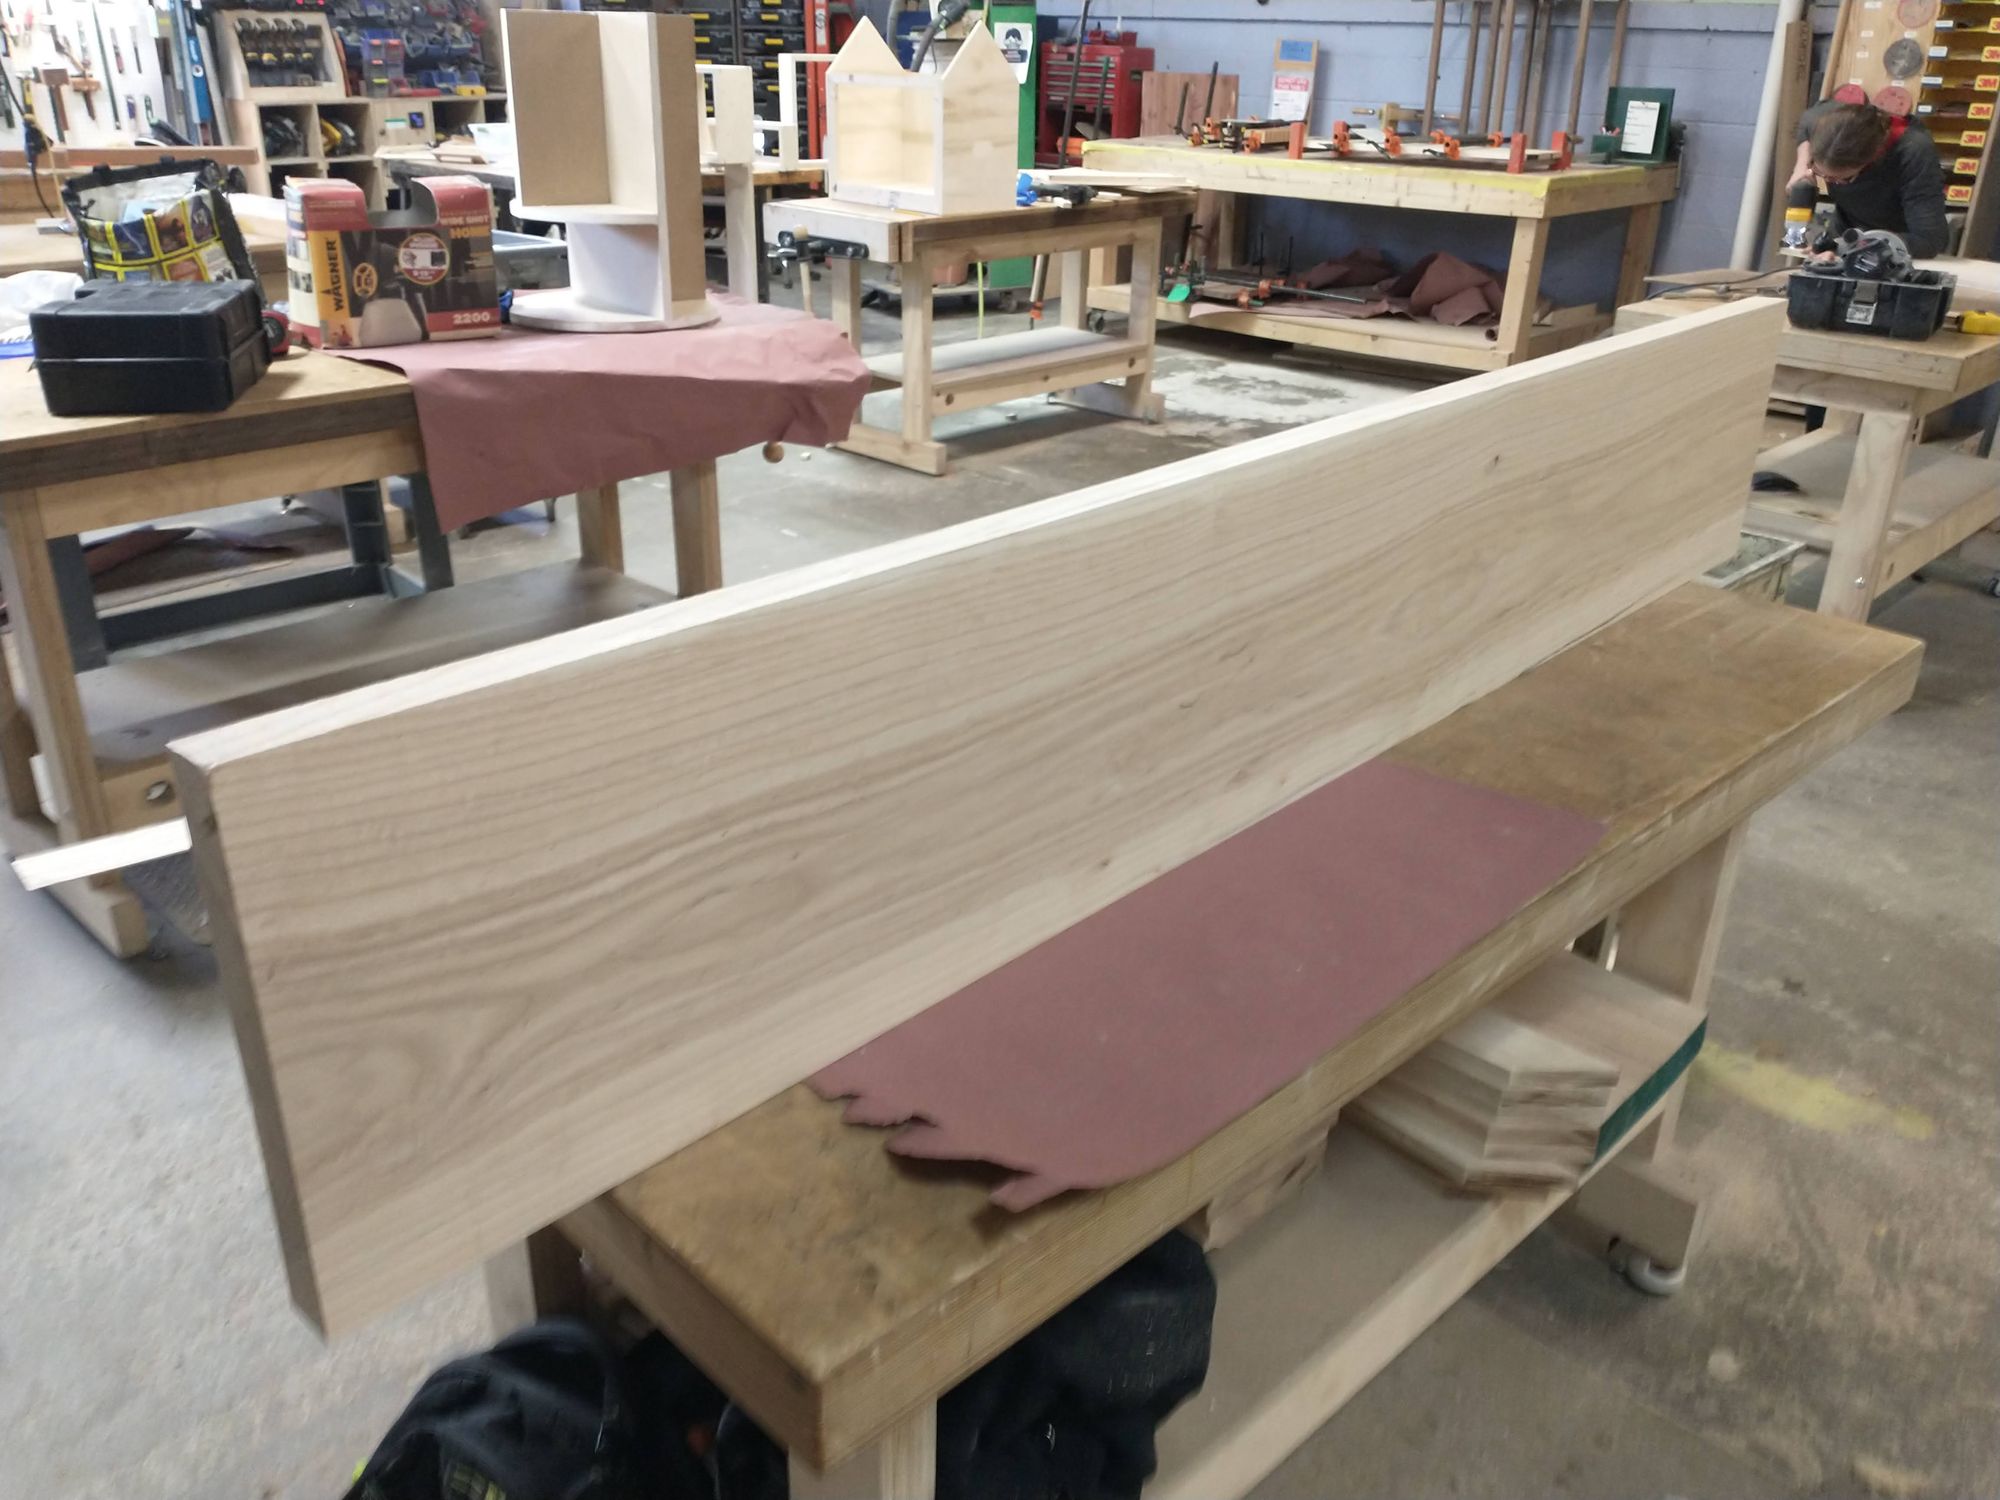
step 3: glue and more clamps
This was the easiest step.

Look at those beautifully cut, very even edges! (Just kidding... remember what I said about extra material?)
step 4: sand
This took almost 6 hours total.
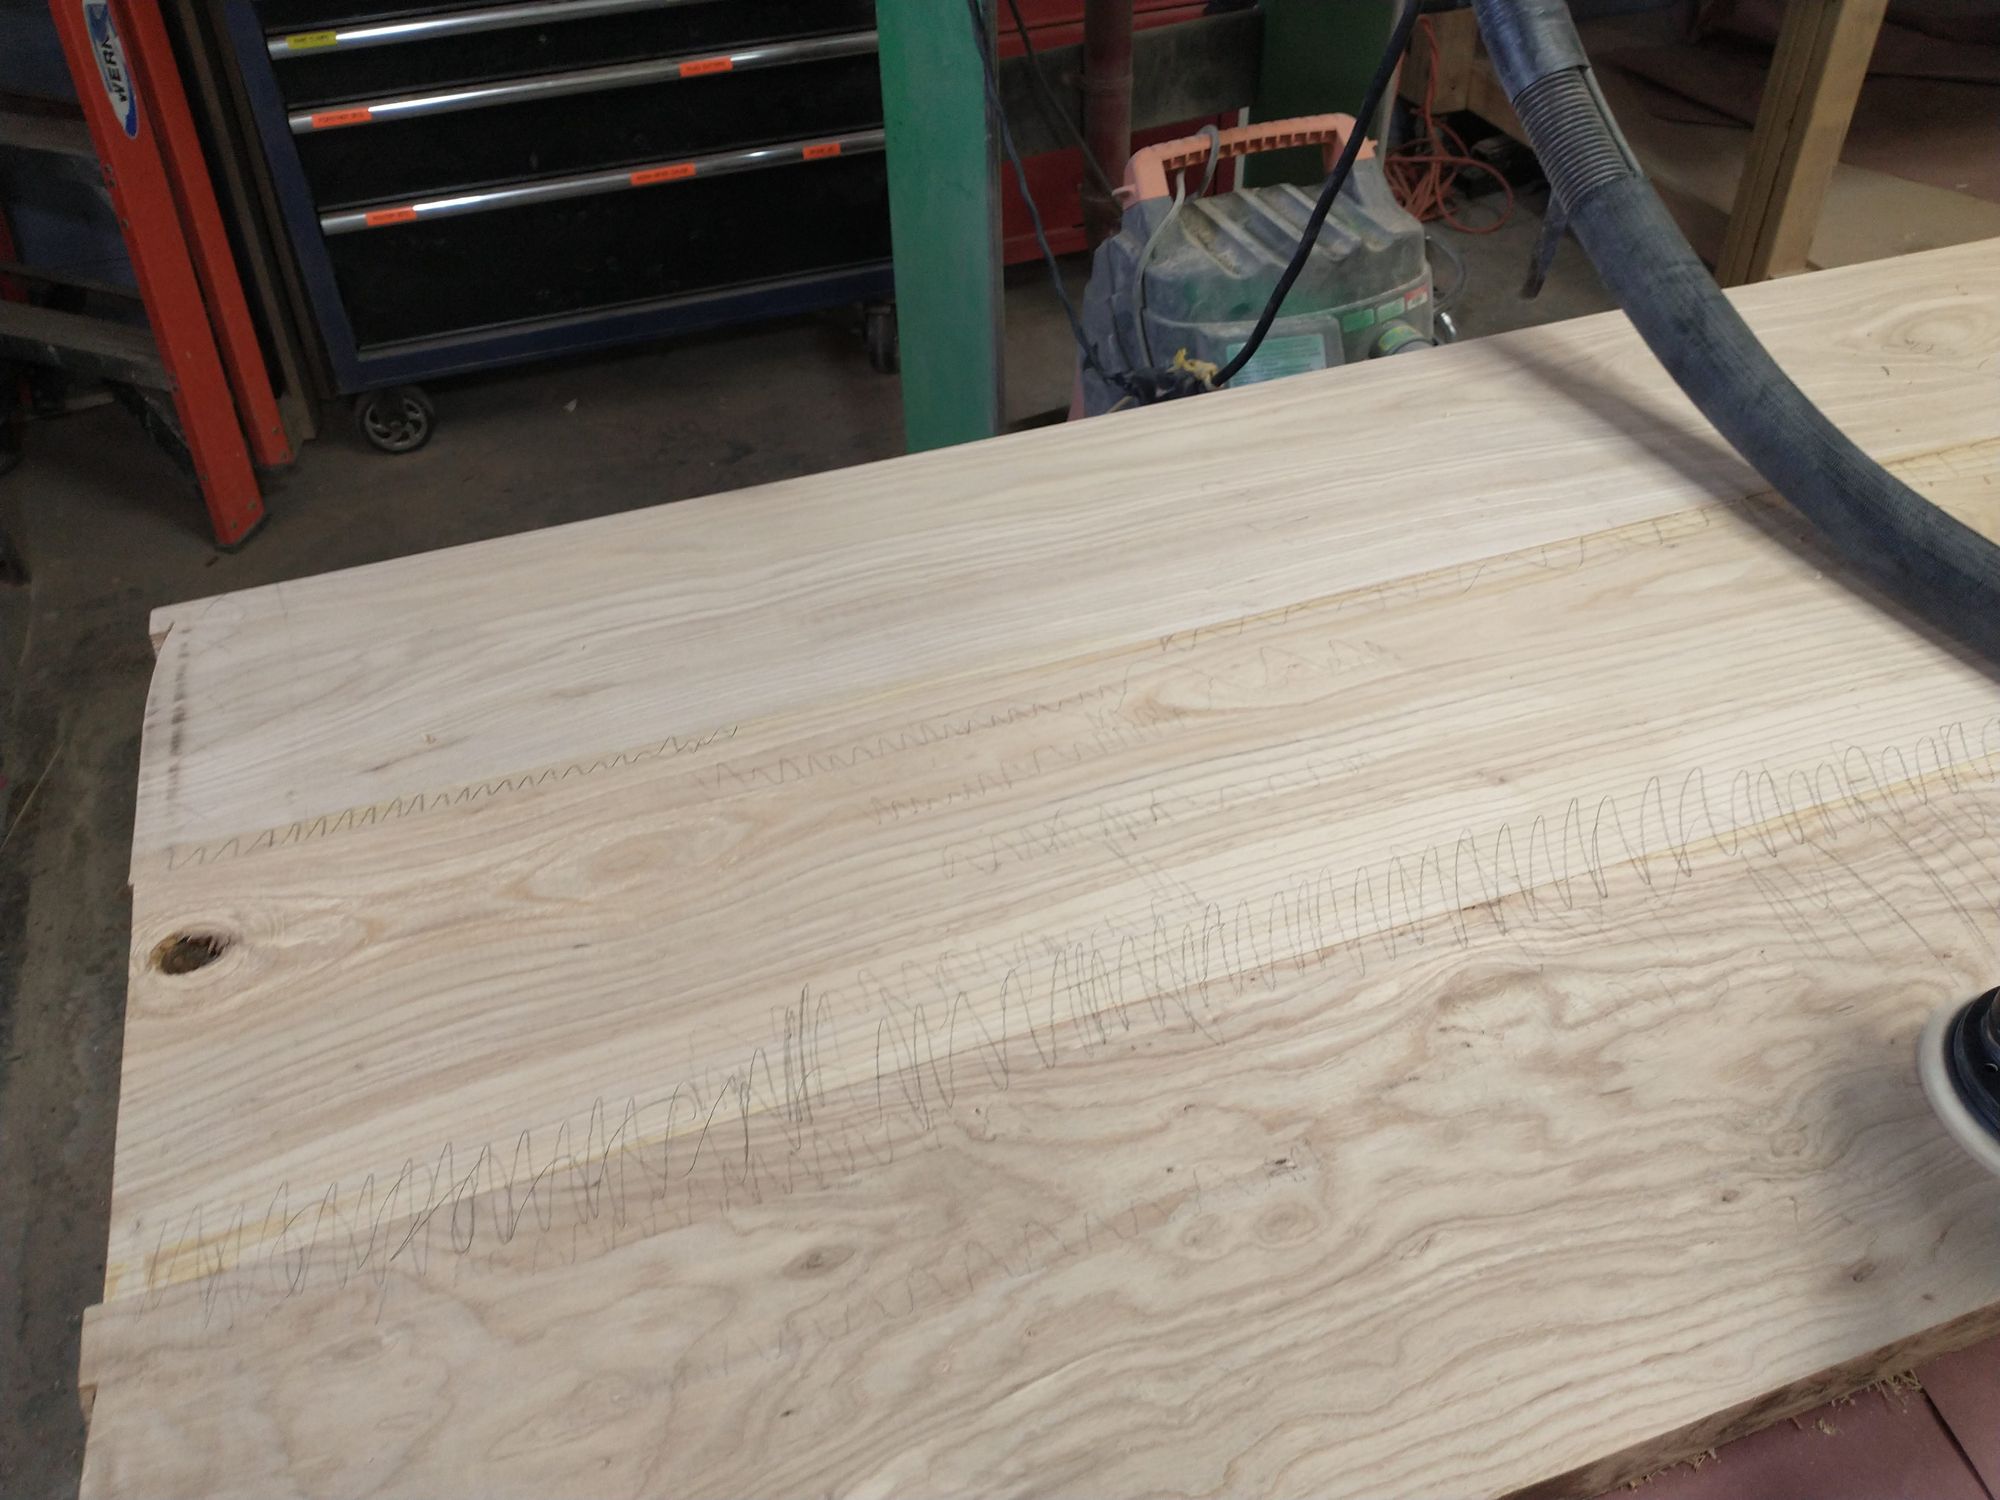
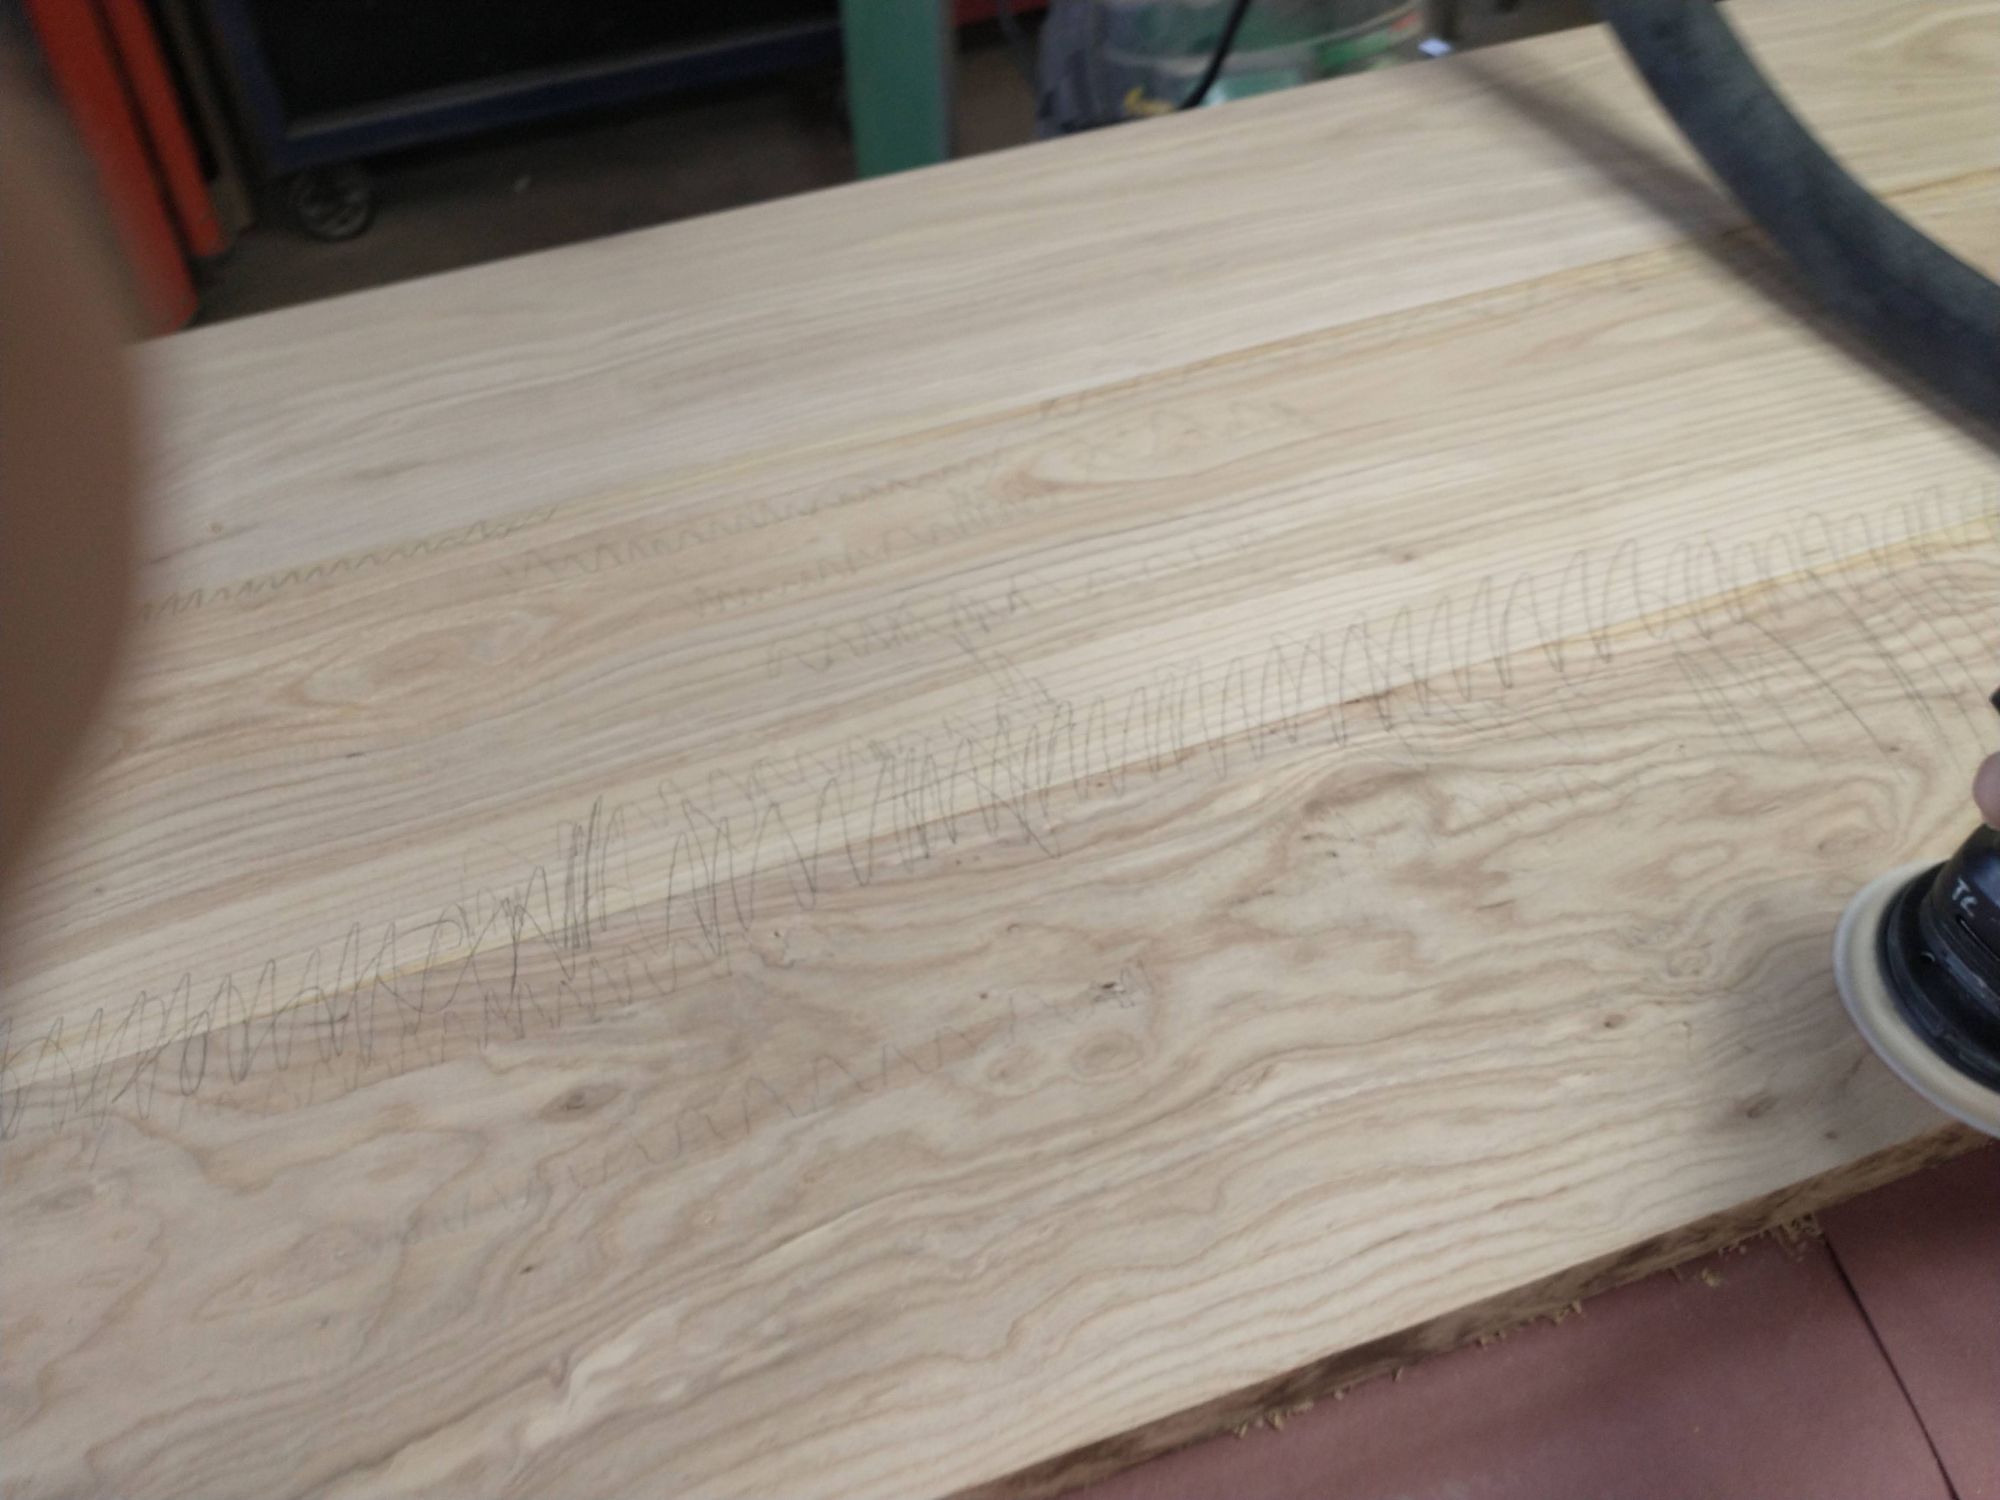
I made pencil marks to help me see the low spots.
step 5: glue and more clamps
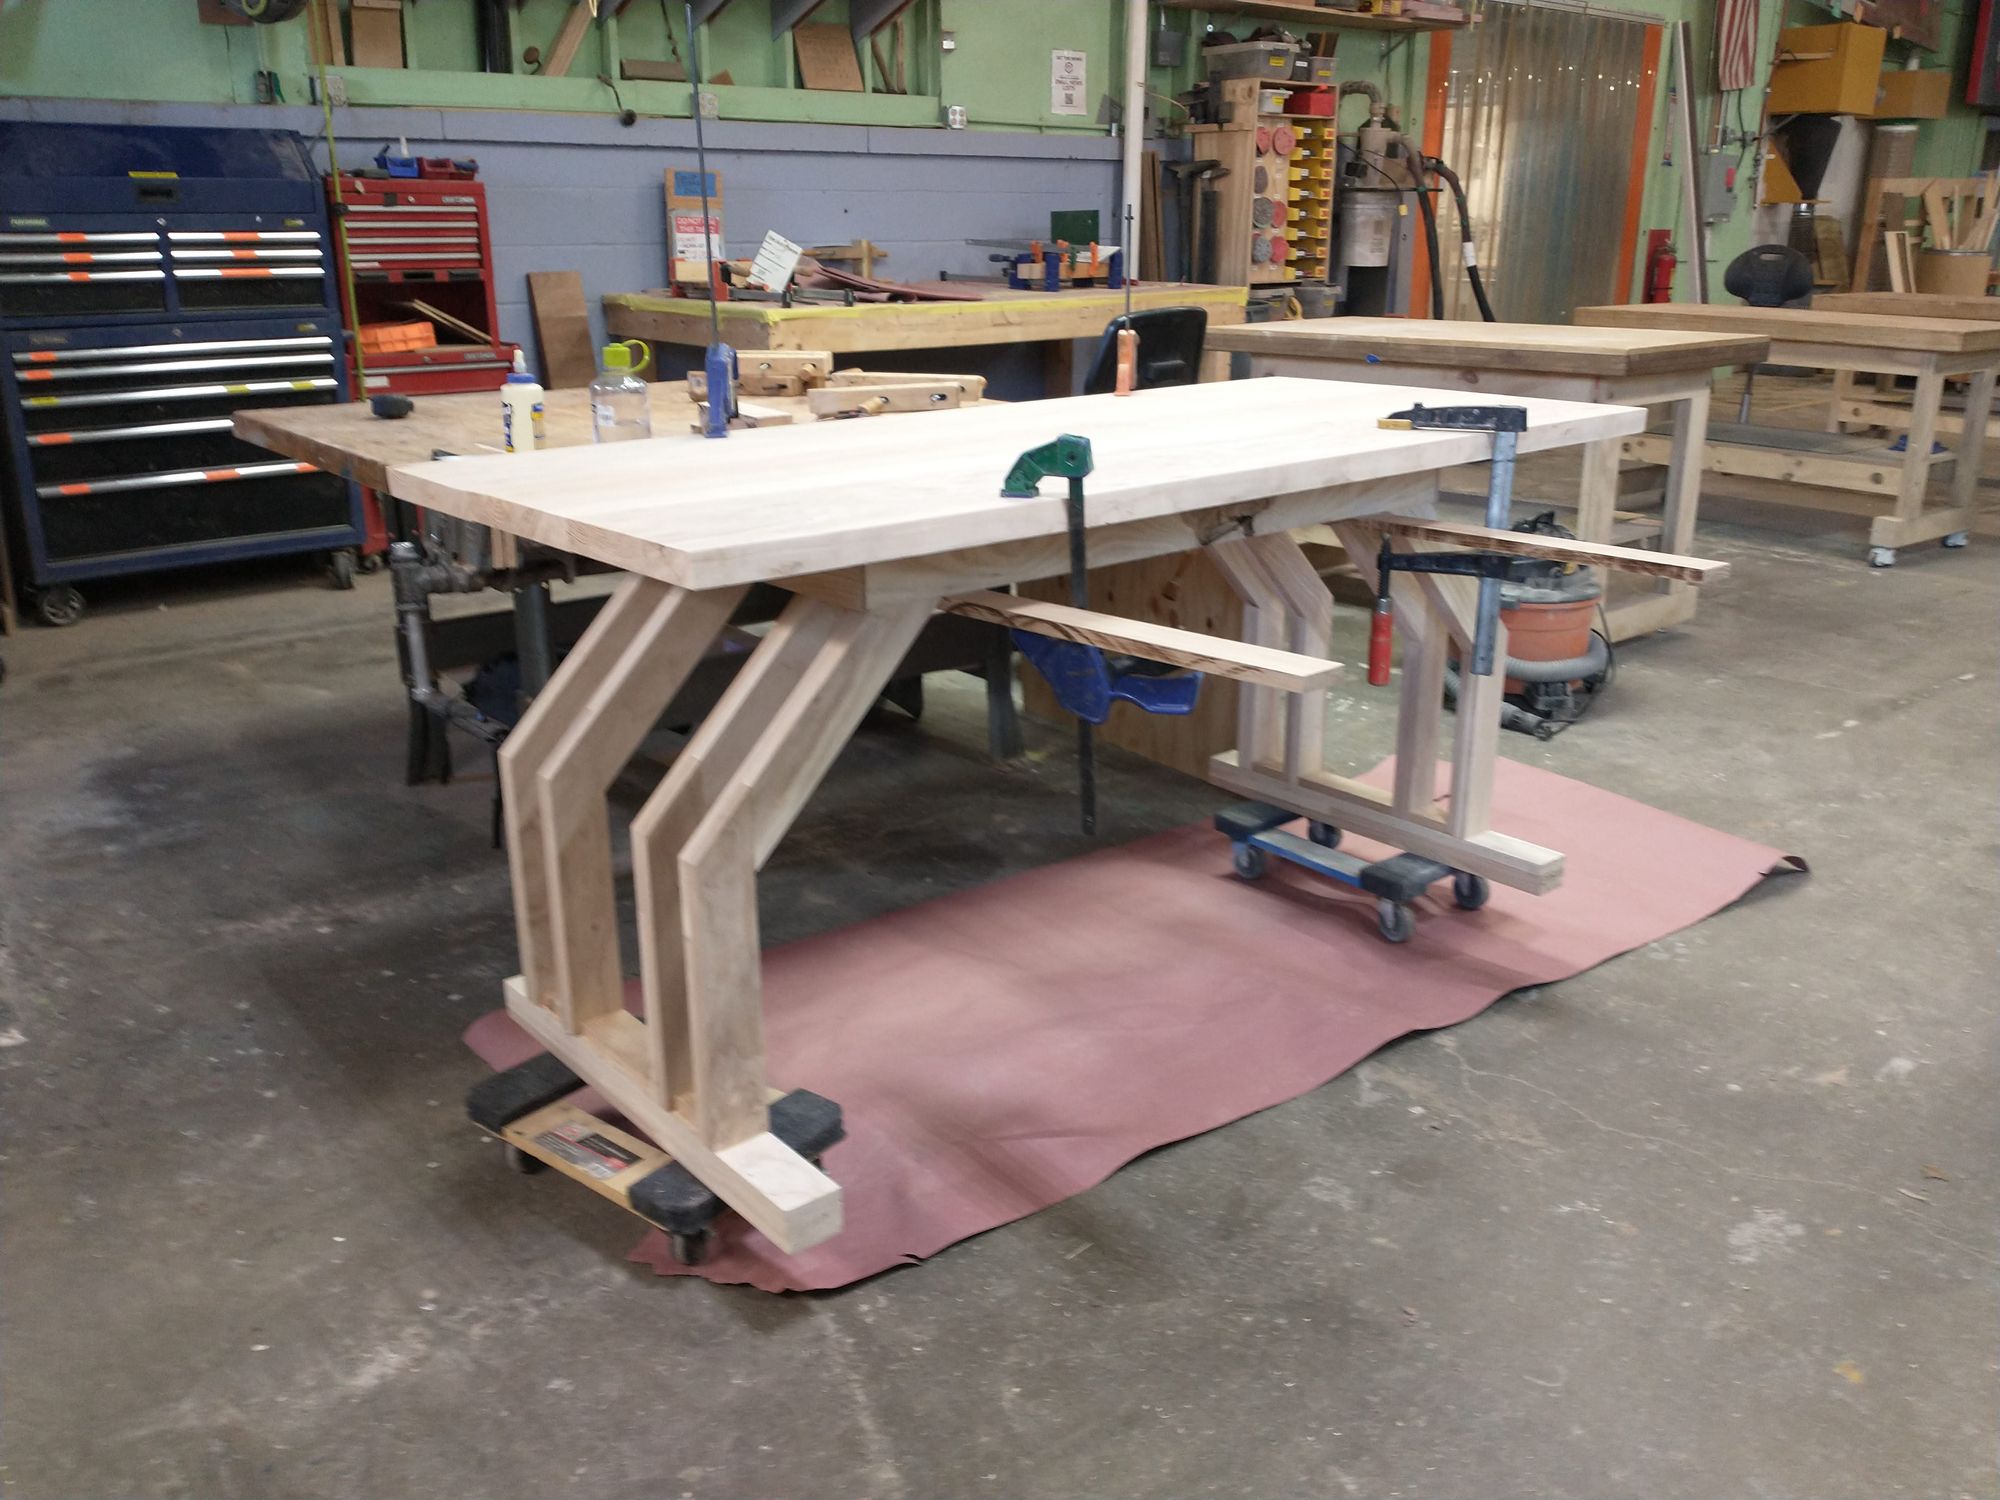
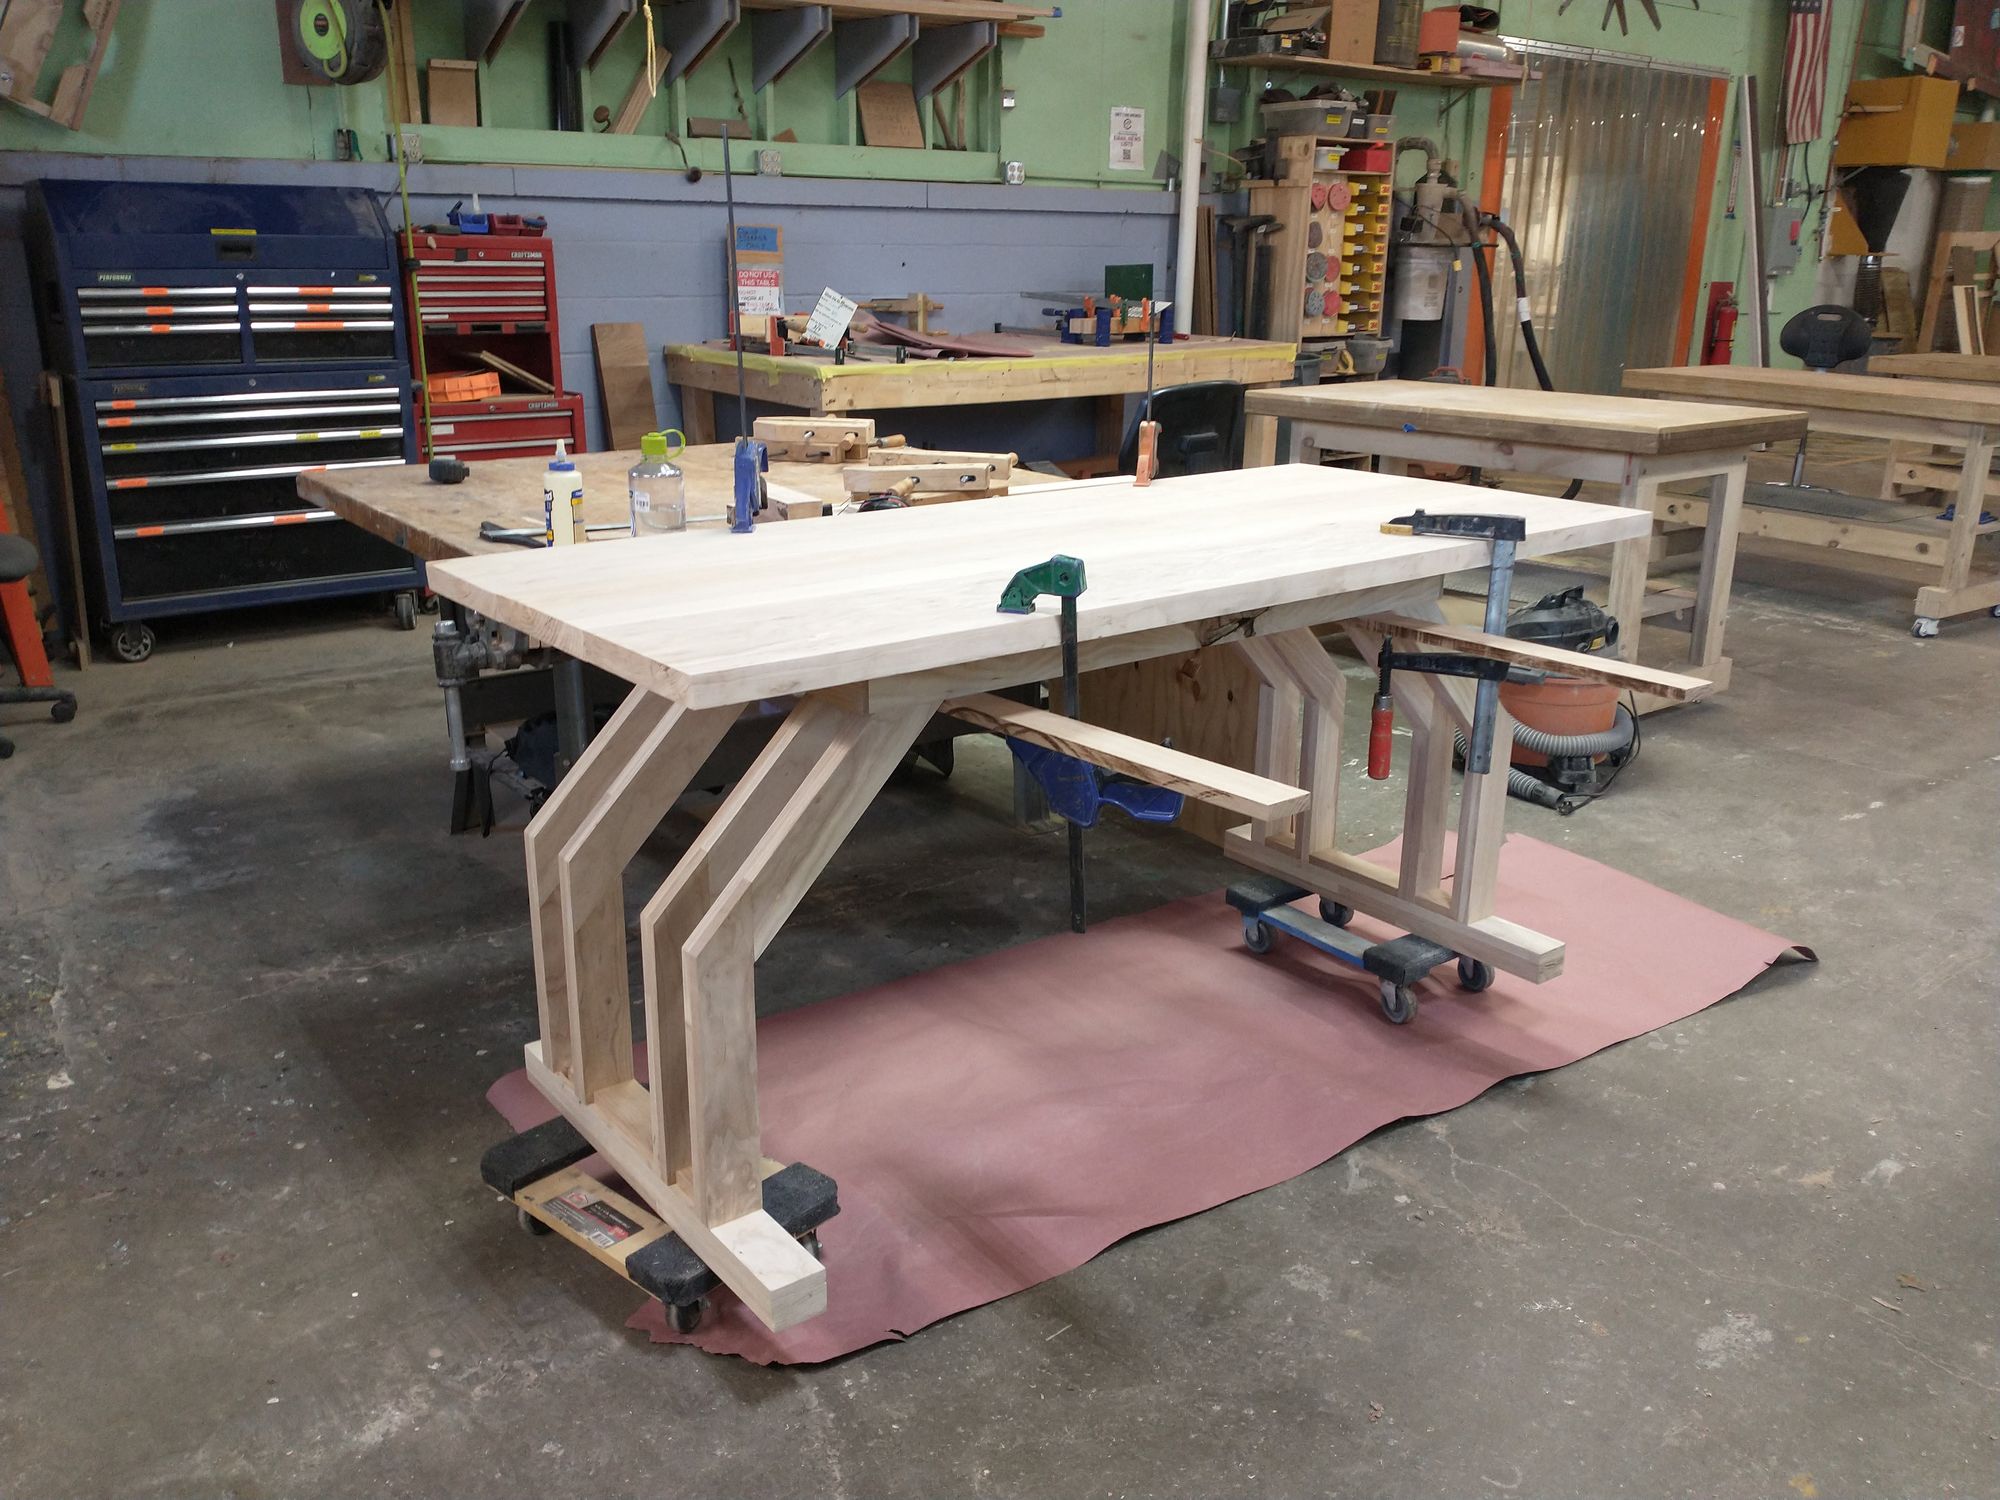
And there you have it! The table portion is done!
step 6: cut to final shape
I didn't get any pictures, but the last step is to cut the table to its final shape. I did it with a circular saw and a piece of scrap wood.
conclusions
"Learn by doing" is the catchphrase of one of my favorite clubs. "Doing to learn, learning to do" is the motto of my other favorite club.
Everyone can do awesome things. To steal the mantra of a corporate monster, "Just do it."
subscribe to get email updates and support my work
Click the link below or the subscribe button at the bottom of the page to support my work and get an email every time I make a new post!